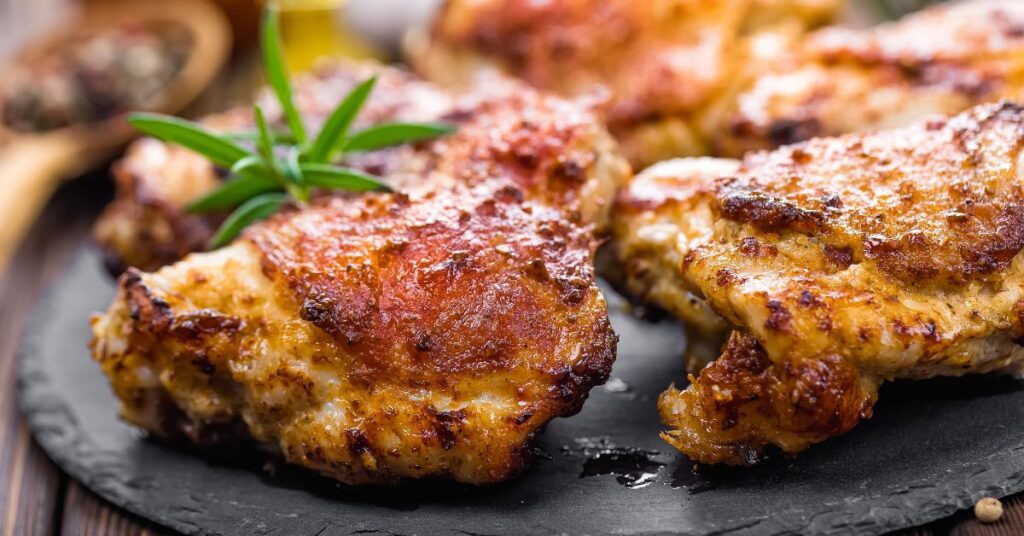
Baked fried chicken offers a delightful twist on a classic favorite. This culinary creation ingeniously combines the crispy, savory allure of traditional fried chicken with a healthier, oven-baked cooking method. By bypassing the deep-frying process, baked fried chicken emerges as a guilt-free indulgence that doesn’t compromise on flavor or texture.
The importance of a healthier alternative to traditional fried chicken cannot be overstated. In today’s health-conscious world, many are seeking ways to enjoy their favorite foods without the added fats and calories associated with frying. Baked fried chicken answers this call, providing a dish that is lower in fat yet rich in taste. It caters not only to those looking to maintain a balanced diet but also to anyone who loves the comforting crunch and juicy tenderness of fried chicken, but with a more wholesome approach.
Key Ingredients and Substitutions
Essential Ingredients for Baked Fried Chicken
- Chicken: Preferably use bone-in, skin-on pieces for the best flavor and juiciness.
- Flour: All-purpose flour for coating, providing the base for a crispy crust.
- Breadcrumbs: Panko or regular breadcrumbs add crunchiness to the outer layer.
- Eggs: Act as a binder, helping the flour and breadcrumbs adhere to the chicken.
- Seasonings: A blend of spices like paprika, garlic powder, onion powder, salt, and pepper enhances flavor.
- Oil or Butter: A light coating ensures crispiness without deep frying.
Substitutes for Common Allergens or Dietary Preferences
- Gluten-Free: Replace all-purpose flour with a gluten-free alternative and use gluten-free breadcrumbs.
- Egg-Free: Buttermilk or a mixture of milk and lemon juice can be used as a binding agent instead of eggs.
- Vegan Options: Use plant-based chicken substitutes, and for the binding, opt for vegan buttermilk (plant-based milk with vinegar or lemon juice).
- Low-Carb: Almond flour or crushed pork rinds can replace traditional flour and breadcrumbs.
Role of Each Ingredient in Flavor and Texture
- Chicken: The star of the dish, providing a tender and juicy base.
- Flour: Creates a smooth coating, helping to form a crispy outer layer when baked.
- Breadcrumbs: Add an extra crunch, mimicking the texture of traditionally fried chicken.
- Eggs: Ensure that the coating sticks evenly, contributing to a uniform crust.
- Seasonings: These are key to flavor; they can be adjusted to taste or cultural preference.
- Oil or Butter: Gives a golden-brown finish and contributes to the crispiness, while adding a subtle richness.
Preparing Your Chicken
Cleaning and Prepping Chicken
- Rinsing: Begin by rinsing the chicken pieces under cold water to remove any residual blood or bone fragments.
- Patting Dry: Use paper towels to pat the chicken dry. This step is crucial for the coating to adhere properly.
- Trimming: Trim off any excess fat or skin for a more uniform cooking experience.
Tips for Tenderizing
- Pounding: For even cooking and tenderization, lightly pound the thicker parts of the chicken pieces to an even thickness.
- Tenderizing Marinade: Use acidic components like lemon juice or vinegar in your marinade, which help in breaking down tough muscle fibers.
- Brining: Soak the chicken in a saltwater solution for a few hours before cooking. This process helps the chicken retain moisture, resulting in juicier meat.
Marination Techniques and Recipes
- Classic Buttermilk Marinade:
- Combine buttermilk, garlic, herbs, and spices.
- Soak the chicken pieces in this mixture for at least 4 hours, preferably overnight, in the refrigerator.
- Spicy Marinade:
- Mix hot sauce or chili paste with olive oil, vinegar, and seasonings.
- Marinate the chicken for 2-4 hours for a spicy kick.
- Herb and Garlic Marinade:
- Blend olive oil, minced garlic, lemon zest, and a selection of herbs like rosemary, thyme, and parsley.
- Marinate the chicken for 3-6 hours for a flavorful herb-infused profile.
Each marination technique imparts distinct flavors and aids in tenderizing the chicken, ensuring that every bite is flavorful and succulent.
Breading and Seasoning
Step-by-Step Breading Process
- Set Up Stations: Prepare three shallow dishes. In the first, place flour mixed with salt and pepper. In the second, beat eggs with a tablespoon of water. In the third, spread out breadcrumbs.
- Dredging: Roll each chicken piece in the flour mixture, ensuring it’s fully coated.
- Egg Wash: Dip the floured chicken into the egg wash, allowing excess to drip off.
- Breading: Finally, coat the chicken with breadcrumbs, pressing gently to adhere.
- Resting: Let the breaded chicken rest for 5-10 minutes. This step helps the coating stick during baking.
Homemade Seasoning Mixes vs. Store-Bought
- Homemade Mixes:
- Combine spices like paprika, garlic powder, onion powder, dried herbs, salt, and pepper.
- Adjust proportions to suit taste preferences and dietary needs.
- Homemade mixes allow for fresher flavor and control over ingredients.
- Store-Bought Mixes:
- Convenient and time-saving.
- Ensure to check for additives or preservatives if dietary restrictions are a concern.
Gluten-Free and Low-Carb Breading Options
- Gluten-Free Options:
- Use gluten-free flour and breadcrumbs.
- Almond flour or coconut flour can be great alternatives for flour.
- Crushed gluten-free cornflakes or puffed rice for a crispy texture.
- Low-Carb Options:
- Almond flour or coconut flour instead of regular flour.
- Crushed pork rinds or parmesan cheese mixed with almond flour for the breadcrumb layer.
- Ground flaxseed for a nutty, crunchy coating.
Each breading and seasoning option offers a unique flavor and texture profile, catering to various dietary preferences while still delivering that satisfying crunch and taste of traditional fried chicken.
Baking Techniques
Oven Temperature and Positioning
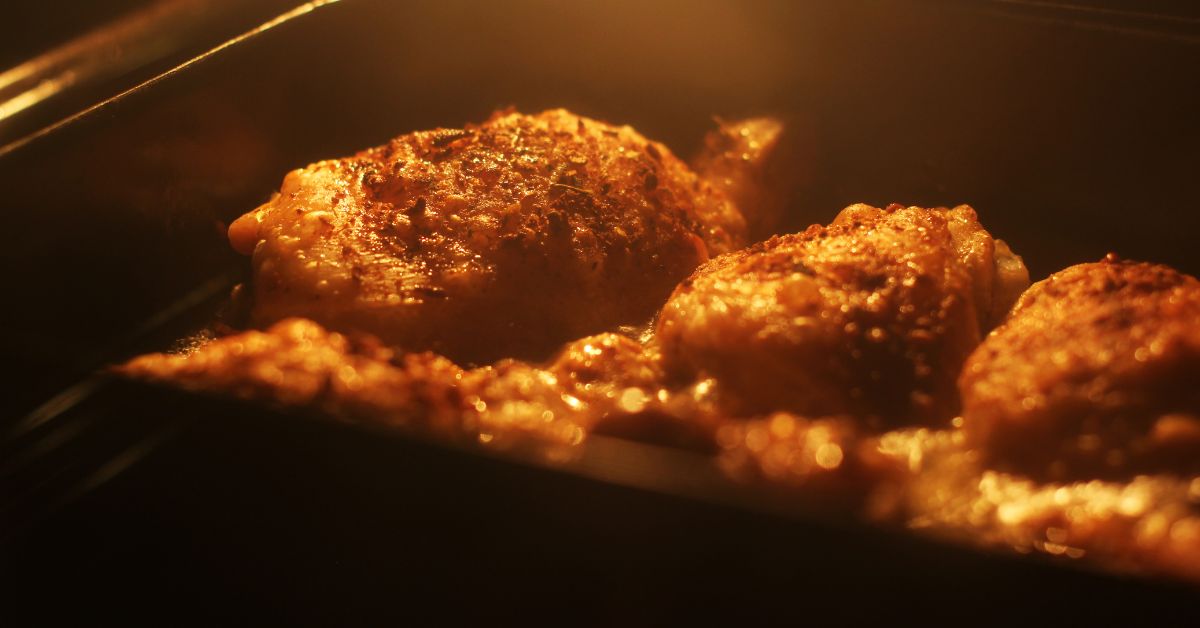
- Preheat the Oven: Start by preheating your oven to 400°F (205°C). This high temperature is key for a crispy exterior.
- Rack Positioning: Position the rack in the middle of the oven to ensure even heat distribution.
- Baking Sheet Preparation: Use a lightly greased baking sheet or line it with parchment paper for easy cleanup. For extra crispiness, place a wire rack on the baking sheet and arrange the chicken on the rack. This allows hot air to circulate around the chicken, cooking it evenly.
Tips for Achieving a Crispy Exterior
- Avoid Overcrowding: Ensure chicken pieces are not touching each other on the baking sheet. Overcrowding can lead to steaming instead of baking, resulting in a less crispy texture.
- Oil or Butter Brushing: Lightly brush the chicken with oil or melted butter before baking. This helps in achieving a golden-brown, crispy crust.
- Turning the Chicken: Halfway through the baking time, turn the chicken pieces over to ensure even browning and crispiness on all sides.
Baking Time Variations for Different Cuts of Chicken
- Bone-in, Skin-on Pieces (like thighs and drumsticks):
- Bake for about 45-50 minutes. These parts take longer due to the bone and skin.
- Boneless Breasts:
- Bake for 20-25 minutes. Being leaner, they cook faster and can dry out if overcooked.
- Boneless Thighs:
- Bake for 25-30 minutes. They have more fat than breasts, so they can handle a bit more cooking without drying out.
- Wings:
- Bake for 40-45 minutes. They require a longer time to get the skin crispy.
It’s important to note that cooking times can vary based on the size of the chicken pieces and individual oven characteristics. Always use a meat thermometer to ensure the chicken has reached an internal temperature of 165°F (74°C) for safe consumption.
Healthy Cooking Tips
Reducing Fat and Calorie Content
- Choose Lean Cuts: Opt for chicken breasts or skinless pieces to lower fat content.
- Minimal Oil Use: Instead of traditional frying, use a light spray or brush of oil on the chicken to reduce added fats.
- Baking on a Rack: Place chicken on a wire rack over a baking sheet. This allows fat to drip off, reducing overall calorie intake.
- Herb and Spice Flavoring: Enhance flavor with herbs and spices instead of relying on excess oil or butter.
Nutritional Benefits of Baked Chicken
- Protein-Rich: Chicken is a great source of lean protein, essential for muscle building and repair.
- Low in Saturated Fat: Baking chicken, especially without the skin, significantly lowers saturated fat content compared to frying.
- Versatile in Nutrient Pairing: Baked chicken can be paired with a variety of vegetables and whole grains, making it a balanced meal option.
- Rich in Vitamins and Minerals: Chicken provides essential nutrients like B vitamins, particularly niacin and B6, which are crucial for energy metabolism and cardiovascular health.
Incorporating Baked Fried Chicken into a Balanced Diet
- Portion Control: Serve appropriate portion sizes to manage calorie intake.
- Balanced Meals: Pair baked chicken with sides like steamed vegetables, quinoa, or a fresh salad for a well-rounded meal.
- Mindful of Sides and Sauces: Choose healthier sides and avoid high-calorie, high-fat sauces and dips.
- Regular Rotation: Incorporate baked chicken into your meal plan as a healthier alternative to red meat or processed meats, contributing to a varied and balanced diet.
By following these tips, baked fried chicken can be a delicious and healthy component of your dietary regimen, offering the pleasure of comfort food without the guilt.
Serving and Presentation
Creative Serving Suggestions
- Chicken Sliders: Serve mini baked chicken pieces in slider buns with coleslaw and pickles for a fun, casual meal.
- Chicken Salad: Slice the baked chicken and toss it in a green salad with a light vinaigrette for a healthier option.
- Chicken Wraps: Wrap chicken strips with fresh vegetables and a light dressing in whole wheat tortillas or lettuce wraps.
Pairing with Sides and Sauces
- Sides:
- Roasted Vegetables: Pair with roasted carrots, broccoli, or Brussels sprouts for a nutritious and colorful side.
- Sweet Potato Fries: Offer baked sweet potato fries for a healthier, sweet-and-savory combination.
- Quinoa or Brown Rice: Serve with whole grains like quinoa or brown rice for added fiber and nutrients.
- Sauces:
- Honey Mustard: A tangy honey mustard sauce can complement the chicken’s crispiness.
- Barbecue Sauce: Offer a low-sugar barbecue sauce for a smoky flavor.
- Greek Yogurt Dip: Mix Greek yogurt with herbs for a creamy yet healthy dip.
Plating Techniques for Visual Appeal
- Color Contrast: Use colorful plates or platters to contrast the golden-brown color of the chicken.
- Garnishing: Sprinkle freshly chopped herbs like parsley or cilantro over the chicken for a pop of color and freshness.
- Layering: Place chicken on a bed of greens or neatly arranged side dishes to create height and depth on the plate.
- Sauce Art: Drizzle sauces creatively around the plate or use them for dipping to add an artistic touch.
Presentation plays a key role in enhancing the appeal of baked fried chicken. By employing these serving and plating techniques, you can transform a simple meal into an enticing culinary experience.
Storage and Reheating
Best Practices for Storing Leftovers
- Cooling Down: Allow the chicken to cool to room temperature before storing to prevent moisture buildup.
- Airtight Containers: Store the chicken in airtight containers to keep it fresh and prevent it from absorbing other flavors in the fridge.
- Refrigeration: Refrigerated baked chicken can last up to 3-4 days. Ensure it’s stored in the coldest part of the refrigerator.
- Labeling: Label the containers with the date to keep track of freshness.
How to Reheat Without Losing Crispiness
- Oven Reheating:
- Preheat the oven to 375°F (190°C).
- Place the chicken on a wire rack over a baking sheet to allow air circulation.
- Heat for 10-15 minutes or until the chicken is heated through and the skin is crispy again.
- Avoiding the Microwave: Microwaving can make the chicken soggy. For best results, use the oven or toaster oven.
Freezing and Thawing Tips
- Freezing:
- Freeze the chicken in a single layer on a baking sheet before transferring to a freezer bag. This prevents the pieces from sticking together.
- Properly stored, baked fried chicken can last up to 4 months in the freezer.
- Thawing:
- Thaw the chicken in the refrigerator overnight. Avoid thawing at room temperature as it can lead to bacterial growth.
- For quicker thawing, use the microwave’s defrost setting, but be cautious as this method can dry out the chicken.
By following these storage and reheating tips, you can enjoy your baked fried chicken with nearly the same freshness and crispiness as when it was first made.
Common Mistakes to Avoid
Overcrowding the Baking Tray
- Space Out Chicken: Ensure each piece of chicken has enough space on the baking tray. Overcrowding can lead to uneven cooking and steaming instead of baking, resulting in a less crispy texture.
- Use Multiple Trays: If necessary, use multiple baking trays and rotate them in the oven for even cooking.
Under or Overcooking
- Use a Meat Thermometer: The safest way to check for doneness is by using a meat thermometer. Chicken is safely cooked when the internal temperature reaches 165°F (74°C).
- Timings Are Guidelines: Remember, cooking times can vary based on the size and thickness of the chicken pieces. Use the suggested times as a guideline and adjust as needed.
Avoiding Soggy Breading
- Proper Drying: Ensure the chicken is thoroughly dried after washing to prevent the breading from getting soggy.
- Resting After Breading: After breading the chicken, let it rest for a few minutes. This helps the coating to set and stick better during baking.
- Avoid Excess Egg Wash: Excess egg wash can make the breading soggy. Allow the excess to drip off before coating the chicken in breadcrumbs.
- Baking on a Rack: If possible, bake the chicken on a wire rack placed over a baking sheet. This allows air to circulate around the chicken, cooking it evenly and preventing the bottom from becoming soggy.
By avoiding these common mistakes, you can ensure your baked fried chicken turns out perfectly crispy and delicious every time.
FAQs
Is Baked Fried Chicken Healthier Than Regular Fried Chicken?
- Yes, baked fried chicken is generally healthier than its traditional fried counterpart. It contains less fat and calories since it’s baked in the oven without the need for deep frying in oil.
Can I Use Boneless Chicken for This Recipe?
- Absolutely. Boneless chicken can be used for this recipe. Keep in mind that cooking times may vary, as boneless cuts typically cook faster than bone-in pieces.
How Do I Make My Baked Chicken Extra Crispy?
- Preheat Your Oven: Ensure your oven is fully preheated before baking.
- Use Breadcrumbs: Coating the chicken in breadcrumbs or panko provides a crispier texture.
- Bake on a Wire Rack: This allows air to circulate around the chicken, crisping it evenly.
- Brush with Oil: Lightly brushing the chicken with oil before baking can help crisp up the skin.
Can I Prepare Baked Fried Chicken in Advance?
- Yes, you can prepare baked fried chicken in advance. Bread the chicken and store it in the refrigerator for a few hours before baking. You can also bake it ahead of time and reheat it in the oven to maintain crispiness.
Are There Any Vegan or Vegetarian Alternatives?
- Certainly. For a vegan or vegetarian version, use plant-based chicken substitutes or vegetables like cauliflower. Follow the same breading and baking process.

Baked Fried Chicken
- Total Time: 1 hour 10 minutes
Ingredients
Instructions
Notes
- Prep Time: 30 minutes
- Cook Time: 40 minutes
Conclusion
Baked fried chicken stands out as a healthier, yet equally satisfying alternative to traditional fried chicken. It offers the perfect balance of crispy texture and juicy flavor, all while being lower in fat and calories. This dish is versatile, allowing for various dietary preferences and cooking styles. Whether you’re a seasoned cook or a beginner in the kitchen, baked fried chicken is a straightforward and delicious recipe to try at home. So, gather your ingredients, preheat your oven, and get ready to enjoy a healthier version of a beloved classic!