Delicious Banana Oatmeal Bars: A Healthy Snack for Everyone

Categories
- Prep
- 10 min
- Cook
- 18 min
- Total
- 28 min
- Serves
- 16
- Calories
- 173 kcal
- Carbs
- 23.00 g
On this page12 quick jumps
TOC
On this page
12 quick jumps
Introduction
I remember the first time I pulled these banana oatmeal bars out of the oven: the kitchen smelled like warm banana bread and cinnamon, the edges were crisping to a golden brown, and my toddler insisted on sampling a corner while the bars were barely cool. These are the kind of bars I make when I’ve got a couple of ripe bananas staring at me from the counter and I want something wholesome that travels well in a lunchbox. They’re forgiving, pantry-friendly, and they’ve sailed through quick breakfasts, post-workout snacks, and last-minute playdate contributions at my house.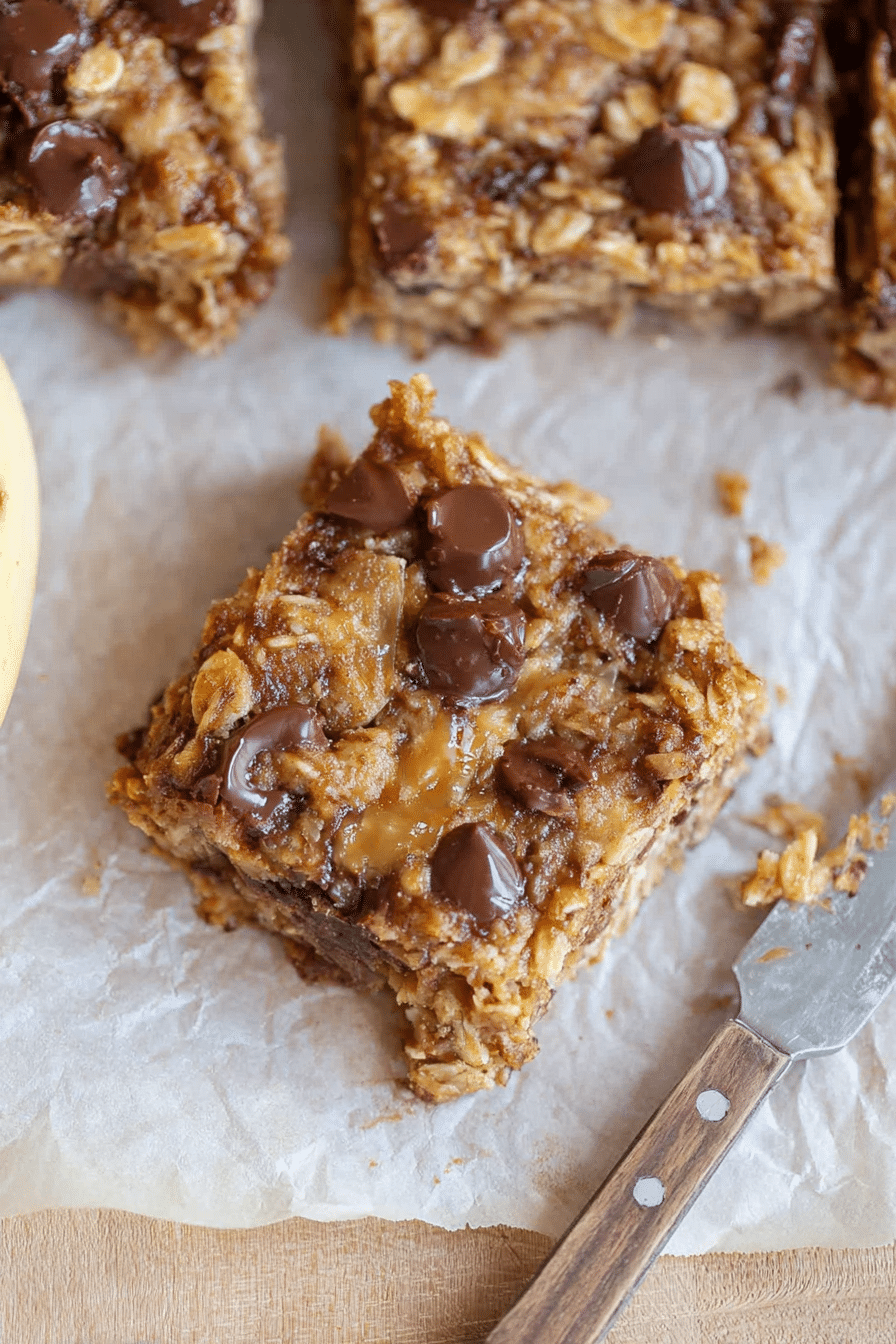
Why You'll Love These Banana Oatmeal Bars
First off, they’re honest food. Think wholesome, slightly chewy bars that aren’t sweet in an overwhelming way — they taste of banana, warm spice, and pockets of chocolate if you choose to add them. They’re great for busy mornings, as a post-school snack, or stashed in a gym bag for a quick energy boost. These bars hit the sweet spot between convenience and nutrition: oats bring slow-release carbohydrates and fiber, bananas add natural sweetness and potassium, and nut butter contributes a bit of fat and protein for satiety. They’re easily adaptable for vegan baking (use maple syrup and plant-based butter if needed) and can be made gluten-free by choosing certified gluten-free oats. They’re also forgiving in texture — if your batter seems too wet, an extra handful of oats will firm things up; if it’s too dry, another mashed banana or a splash of nut milk usually corrects it. That flexibility means you don’t need a perfect pantry or precise measuring skills to get a good result. For another wholesome snack, check out our Blueberry Breakfast Quesadilla, a family favorite!Key Ingredients You’ll Need
- Bananas – the natural sweetener and binder; riper is better for sweetness and moisture.
- Rolled oats – provide bulk, chew, and fiber; use old-fashioned/rolled oats for the best texture.
- Nut butter – helps bind the bars and adds richness; peanut, almond, or a seed butter will work.
- Maple syrup – a little added sweetness and flavor depth; honey works too if not vegan.
- Vanilla extract – brightens flavors and rounds out the banana.
- Cinnamon – warm spice that complements bananas; optional but recommended.
- Chocolate chips – optional, give melty pockets of chocolate and a treat-like quality.
- Salt – a pinch enhances the sweetness and balances flavors.
Step-by-Step Instructions
Below is the exact method I use when I make these bars in my kitchen. I include the accurate measurements and times so you can reproduce the same result.- Preheat and prepare: Heat your oven to 350°F (175°C) and line a 9×9-inch baking pan with parchment paper. I always press the parchment into the corners and leave an overhang on two sides so I can lift the whole slab out to cool and slice cleanly.
- Mash the bananas: In a large mixing bowl, mash about 1½ cups of bananas (roughly 3 ripe bananas) with a fork. I mash them until mostly smooth but leave a few small lumps — those give little bursts of banana in the finished bars.
- Mix wet ingredients: Stir in ½ cup of nut butter, 3 tablespoons of maple syrup, 1 teaspoon of vanilla extract, and the pinch of salt. The nut butter should be at room temperature so it blends smoothly; if it's too thick, warm it for a few seconds in the microwave. The mixture will smell richly of banana and vanilla — that’s a great cue you’re on the right track.
- Add dry ingredients: Mix in 2 cups of rolled oats and 1 teaspoon of cinnamon until everything is evenly combined. Fold in 1 cup of chocolate chips, if using. The batter should be thick but spreadable. If it looks too loose and watery, toss in an extra tablespoon or two of oats and let it sit for a minute to hydrate.
- Transfer to pan and press: Transfer the mixture to the lined 9×9 pan and press it down into an even layer — I use the back of a wet spatula to smooth the surface without too much stickiness. Sprinkle a few extra chocolate chips on top if you want a decorative, chocolatey top layer that melts and refreezes into soft flecks.
- Bake: Bake for 18 to 20 minutes, or until the edges are golden and the center feels set. I know they’re done when the top is faintly springy and a toothpick inserted near the center comes out mostly clean with a few moist crumbs. Don’t overbake — these bars should be slightly soft in the center, not rock-hard.
- Cool and slice: Allow the bars to cool completely in the pan. This is important: if you try to cut them while still warm, they’ll be crumbly and messy. Once cool, lift the slab out using the parchment overhang and slice into 16 bars. They keep their shape well once cooled, but the texture firms up a bit after refrigeration.
- If bars are too wet and won’t set: they probably need more oats or a few extra minutes in the oven. Check that your bananas weren’t extremely watery — that can happen with very overripe fruit.
- If bars are too dry and crumbly: you likely used too many oats or the nut butter was too stiff. Mix in a little mashed banana or a teaspoon of milk and re-press into the pan, then bake for a few minutes.
- If the nut butter separates or oils at the top: that’s often because it was overheated. Stir well before using and reduce any extra heat next time.
Nutrition Information
Per the original recipe details, each bar is roughly:- Calories – 173 kcal
- Fat – 8 g
- Carbohydrates – 23 g
- Protein – 4 g
- Fiber – not specified in the original nutrition data; oats and bananas contribute meaningful fiber to each serving.
Storage Tips for Freshness
These bars are great for meal prep because they keep well and travel easily. Here’s what I do at home:- Room temperature: If you’re eating them within a day, store in an airtight container at room temperature. They’ll stay soft and sliceable.
- Refrigerator: For longer freshness, store in an airtight container lined with parchment paper in the fridge for up to 7 days. Cold helps them firm up, which is handy for popping into a lunchbox without them smooshing.
- Freezing: Freeze in individual portions wrapped in parchment or plastic wrap, then placed in a freezer-safe bag for up to 3 months. Thaw in the fridge overnight or at room temperature for an hour. For a warmed snack, microwave a frozen bar for 15–25 seconds until soft but not hot.
Variations and Customizations
One of my favorite things about this recipe is how easy it is to riff on. A handful of adjustments makes these bars feel entirely new.- Nuts & seeds – fold in chopped walnuts, pecans, or a tablespoon of chia or flax seeds for extra texture and omega-3s.
- Fruit – swap some chocolate chips for dried cranberries or raisins for chewiness and natural sweetness.
- Spices – add a pinch of nutmeg or cardamom for a warmer spice profile.
- Chocolate-free – leave chocolate out and add a few tablespoons of shredded coconut for a tropical twist.
- Nut-free – use sunflower seed butter or tahini to make the bars safe for nut-free environments.
- Sugar-free – rely solely on very ripe bananas for sweetness and skip the maple syrup, or use a non-caloric sweetener sparingly if desired.
- Extra-protein – stir in a scoop of unflavored protein powder (reduce oats slightly) or add a quarter cup of Greek yogurt to the mixture, though yogurt may alter bake time slightly.
Community Feedback and Recipe Variants
Over the years of sharing this recipe with friends, neighbors, and colleagues, I’ve collected a handful of small but telling notes that improved the bars for lots of home cooks:- Some readers prefer using slightly less maple syrup and adding a tablespoon of yogurt to increase tenderness — it works, but bake a minute or two longer to set the center.
- Parents often tell me these bars are a kid-approved way to slip in oats and bananas, especially when they scatter chocolate chips on top as a decorating task for little hands.
- Someone mentioned swapping half the oats for quick oats when they were in a rush; texture was softer and still pleasant, though I prefer rolled oats for chew.
FAQ
Can I substitute the nut butter in the recipe? Absolutely! If you have nut allergies or prefer not to use nut butter, you can substitute it with seed butter (like sunflower seed butter) or use unsweetened applesauce for a different flavor and texture. How long can I store the banana oatmeal bars? You can store the banana oatmeal bars in an airtight container in the refrigerator for up to a week. For longer storage, freeze them in individual portions for up to 3 months! Are these banana oatmeal bars gluten-free? Yes, as long as you use certified gluten-free oats, these banana oatmeal bars can easily be made gluten-free! Can I add other ingredients to the bars? Definitely! Feel free to get creative with add-ins like nuts, seeds, or dried fruits. Just make sure to adjust the measurements accordingly! How can I make these bars sweeter without adding sugar? You can increase the amount of ripe bananas or add more maple syrup or honey to enhance the sweetness naturally without additional sugar.Conclusion
To sum it up: these banana oatmeal bars are a workhorse recipe — easy, adaptable, and forgiving. They’re a way to use up ripe bananas, feed a crowd, and keep a stash of healthy snacks on hand without fuss. They won’t be hard or overly sweet; they’re meant to be soft, slightly chewy, and satisfying in a homey, straightforward way. Try the basic version first, then experiment with the variations above until you find the combination your household loves. For more great snack options, consider our Healthy Pumpkin Pie Smoothie to keep your tastebuds happy!Ingredients
- 1½ cupsmashed bananas (approx. 3 bananas)
- ½ cupnut butter
- 2 cupsrolled oats
- 1 teaspooncinnamon
- 1 teaspoonvanilla extract
- 3 tablespoonsmaple syrup
- 1 cupchocolate chips
- ½ teaspoonsalt
Instructions
- 1
Heat the oven to 350F and line a 9×9 baking pan with parchment paper.
- 2
Mix together the mashed bananas, nut butter, rolled oats, cinnamon, vanilla, maple syrup, chocolate chips, and salt in a large mixing bowl.
- 3
Transfer the mixture to the lined baking pan and flatten it into a flat, even layer. Feel free to add more chocolate chips on top!
- 4
Bake for 18 to 20 minutes or until the edges of the bars are golden and the bars appear to be set. Allow the bars to cool completely before cutting.
Recipe Card
Delicious Banana Oatmeal Bars: A Healthy Snack for Everyone
Keep it handy for later, send it to someone cooking with you, or open the clean print view.
- Prep
- 10 min
- Total
- 28 min
- Serves
- 16
You might also like
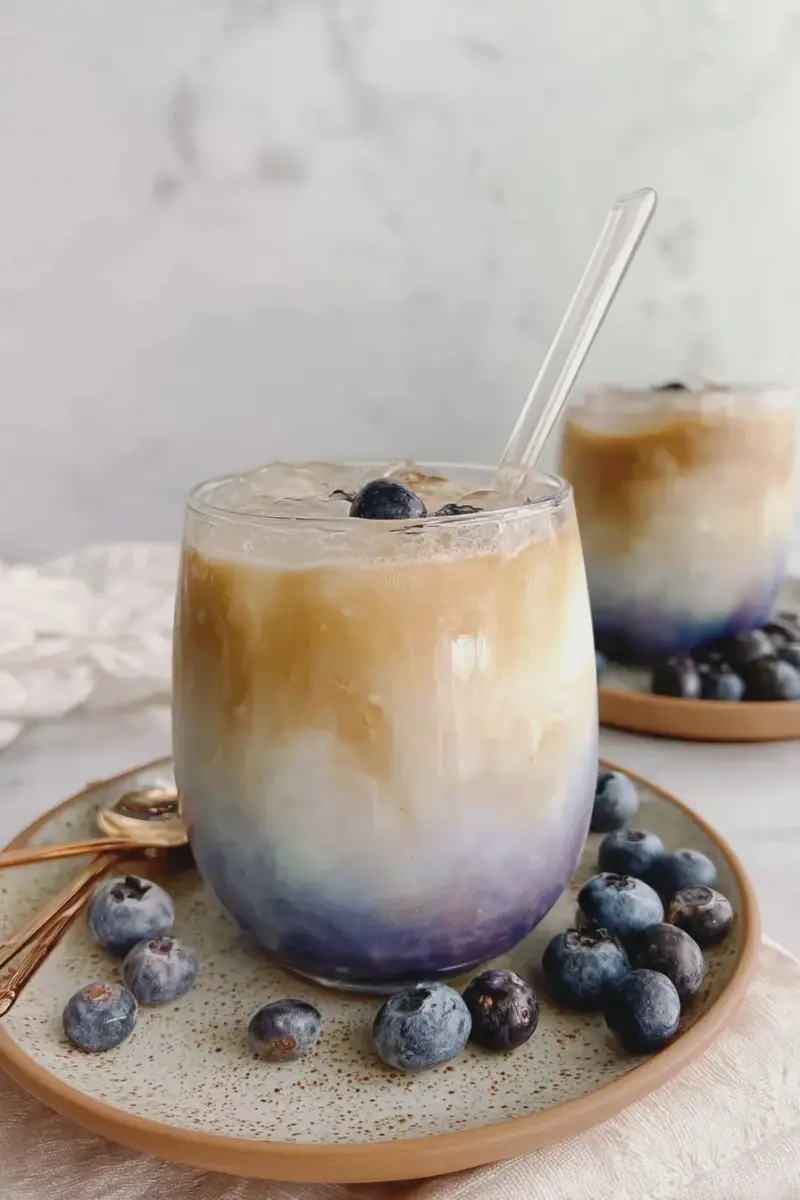
recipe
The Blueberry Latte I Make Every Morning — Ready in 10 Minutes
May 18, 2026
Cook this nextExplore
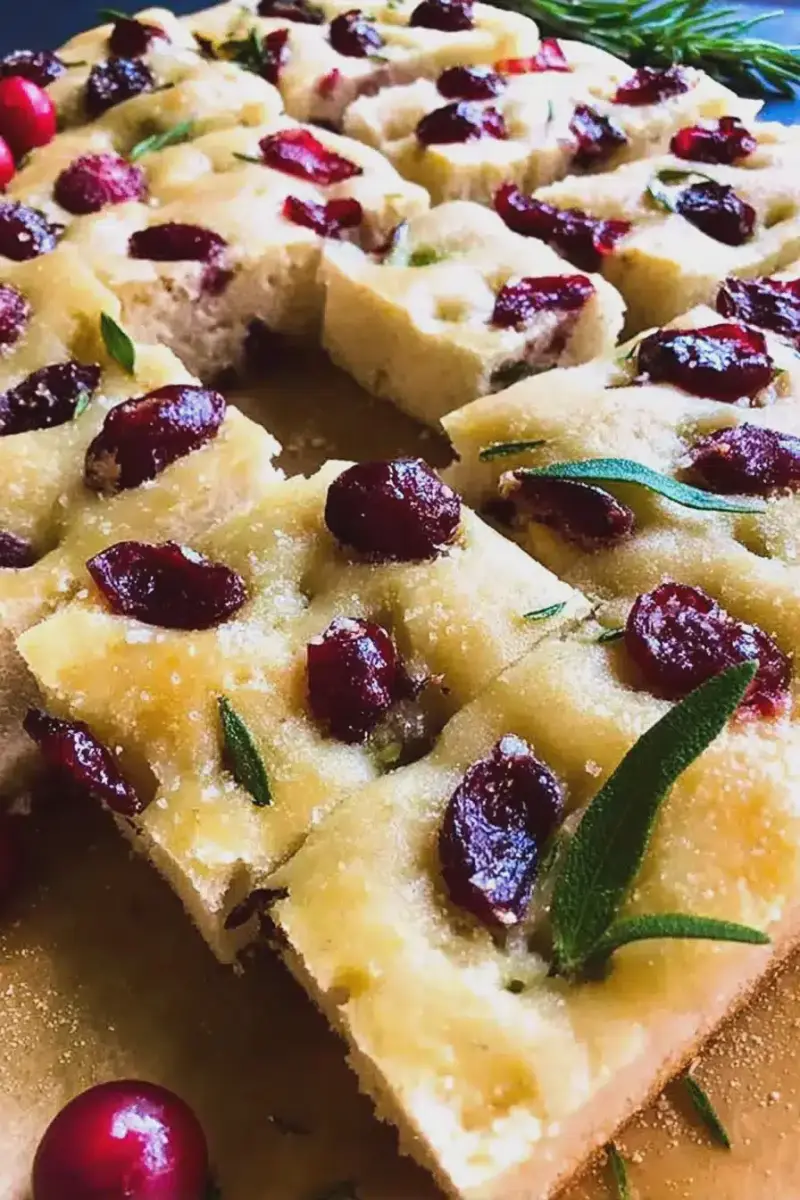
recipe
How I Finally Nailed Rosemary Cherry Focaccia with Sea Salt
May 18, 2026
Cook this nextExplore
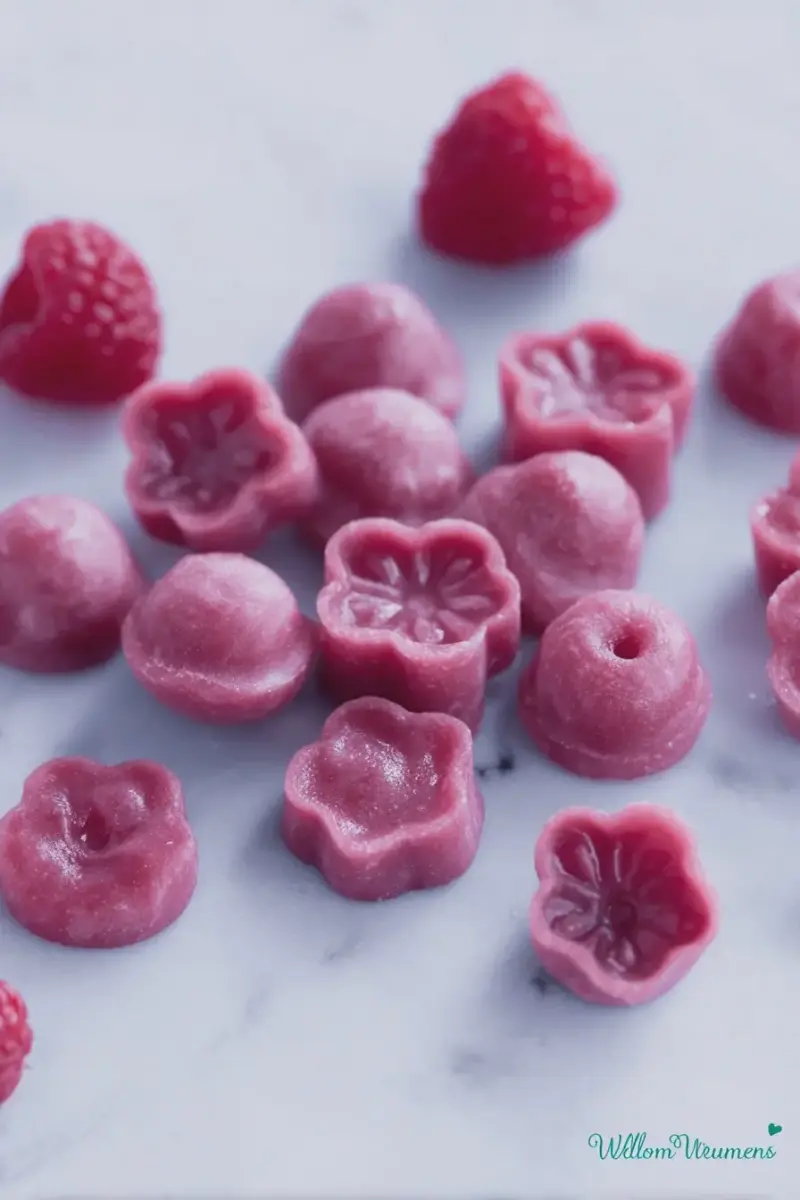
recipe
The Probiotic Gummies I Make Almost Every Week
May 17, 2026
Cook this nextExplore

recipe
How I Make a Mint Matcha Latte in 5 Minutes
May 17, 2026
Cook this nextExplore
Reviews
Be the first to review this.