I make this creamy garlic chicken on nights when I want something comforting but don’t have time for a dozen pots and pans. I love that it all happens in one skillet: quick sear, a few minutes of hands-on sauce-making, and dinner is ready with almost no cleanup. Over the years I tweaked the timing so the chicken stays juicy and the sauce comes out silky every time.

I like using whole garlic cloves that caramelize gently in butter — they give a sweet, mellow garlic note that stands up to the cream without being sharp. In my kitchen I keep the prep simple: flatten the chicken for even cooking, dredge lightly for a golden crust, and reserve the pan fond to flavor the sauce.
I’ve also tested lighter swaps for this recipe so you can tailor it to your weeknight needs — from a lighter cream option to gluten-free flour. I’ll walk you through the tiny tricks I use to keep the sauce lump-free and the chicken perfectly tender.
Why This Creamy Garlic Chicken Works for Busy Weeknights
This recipe is built for evenings when time is short but you still want a satisfying, home-cooked meal. Using a single skillet limits dishes; the short prep time and easy assembly mean dinner is on the table fast. The method is flexible, so you can swap a few ingredients to match dietary needs without changing the overall technique.
Visually, the dish is inviting: golden-browned chicken set against a glossy, pale sauce studded with caramelized garlic and a sprinkle of fresh parsley. The aroma of browned chicken and slowly sweetening garlic fills the kitchen while you finish the sauce — comforting and encouraging when you’re scrambling after work.
Everything You Need for Creamy Garlic Chicken
- * Chicken breasts – The main protein; slice and pound thin for quick, even cooking. Thighs can be used for more richness.
- * Flour – Used to dredge the chicken and to thicken the sauce; whole grain or gluten-free flour work as swaps.
- * Parmesan cheese – Adds savory depth and a touch of saltiness; reduce or omit for a lighter version.
- * Butter – Builds the roux and gives the sauce a smooth mouthfeel; can be reduced if you prefer oil-based options.
- * Garlic cloves – Whole cloves caramelized in the pan are key for sweet, mellow garlic flavor; fresh garlic is best over pre-minced.
- * Stock or broth – The sauce base; low-sodium or vegetable stock can be used for a lighter or vegetarian-adjacent option.
- * Heavy cream – Creates a rich, silky finish; use half-and-half or Greek yogurt mixed with a splash of stock for a lighter swap.
- * Seasonings – Italian herbs, onion powder, mustard powder and a splash of soy or Worcestershire build savory complexity; adjust to taste.
These ingredients show bright colors in the pan — golden seared chicken, pale cream sauce, and specks of green parsley — which makes weeknight dinner feel special without extra work.
How to Make Creamy Garlic Chicken (Step-by-Step)
- Pat the chicken dry, slice if needed, and pound to an even thickness so it cooks quickly and evenly.
- Season both sides and dredge lightly in the flour-and-cheese mix; shake off excess so you get a thin, crisp crust rather than a gummy coating.
- Heat oil in a large skillet until shimmering, then sear chicken in batches over medium-high heat until golden on each side; don’t crowd the pan or the chicken will steam instead of sear.
- Remove chicken to a plate and lower the heat to medium-low before starting the sauce — this protects the butter and prevents burned garlic.
- Melt butter, scrape up any browned bits from the pan, add whole garlic cloves and let them soften and caramelize slowly; this builds a sweet garlic backbone for the sauce.
- Sprinkle in flour to form a roux and cook briefly until the raw flour smell is gone, stirring constantly.
- Gradually whisk in the stock, bringing the mixture to a gentle boil so it thickens smoothly, then stir in the cream and cheese until silky. If the sauce is too thick, add a splash more stock; if too thin, simmer a bit longer.
- Return the chicken to the skillet with any juices, spoon sauce over the pieces, cover partially and simmer just until the chicken reaches 165°F and is warmed through; then rest for a few minutes before serving to keep it juicy.
For another garlic-forward chicken option, try our garlic lemon chicken for a brighter citrus take that uses similar searing and sauce techniques.
How to Caramelize Garlic for Maximum Flavor
- Use whole peeled garlic cloves rather than minced — they soften and sweeten as they cook instead of turning bitter.
- Start over medium-low heat with butter; the lower temperature lets the Maillard reaction happen gently so the garlic becomes sweet and nutty without burning.
- Keep the garlic moving occasionally so a single side doesn’t scorch; aim for a uniform golden-brown after several minutes.
- If the pan starts to darken too quickly, lower the heat and add a splash of stock to deglaze and control the temperature.
- Timing is important: caramelize the garlic after searing the chicken and before adding the liquids so the browned bits lift into the sauce for extra richness.
The Secret to a Luscious Sauce (No Lumps)
- When adding liquid to the roux, add it in splashes while whisking constantly so the flour hydrates evenly and lumps don’t form.
- Cook the roux briefly to remove the raw flour taste but don’t let it darken too much; a blond roux thickens without adding a toasty flavor that can compete with the garlic.
- Butter acts as a lubricant in the sauce, giving it a smooth sheen — don’t skip it even if you reduce the cream for a lighter version.
- Adjust thickness incrementally: thin with additional stock or thicken by simmering a little longer; a quick whisk and gentle boil will show you the final consistency.
- If small lumps appear, strain the sauce or blitz briefly with an immersion blender for a perfectly smooth finish.
Searing vs. Crowding: Get a Golden Crust Every Time
- Sear over medium-high heat in a hot pan so the surface proteins brown quickly and develop flavor through the Maillard reaction.
- Work in batches so each piece has room; crowded meat releases steam, which prevents crust formation and gives a pale, soggy exterior.
- Limit flipping — let the chicken form a crust before turning so it releases naturally from the pan.
- Use an instant-read thermometer to check doneness rather than relying on time alone, then rest the chicken briefly so the juices redistribute.
Pro Tip for Creamy Garlic Chicken: Timing & Temperature
- Bring chicken to an even thickness so it hits the temperature you want at the same time — this shortens cook time and prevents overcooking.
- The safe internal temperature for cooked chicken is 165°F; pull the chicken off a few degrees before the final temp and let carryover heat finish it.
- Rest cooked chicken for 3–5 minutes under a loose tent of foil; this keeps the meat juicy when you slice it.
- When serving, keep the skillet over very low heat to maintain sauce temperature without breaking the cream.
Serving and Pairing Suggestions (Sides, Wine & Starches)
This dish pairs beautifully with creamy mashed potatoes or simple roasted green beans for a classic plate. For a heartier starch, buttered noodles or rice soak up that garlicky sauce nicely. A great side to consider is garlic butter spaghetti, which complements the flavors in the chicken beautifully.
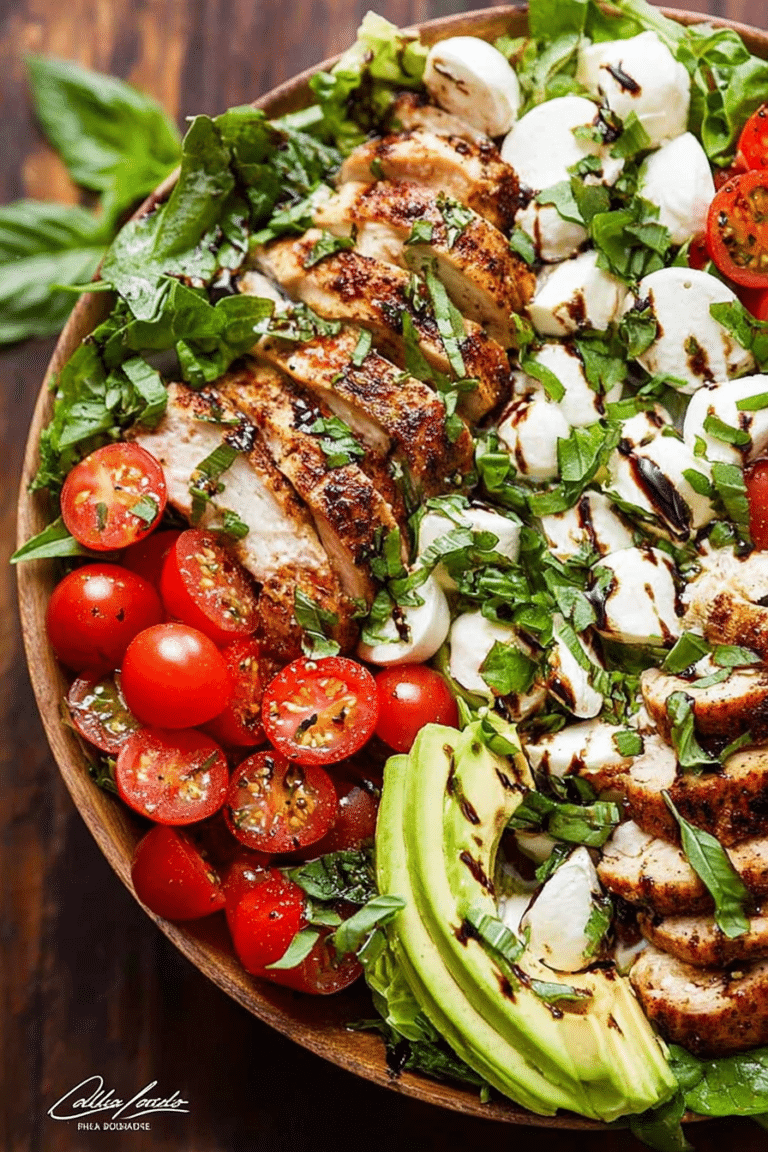
For a lighter meal, pair this dish with bright greens — try it with green goddess chicken salad wraps on the side or a crisp green salad to cut the richness.
Wine pairings: a medium-bodied white like Chardonnay or a dry Viognier complements the creamy sauce; if you prefer red, a light Pinot Noir won’t overpower the garlic and cream.
How to Store, Reheat, and Make-Ahead Creamy Garlic Chicken
- Store leftover chicken and sauce together in an airtight container in the refrigerator and consume within 3–4 days for best quality.
- To reheat without drying the chicken, warm gently over low heat on the stove, adding a splash of stock or cream to bring the sauce back to a silky consistency.
- For make-ahead meals, prepare the sauce and chicken separately; reheat together briefly so the chicken doesn’t overcook while warming.
- Freeze portions in freezer-safe containers if needed — thaw overnight in the fridge before reheating for best texture.
Variations: Different Proteins or Plant-Based Alternatives
- Chicken thighs — slightly longer cook time but more forgiving and extra juicy; sear until crisp and finish in the sauce.
- Pork cutlets or turkey cutlets — use the same technique but adjust sear time for thickness.
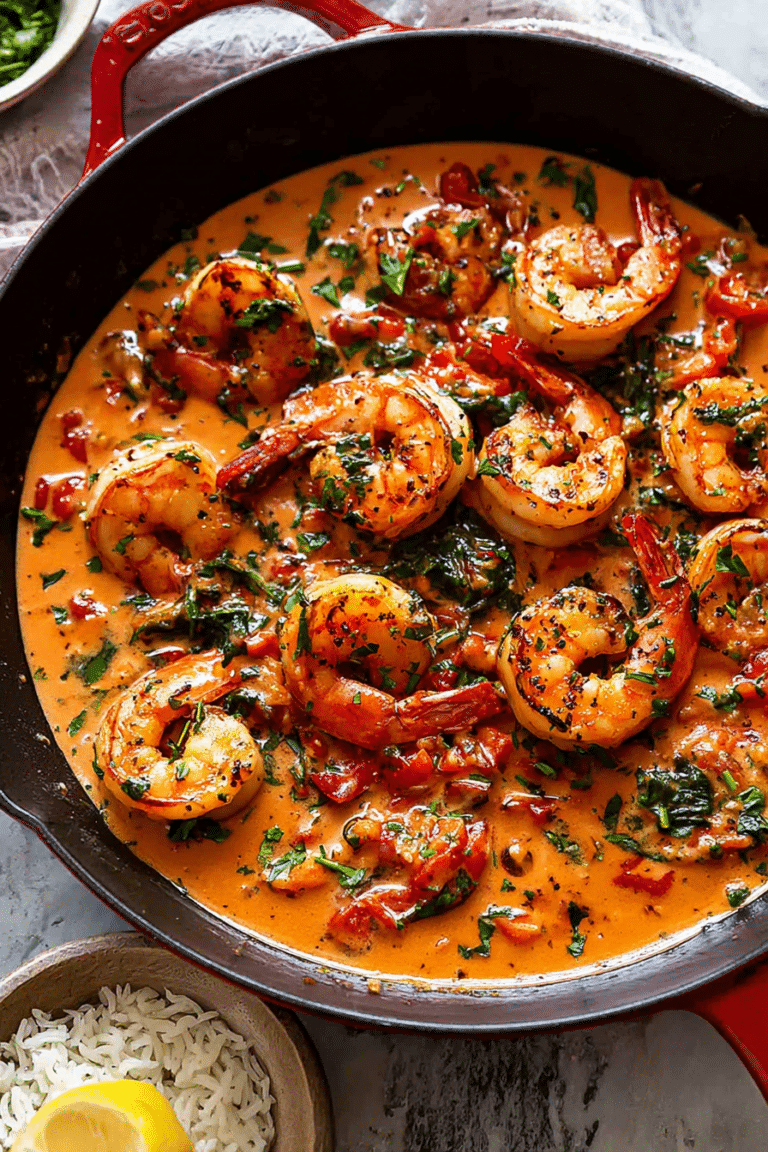
- Shrimp — cook quickly in the hot pan and finish in the cream sauce for a quicker take; try our creamy garlic shrimp for inspiration: creamy garlic shrimp.
- Plant-based option — firm tofu or seitan seared until golden, then simmered gently in the sauce; use vegetable stock and a dairy-free cream to keep it vegan-friendly.
- Herb variations — swap thyme for rosemary or add a squeeze of lemon to brighten the sauce for a fresher finish.
Troubleshooting
- Sauce is grainy — whisk vigorously while adding liquid, and strain or blend if small lumps persist.
- Garlic tastes bitter — you likely cooked it too hot; reduce the pan temperature and start again with fresh cloves.
- Chicken is dry — either it overcooked or you didn’t let it rest; pull off heat a few degrees before 165°F and rest briefly.
- Pan fond is stuck and burning — deglaze immediately with a splash of stock and scrape any stuck bits before they scorch further.
Frequently Asked Questions
Can I use chicken thighs instead of chicken breasts for this recipe?
Absolutely! Chicken thighs will work great in this recipe, adding more flavor and juiciness.
How can I make this dish healthier?
You can use lower-fat cream or a non-dairy alternative and reduce the amount of cheese. You can also serve it with a side of steamed vegetables instead of mashed potatoes.
What can I substitute for heavy cream?
You can substitute heavy cream with half-and-half, whole milk mixed with a little flour, or even coconut milk for a dairy-free option.
Can I prepare Creamy Garlic Chicken in advance?
Yes, you can prepare the sauce and chicken in advance and store them separately. Just reheat them together before serving.
What sides pair well with Creamy Garlic Chicken?
Mashed potatoes, roasted green beans, or a fresh salad make excellent sides for this dish.
Creamy Garlic Chicken
Ingredients
Method
- Combine the chicken broth, bouillon cube, soy sauce, onion powder, mustard powder, and thyme in a large measuring cup with a spout and set aside.
- Combine flour and Parmesan cheese on a plate and measure out remaining ingredients prior to beginning.
- Slice the chicken in half lengthwise to create 2-3 thinner slices. Cover with saran wrap and use the textured side of a meat mallet to pound it to ½ inch thick. Pat completely dry.
- Season each side with Italian seasoning and salt/pepper. Dredge in the flour mixture and tap off excess.
- Heat olive oil in a large skillet over medium-high heat. Sear the chicken in batches for 4-5 minutes per side, until a golden crust has developed. Set aside.
- Melt the butter in the skillet over medium/medium-low heat. Use a silicone spatula to clean the bottom of the pot, this will add more flavor to the sauce. Add the garlic cloves and let them soften and caramelize for 6-7 minutes.
- Add the flour and cook for 1-2 minutes, until the raw flour smell is gone.
- Add the chicken broth mixture (from step 1) in splashes, stirring continuously.
- Stir in the cream. Bring to a boil, then reduce heat to low. Gradually stir in the Parmesan cheese.
- Add the chicken back to the skillet along with any juices from the plate. Spoon the sauce on top. Cover partially and simmer for 5 minutes.
- Garnish with parsley and serve with mashed potatoes and roasted green beans!