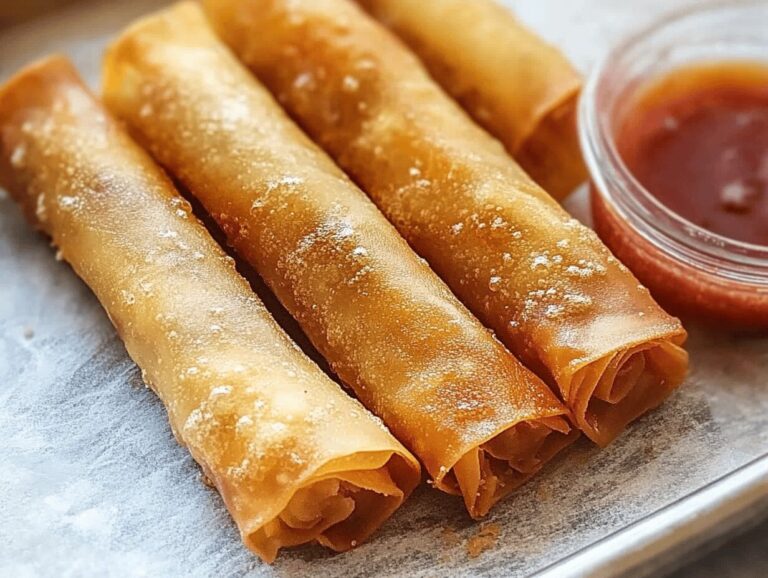
Homemade Cheese Breadsticks
Ah, the joy of Italian nights! 🌟 Picture this: a cozy kitchen filled with the sounds of laughter and the aroma of freshly baked breadsticks wafting through the air. Every bite of these Homemade Cheese Breadsticks takes me back to the evenings spent with family around the table, sharing stories and enjoying each other’s company. The buttery, cheesy goodness of these breadsticks has become a staple in our family traditions, never failing to bring smiles to everyone’s faces! So, grab your apron and let’s whip up a batch! 🍞🧀
Understanding the Recipe
This recipe for homemade cheese breadsticks is not just a delicious treat; it’s a piece of culinary storytelling, deeply rooted in Italian tradition. Breadsticks, or “grissini,” originated in Northern Italy, specifically from the region of Piemonte. These delightful snacks were created as a way to use up leftover dough and have evolved into a cherished accompaniment to meals, especially in Italian households. The flavors of these breadsticks are a harmonious blend of savory cheese, aromatic herbs, and the subtle warmth of garlic. This fusion creates an irresistible aroma that beckons everyone to the kitchen, making it perfect for gatherings, parties, or simply as a comforting snack for a cozy night in.
Why You’ll Love This Recipe
- Perfect for special occasions: Whether it’s a holiday gathering or a simple family dinner, these cheese breadsticks are a hit.
- Quick and easy preparation: With just a few ingredients and minimal prep time, you can have these delicious breadsticks ready in no time.
- Rich in flavor: The combination of mozzarella and Parmesan, paired with herbs and garlic, gives these breadsticks a flavor profile that is simply irresistible.
Ingredient Breakdown
To create the perfect cheese breadsticks, you will need the following ingredients:
- 1 pound (550g) pizza dough: You can either make this from scratch or purchase it from your local grocery store. Using homemade dough allows for a more personalized touch, while store-bought saves time.
- 2 tablespoons butter, melted: The melted butter adds richness and helps achieve a golden crust. If you prefer, you can substitute olive oil for a healthier option.
- 1 teaspoon garlic powder: This ingredient enhances the flavor profile, giving the breadsticks a delightful aroma and taste. Fresh minced garlic can also be used for a more robust flavor.
- 2 cups (225g) shredded mozzarella cheese: Mozzarella is the star of this recipe, providing that gooey, stretchy quality we all love in cheesy breadsticks.
- ⅓ cup (40g) grated Parmesan cheese: Parmesan adds a salty, nutty flavor that beautifully complements mozzarella.
- ½ teaspoon dried basil: This herb brings a touch of freshness and is a classic pairing with cheese.
- ¼ teaspoon dried oregano: Oregano adds depth to the flavor and is often found in Italian cuisine.
- ¼ teaspoon salt, optional: Depending on your preference and the saltiness of your cheese, you may or may not want to add extra salt.
For those with dietary restrictions, you can easily modify this recipe. Gluten-free pizza dough is available for those avoiding gluten, and you can also use dairy-free cheese alternatives for a vegan version. Experimenting with different cheeses can lead to exciting flavor combinations, so feel free to get creative!
Essential Ingredients
Each ingredient plays a crucial role in the overall taste and texture of the breadsticks. For instance, using olive oil instead of butter can make the recipe lighter and bring a distinct flavor. Additionally, garlic powder not only enhances the aroma but also elevates the taste profile. Mozzarella provides that classic stretchy texture, while Parmesan contributes richness and a savory kick. Altogether, these ingredients create a delightful snack that is sure to impress your family and friends.
Step-by-Step Instructions
Now that we have all our ingredients ready, let’s dive into the preparation of these mouthwatering cheese breadsticks.
- Preheat your oven: Start by preheating your oven to 425°F (220°C). This high temperature ensures a crispy, golden crust. If you are using a pizza stone, place it in the oven while it preheats to get it nice and hot.
- Prepare the baking surface: While the oven is heating, lightly grease a baking sheet, pizza stone, or pizza pan. This step is crucial as it prevents the breadsticks from sticking, allowing for easy removal after baking.
- Shape the dough: Roll or stretch the pizza dough into a rectangle measuring approximately 12×10 inches. Don’t worry if it’s not perfect; rustic shapes add to the homemade charm!
- Combine butter and garlic: In a small bowl, mix the melted butter and garlic powder. Brush this flavorful mixture generously over the shaped dough, ensuring every inch is covered.
- Add the cheeses and herbs: Sprinkle the shredded mozzarella evenly across the dough, followed by the grated Parmesan, dried basil, oregano, and optional salt. The more cheese, the better!
- Bake: Place the prepared dough in the oven and bake for 12 to 15 minutes, or until the crust is golden brown and the cheese is bubbling. Keep an eye on it to avoid over-baking.
- Slice and serve: Once baked, remove the breadsticks from the oven and let them cool for a minute. Use a sharp knife or pizza cutter to slice them into strips, and serve warm. If desired, pair with pizza sauce for dipping.
As a tip, you can also sprinkle some more herbs or cheese on top just before baking for added flavor and presentation. Avoid opening the oven door too frequently during baking, as this can lead to uneven cooking.
Common Mistakes to Avoid
To ensure the perfect dish, avoid these common mistakes: first, don’t rush the preheating process. A properly heated oven is essential for achieving that crispy texture. Second, be cautious with the amount of salt added, especially if your cheeses are already salty. Lastly, allow the breadsticks to cool slightly before slicing to maintain their shape.
Variations and Customizations
One of the best parts about cheese breadsticks is their versatility. Feel free to explore different cheese combinations; for instance, adding cheddar or pepper jack can give a spicy twist. For a Mediterranean flair, consider incorporating sun-dried tomatoes or olives. You can also experiment with different herbs like rosemary or thyme to tailor the flavor to your preference. Additionally, why not try a sweet version? By substituting the garlic with cinnamon and sugar, you can create a delightful dessert breadstick perfect for dipping in chocolate or cream cheese frosting!
Serving Suggestions
When it comes to serving these cheese breadsticks, the options are endless. They make an excellent appetizer before a hearty pasta dish or can stand alone as a snack during movie nights. Pair them with a light salad topped with a tangy vinaigrette for a balanced meal. For a more indulgent experience, consider serving them with a rich marinara sauce or garlic aioli for dipping. Don’t forget to garnish with fresh herbs or a sprinkle of extra cheese for that wow factor!
Best Side Dishes
- Serve with fresh bread or rice to complement the flavors.
- Pair with a light salad to balance the richness of the cheese.
Tips for Success
To achieve the best results with your cheese breadsticks, keep these pro tips in mind:
- Use high-quality cheese for maximum flavor; fresh mozzarella and aged Parmesan can elevate the dish significantly.
- Don’t skip the resting time for your dough, especially if you’re making it from scratch. This allows the gluten to relax, making it easier to shape.
- Experiment with different toppings, such as crushed red pepper flakes for a spicy kick or sesame seeds for added texture.
Expert Cooking Tips
For the best results, make sure to keep an eye on the baking time. Every oven is different, and what works for one may not for another. If your breadsticks are browning too quickly, consider covering them loosely with aluminum foil to prevent burning while ensuring they cook through. Finally, remember that these breadsticks are best enjoyed fresh out of the oven, but they can be stored in an airtight container for up to three days, reheating them in the oven to restore their delicious texture.
FAQs
Let’s address some common questions you might have about making these cheese breadsticks.
Can I make this in advance?
Yes! You can prepare the dough and shape the breadsticks in advance. Cover them tightly with plastic wrap and refrigerate for up to 24 hours. When you’re ready to bake, simply let them come to room temperature for about 30 minutes before following the baking instructions. This makes them a perfect option for parties or gatherings!
Conclusion
This recipe for homemade cheese breadsticks is not just about satisfying your cravings; it’s about bringing people together and creating memories. The delightful combination of flavors and textures makes these breadsticks a must-try for any occasion. So, gather your loved ones, whip up a batch, and share the joy of these cheesy delights. Don’t forget to share this recipe with your friends and family, and let them enjoy the magic of homemade breadsticks too!


