I make this homemade Tabasco sauce recipe every late summer when the garden peppers are at their best — there’s something about working through a basket of bright red Tabasco chilies that turns an ordinary afternoon into a small celebration. The first thing that hits you is the smell: raw peppers have a sharp green brightness, but once they start fermenting that sharpness softens into a tangy, almost fruity note. Compared to the bottled stuff, homemade Tabasco feels fresher, more electric on the palate, and you can tune the heat and salt to your liking.
Tabasco-style sauce has a long, simple history — it’s essentially a fermented pepper mash thinned with vinegar. That fermentation is the secret to the layered tang you can’t really get from just simmering peppers and vinegar. But the quick method (no ferment) still makes a bright, spicy condiment in a fraction of the time. In this post I walk you through both paths: a true fermented mash method and a quick simmer method, along with my real-kitchen observations, troubleshooting tips, and serving ideas so you actually get a good bottle at the end.
Ingredients Needed for Tabasco Sauce
- Tabasco peppers – the classic base; they give that fruity, vinegary heat. If you can’t source them, use a similar small red cayenne-type pepper.
- Salt – essential for fermentation and flavor balance; kosher or sea salt works. It also controls microbial activity during fermenting.
- Unchlorinated water – for the brine when fermenting; chlorine can inhibit the natural bacteria you want.
- White wine or distilled white vinegar – adds acidity, preserves the final sauce, and brightens the flavor.
- Optional garlic – for savory depth if you like a garlic-forward finish; add during cooking or in the mash.
- Optional add-ins (fruits, smoked peppers, herbs) – used to vary flavor; a little fruit or smoke changes the profile without losing that Tabasco identity.
Step-by-Step Guide to Fermenting Tabasco Peppers (homemade tabasco sauce recipe)
I fermented my first batch in a mason jar on the counter and learned a lot the hard way — most importantly, keep the peppers submerged. Here’s the reliable, tested ferment method I use now. The quantities below match a small home batch that yields roughly a few jars of finished sauce.
- Prep the peppers: Weigh or eyeball about 5 ounces of Tabasco peppers. Remove stems, roughly chop (you can keep seeds). I like to pulse them once in a food processor to break them up; it makes packing easier. The flesh is fragrant and a little grassy when raw — expect that sharp aroma to mellow during fermentation.
- Make a 4% brine: Dissolve 2 tablespoons sea salt into 1 quart of unchlorinated water. This gives roughly a 4% brine which is gentle enough for the naturally occurring lactobacillus to thrive. If your tap water is chlorinated, use bottled or boiled-then-cooled water.
- Pack the jar: Tightly pack the chopped peppers into a clean jar, leaving about an inch of headspace. Pour the brine over the peppers until they’re fully submerged. Press them down with a spoon or a fermentation weight; trapped air pockets are where mold can start. You’ll notice tiny bubbles within 24–48 hours as fermentation gets active.
- Seal and burp: Screw on a lid but don’t seal it completely tight — you want to let gases escape. I usually unscrew the lid once a day to release pressure (a process called “burping”) or use an airlock if I’m set up for it. Place the jar out of direct sun at a stable, cool room temperature (55–75°F is ideal).
- Ferment timeframe: Expect the most vigorous activity in week 1–2. Taste the brine after about a week: it should be tangy and slightly fizzy. For this Tabasco-style mash, 1–2 weeks gives a lively, bright tang; ferment longer — several months — if you want deeper complexity (traditional Tabasco ages much longer). I’ve left a jar for a month once and the flavor became richer and more rounded, but watch closely for any off smells or surface growth.
- Signs of a good ferment: The brine turns cloudy, little bubbles form, and the aroma goes from sharp pepperiness to pleasantly acidic and bright. If you see fuzzy mold (not the harmless kahm yeast, which is whitish and film-like), discard the batch. Prevention: keep the peppers submerged and the jar clean.
Cooking Your Homemade Tabasco Sauce
Once the ferment has quieted down (activity diminishes after 1–2 weeks), it’s time to turn that mash into sauce. I do this step on my stovetop with attention — hot pepper steam is intense, and you don’t want it in your eyes.
- Transfer mash to a pot: Pour the fermented peppers and brine into a saucepan. If you prefer a thicker sauce, you can strain and reserve some brine or discard it and add plain water instead — more brine equals more salt. For the small batch I reference, I add the fermented mash plus about 1 cup white wine vinegar.
- Alternative (non-fermented quick method): If you skipped fermentation, combine chopped Tabasco peppers (about 5 ounces), 1 cup white wine vinegar, and 1/4 teaspoon salt in a small pot.
- Heat carefully: Bring the mixture to a quick boil, then reduce to a gentle simmer for about 15 minutes—this softens the peppers and melds flavors. You’ll smell that clean vinegar tang with a warming pepper note. Don’t overboil; too much aggressive heat can dull the fresh pepper brightness. Keep a window cracked or use an exhaust fan — the steam can make your eyes water.
- Blend: Cool slightly, then transfer to a heavy-duty blender or food processor. Blend until silky smooth. I usually blend in two short bursts, scraping the sides, so the texture is even and all the seeds are broken down.
- Strain for that classic texture: Pass the blended sauce through a fine-mesh sieve or chinois to remove solids. Press with the back of a spoon — you want a thin, bright, pourable sauce, not a puree. The strained sauce should be thin, glossy, and slow-moving, with a sharp vinegary tang tempered by fermented depth.
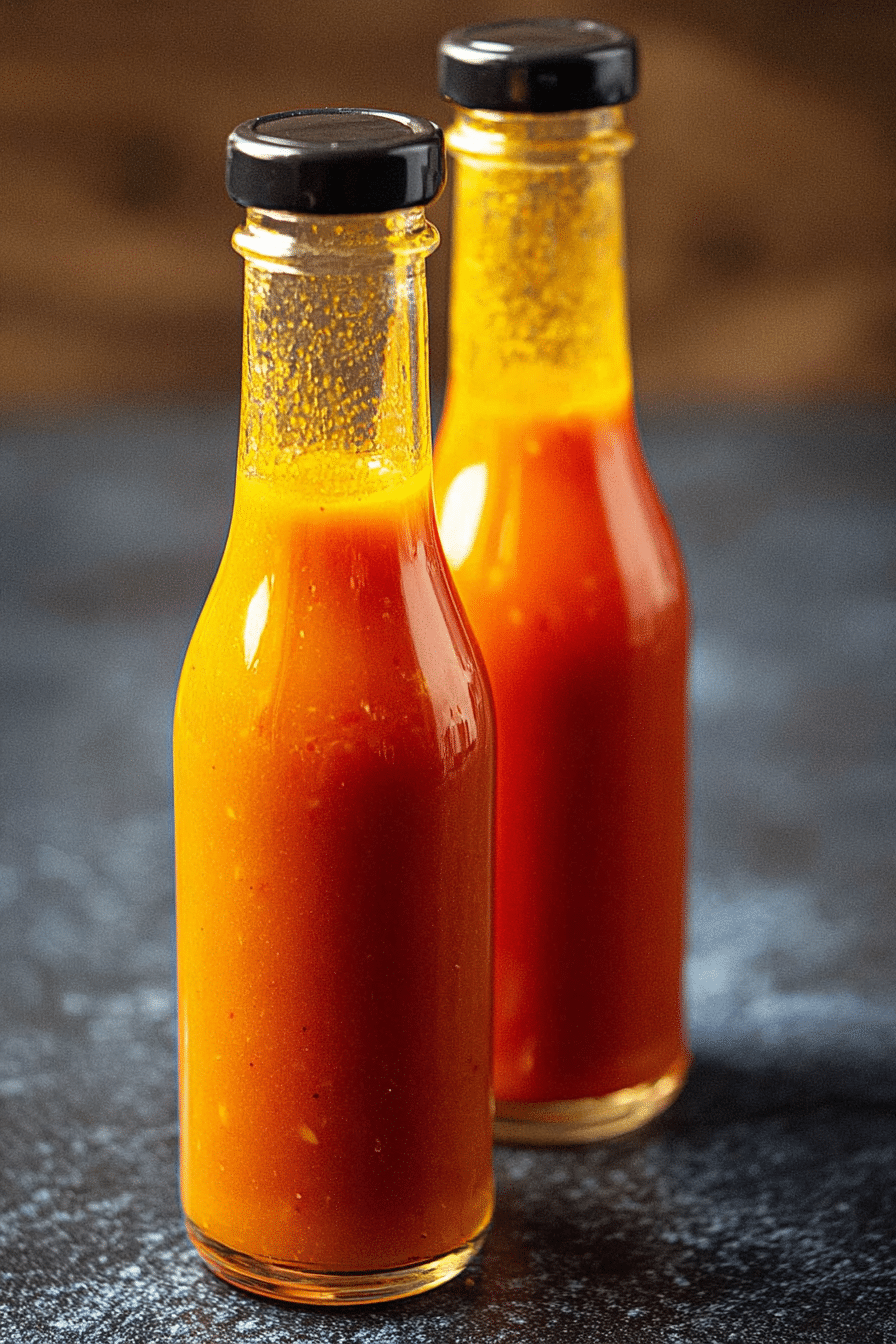
- Bottle while hot: Pour into sterilized hot sauce bottles or small glass bottles. I pour through a funnel, cap when still warm, and refrigerate once cooled. Hot sauce is acidic and keeps well, but handling it cleanly matters for safety.
Customizing Heat Levels and Flavor Profiles
Part of the joy here is personalization. I’ve tried dozens of variations: a smoky batch with a few smoked chilis, a garlicky run that’s gone into pasta, and a fruit-sweet version with a handful of mango that the kids adored.
- Change the pepper – Use hotter chilies for more kick (e.g., cayenne or Thai chiles) or milder ones for a gentler sauce. Tabascos sit around medium heat with a bright fruitiness — swapping peppers alters both heat and underlying flavor.
- Remove or keep seeds – Seeds add heat and texture; scooping some out softens the burn. If your batch tastes too sharp, remove seeds next time or strain more aggressively.
- Vinegar choices – White wine vinegar gives a clean tang; distilled white keeps the profile neutral. Apple cider or rice vinegar will shift the sauce toward fruitier or milder notes. Maintain a vinegar with about 5% acidity for preservation.
- Add aromatics – Roasted garlic, a sprig of thyme, or a slice of ginger can add complexity. Add aromatics to the simmer step so they release their flavor, then strain.
- Sweet turns – Small amounts of fruit (mango, pineapple) balance heat with a fruity counterpoint. Keep fruit use conservative so the sauce remains tangy, not syrupy.
If you’re curious about even more dramatic twists, check out this idea:
If you want bold, tangy variations, check out our recipe for dill pickle hot sauce to spark ideas for unique flavor twists.
Troubleshooting Common Hot Sauce Issues
Even seasoned home cooks run into issues with hot sauce — I’ve had a jar that went flat and another that was too salty. Here’s how I fix common problems.
- Ferment smells off: Expect a pleasantly sour tang. If you smell rotten, putrid notes or see fuzzy mold, discard. Often the problem is exposure to air; ensure peppers stay submerged and jars are clean.
- Too salty: Saltiness often comes from using too much brine in the final mix. Thin the sauce with water or more vinegar (taste as you go). Next batch: use less brine or dilute before bottling.
- Too sharp/acetic: If the vinegar is overpowering, give the sauce time — flavors mellow in the fridge over a week. You can also blend in a touch of honey or roasted vegetables to soften sharpness.
- Inconsistent heat: Pepper heat varies by harvest. If a batch is weaker than expected, add a small amount of a hotter pepper or include some seeds. Conversely, dilute with additional vinegar/water if too hot.
- Texture problems: If the sauce is grainy, it likely needs a finer strain or longer blending. Use a finer sieve or cheesecloth and press through slowly.
FAQ
- Can I make Tabasco sauce without fermenting the peppers? Yes. You can skip fermentation by simmering chopped Tabasco peppers with vinegar and salt for about 15 minutes, then blending and straining. Fermentation adds deeper, tangy complexity, but the quick method still makes a bright, spicy sauce.
- How long should I ferment Tabasco peppers for best flavor? Ferment at least 1 week; the most active fermentation is usually 1–2 weeks. You can ferment longer for more complexity — traditional Tabasco ages for months — but monitor the jar, “burp” gases, and keep peppers submerged in brine to avoid spoilage.
- What vinegar can I use — can I substitute it? White wine vinegar or distilled white vinegar (5% acidity) are common and give a clean tang. Apple cider or rice vinegar can be used but will change the flavor profile. Maintain a vinegar with standard acidity to ensure preservation and consistent taste.
- How long will homemade Tabasco sauce last and how should I store it? Properly bottled and refrigerated, homemade Tabasco can last many months to a year thanks to the vinegar and/or fermentation. For best quality, sterilize bottles, keep refrigerated after opening, and discard if you see mold or off smells.
- How can I adjust the heat and flavor of my homemade Tabasco? Adjust heat by using more or fewer peppers, including/excluding seeds, or blending in hotter or milder varieties. For flavor, add garlic, smoked peppers, herbs, or fruits, or tweak the vinegar-to-brine ratio to balance acidity and saltiness.
Storage and Shelf-Life of Hot Sauce
After bottling, you’ll notice the sauce continues to change — it softens and becomes more harmonious after a few days in the fridge. I always sterilize my bottles (boil for 10 minutes or use a dishwasher cycle with a high-heat setting) and pour the sauce in while it’s still warm to create a good seal.
- Refrigeration vs room temp – With high vinegar and proper sanitation, the sauce is shelf-stable for a while, but I recommend refrigeration after opening. Fridge storage keeps flavors bright and slows any microbial growth.
- Sterilize bottles – Hot water or a dishwasher sanitize step is important. Hot-fill when possible and cap tightly.
- Shelf-life – Expect many months to a year when refrigerated and handled cleanly. Flavor often improves after a few weeks. Discard if you see mold, bubbles where there shouldn’t be, or an unpleasant rotten smell.
For an alternative preservation method and inspiration on sweet-and-spicy flavor combos, try our homemade hot pepper jelly.
Serving Suggestions and Pairings
I keep a small bottle by the stove and use it everywhere: a couple of drops on scrambled eggs, a splash into stews, or a thin line across tacos. The brightness of a Tabasco-style sauce really lifts simple foods.
- Breakfast – Drizzle over eggs, breakfast tacos, or avocado toast for immediate lift.
- Mexican and Tex-Mex – Use as you would any hot sauce on tacos, enchiladas, or as a bright ingredient in marinades.
- Seafood – A Tabasco hit is classic on oysters, shrimp cocktails, or a grilled fish finish.
- Cooking uses – Add to vinaigrettes, bloody marys, marinades, or to finish a bowl of chili. It’s especially good mixed into mayonnaise for a quick spicy spread.
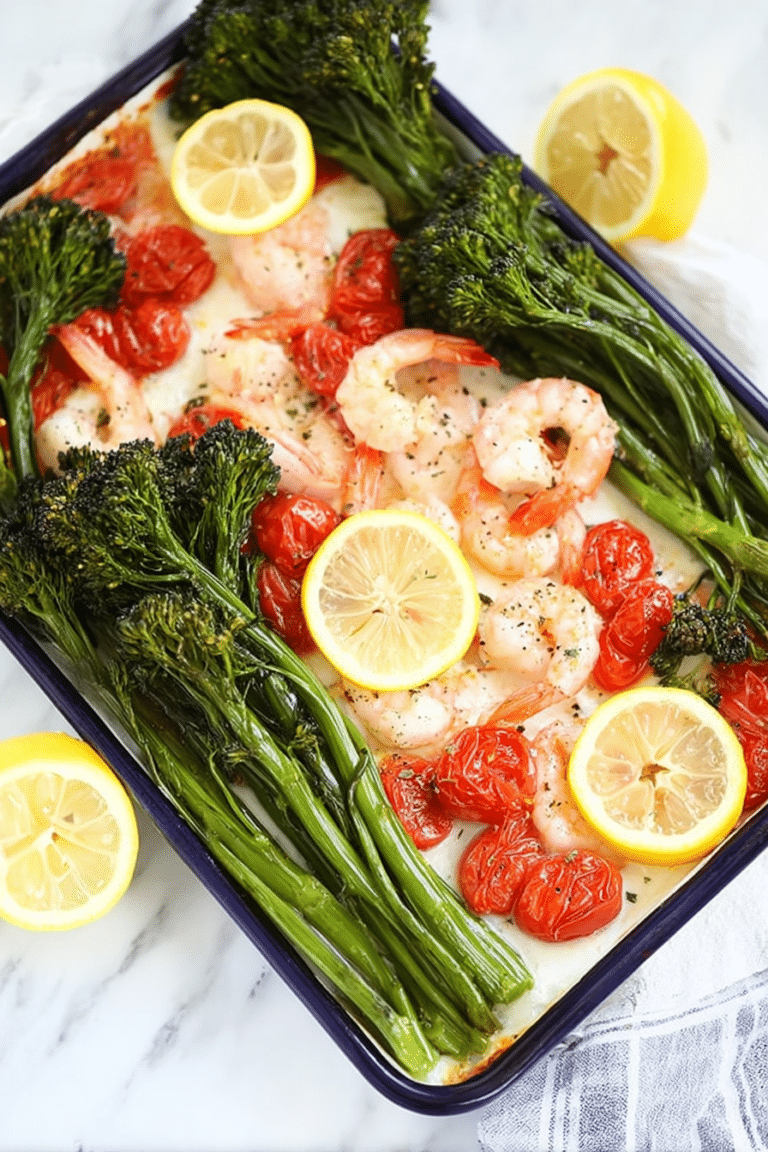
Serve your homemade Tabasco with warm homemade tortillas for tacos, breakfast wraps, or simple dipping.
Brighten up breakfast by drizzling your sauce over a fried egg quesadilla for an extra kick.
Conclusion and Final Tips
Making homemade Tabasco sauce is one of those projects that pays off in both flavor and satisfaction. You’ll learn from the first jar — what your peppers taste like, how salty you prefer things, and whether you lean toward bright quick sauce or the deeper tang of fermentation. Keep notes: record pepper types, fermentation time, and vinegar choices so you can reproduce batches you love.
Final kitchen-tested tips from my experience: always keep peppers submerged during fermentation, taste and adjust acidity before bottling, and strain for a smooth, pourable texture. Don’t be discouraged if the first jar isn’t exactly what you expected — subtle tweaks to salt, vinegar, and heat will get you there. And above all, have fun with it; this is a simple formula that invites experimentation.
Homemade Tabasco Sauce Recipe
Ingredients
Method
- First, ferment the tabasco peppers. You can process them to coarsely chop them or rough chop them with a knife. Pack them into a jar, leaving at least 1 inch of head space. The peppers may rise a bit when fermenting.
- Next, mix 1 quart unchlorinated water with 2 tablespoons sea salt (4% brine solution). Pour just enough brine over the peppers to cover them, pressing them down a bit as you go.
- Screw on the lid and set the jar away from direct sunlight to ferment for at least 1 week.
- After 1-2 weeks, the fermenting activity will diminish and the brine will turn cloudy and taste acidic.
- Pour the fermented tabasco peppers, including brine, into a pot along with vinegar. Bring to a quick boil, reduce heat, and simmer for 15 minutes.
- Cool slightly then add to a food processor. Process until smooth.
- Strain the mixture to remove the solids. Pour into hot sauce bottles and enjoy.