I have a particular memory of passing a tray of lemon curd tartlets across a sunlit table at a spring tea: the little domes of glossy yellow, a dusting of icing sugar, and a hush of citrus that made everyone smile. In my kitchen these tartlets became my go-to when I wanted something that looked celebratory but was actually very manageable to make for a crowd. I still remember the first time I shaped them like flowers — they disappeared so quickly I began making extra.
I enjoy the ritual of assembling the station: cool butter at hand, lemons waiting to be zested, pastry sheets rolled and chilled. These tartlets are especially forgiving — a slightly shy bake on the pastry or a curd that needs another minute on the hob is easy to correct, and I’ll share those little fixes below. My aim is that you feel confident preparing them ahead for a calm hosting day.
If you love a classic with a pretty twist, these lemon curd tartlets fit any tea party or special occasion. They are compact, fragrant, and invite guests to take one (or two) while they mingle.
Why Lemon Curd Tartlets Are Ideal for Tea Parties and Special Occasions
Lemon curd tartlets bring a burst of colour to a dessert table and a fresh citrus note that contrasts beautifully with richer finger sandwiches and scones. Their compact size makes them effortless to serve and easy for guests to handle during a bustling gathering. Visually, the glossy yellow curd against a golden shortcrust is immediately inviting; scent-wise, a tray warms the room with bright lemon oil from the zest.
They’re versatile: arrange them on a tiered stand, mix them among petite pastries on a platter, or present a single flower-shaped tartlet as part of a plated dessert. Hosts often choose bite-sized pastries for convenience — many event planners note that small tarts and petits fours are among the most requested sweets for afternoon tea, often preferred for their portability and portion control.
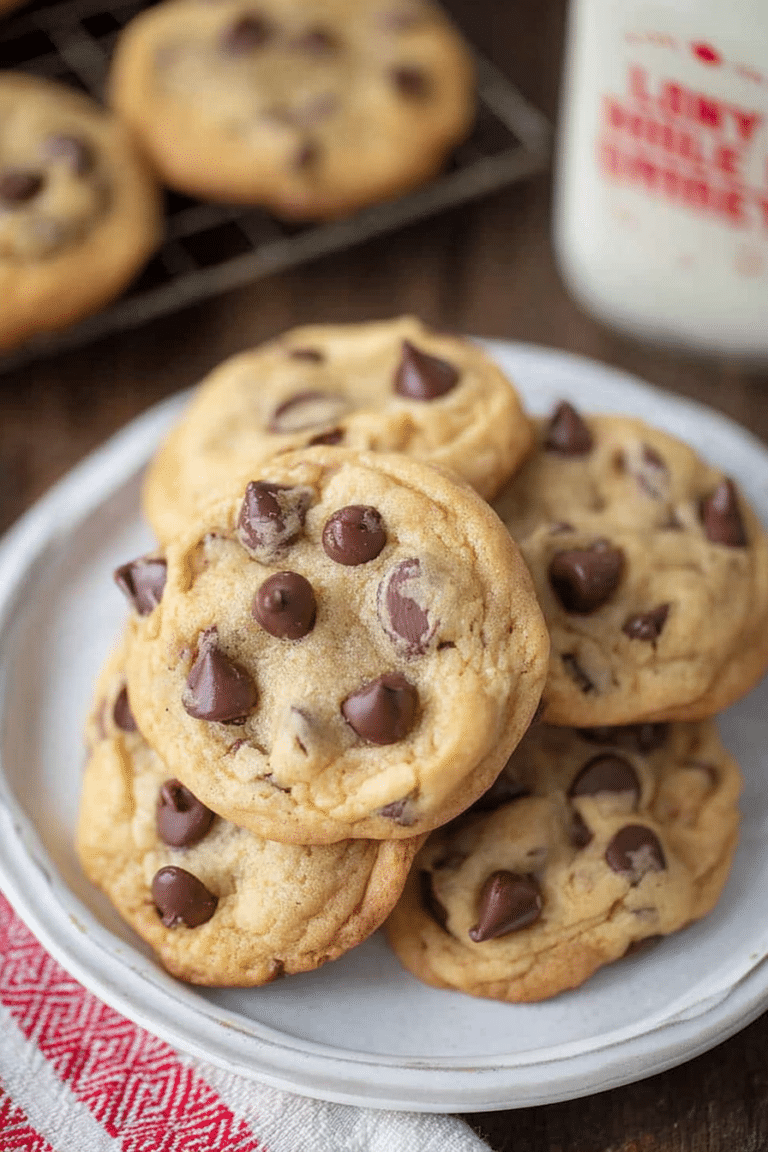
For a balanced dessert selection, consider pairing them with a buttery cookie. Complement your tea party with a selection of desserts, including glazed lemon cookies which balance perfectly with the tartness of the lemon curd.
Everything You Need for Lemon Curd Tartlets
Lay everything out before you begin so you can move smoothly through the recipe. Using room temperature ingredients is important for a smooth curd and a pliable pastry. A fine sieve is essential to remove any stray bits of zest or coagulated egg for a silky finish. For consistency, I prefer a trusted ready-rolled shortcrust brand — something that keeps its shape and bakes to a tender crumb.
- * Shortcrust pastry – The case; ready-rolled pastry keeps things simple, though homemade shortcrust gives excellent flavour.
- * Lemons (zest and juice) – The source of bright, fresh flavour; always zest before juicing to preserve the oils.
- * Sugar (caster or fine) – Sweetens and helps the curd set with a glossy sheen.
- * Eggs (yolks and an extra whole) – Provide richness and the custard-like structure in the curd.
- * Unsalted butter – Adds silkiness and sheen; use room temperature butter so it blends smoothly.
- * Icing sugar – For a light dusting before serving.
- * Tools – A small round or flower-shaped cutter, a mini tart or muffin tray, a fine sieve, a heatproof bowl or jug for whisking, and a sturdy whisk.
The Secret to a Crisp Shortcrust Case Every Time
A crisp shortcrust case starts with the right pastry handling and a good chill. Slightly warm pastry produces a softer texture and can shrink during baking; cold pastry keeps its shape and bakes to a flaky, crumbly finish. I always rest and chill my stamped cases to relax the gluten before they go into the oven.
- Keep the pastry cool while you work; if it becomes soft or sticky, return it to the fridge briefly — that tightens the fat and prevents shrinkage.
- Press the pastry firmly into the tray so the sides are even; prick the base with a fork to stop large bubbles forming.
- Chill the filled tray for at least an hour to relax the pastry and reduce oven spring; chilled pastry holds its shape and browns more evenly.
- Bake until the edges and bases show a pale golden colour. A deep golden brown means it’s overbaked and will be drier; a pale, even gold is the sweet spot.
- Troubleshooting:
- If the pastry shrinks, you likely skipped chilling — pop it back in the fridge and re-form the edges before rebaking.
- If the base is soggy, docking with a fork was missed or the oven temperature was too low — increase the heat slightly and return briefly until the base firms.
How to Make Silky, Zesty Lemon Curd (No Lumps)
Making lump-free lemon curd is all about gentle heat, constant whisking, and finishing with a sieve. The eggs create the custard texture — whisk them smoothly and temper carefully into the warm citrus-sugar mixture. A pinch of salt lifts the brightness of the lemons and rounds out the curd’s flavour.
- Combine lemon zest, lemon juice, sugar, and butter in a saucepan over medium-low heat; stir until the sugar dissolves and the butter melts.
- Whisk egg yolks and the whole egg until smooth in a heatproof jug; slowly pour the eggs into the warm citrus mixture while whisking to temper them.
- Increase the heat slightly and whisk continuously; the curd will thicken and coat the back of a spoon — this usually takes several minutes, so be patient and keep the whisk moving to avoid scrambling.
- Strain the curd through a fine sieve into a bowl to remove any zest fragments or cooked egg — this step guarantees a silky texture.
- Add a pinch of salt at the end to brighten the flavours, then leave the curd to cool slightly before filling pastry cases.
- For detailed tips on achieving the perfect texture, check out our guide on how to make silky lemon curd for your tartlets.
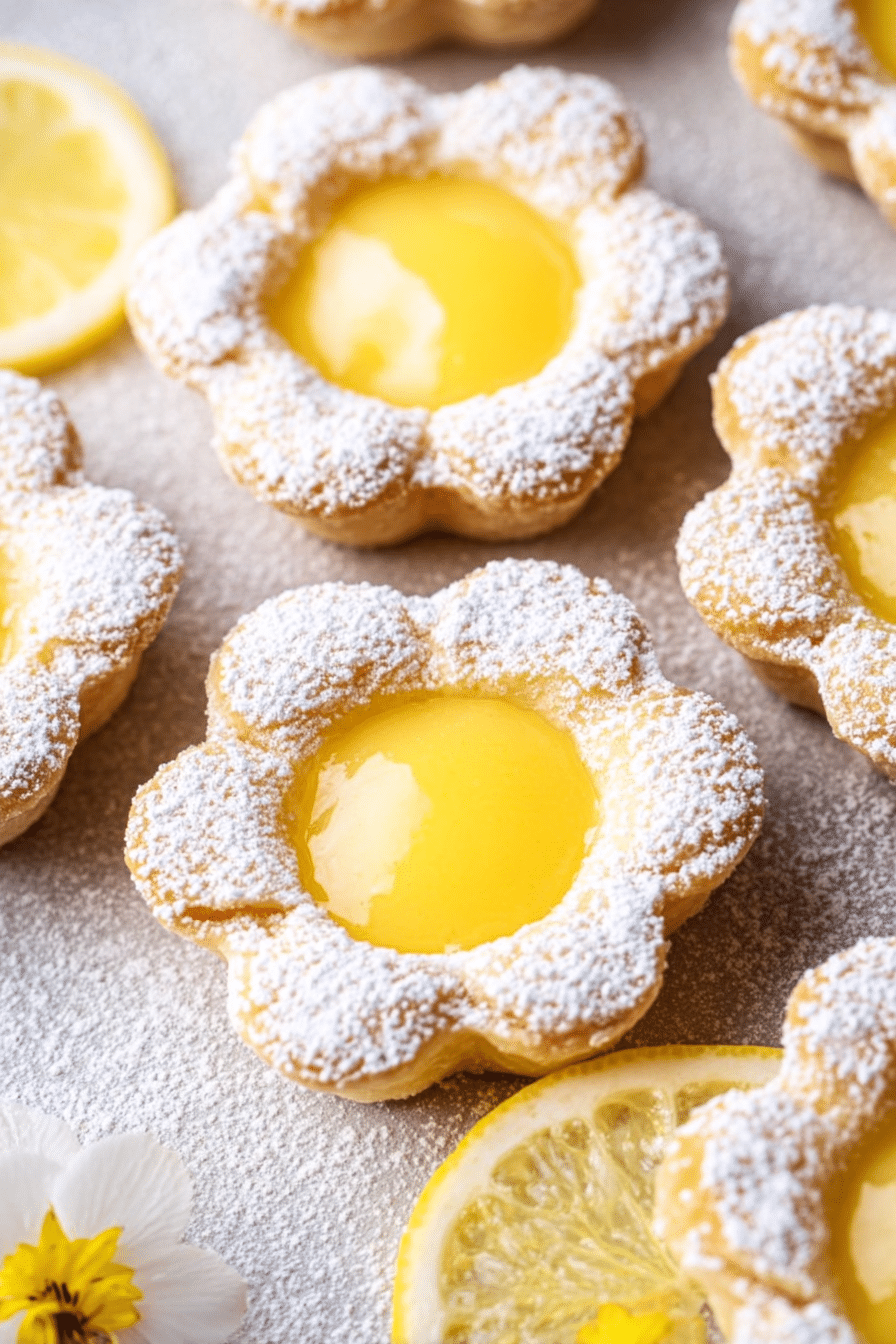
Flower Shapes and Presentation Tips to Style a Pretty Platter
Shaping tartlets as flowers is an effortless way to make them feel special. Use a flower-shaped cutter and press each petal gently into the tray — for a charming display, only fill every other cavity and fold petals outwards for definition. Contrast the vivid yellow curd with small pops of colour: a single raspberry, a tiny edible flower, or a scatter of finely chopped fresh herbs can transform the look.
Arrange the tartlets on a tiered stand or a large platter. For an elegant dessert platter, consider adding some mini lemon meringue tarts for an extra touch of sophistication. Keep spacing in mind — a little negative space makes each tartlet read as an individual jewel on the board.
How to Make Lemon Curd Tartlets (Step-by-Step)
These step-by-step notes will guide you through the baking and assembly so you feel confident every time. If it’s your first time, take it slowly and use the timing here as a guide rather than a rule.
- Grease your mini tart or cupcake tray so the pastry releases easily after baking.
- Stamp pastry rounds (or flower shapes) and press them into the tray, pricking the base lightly to avoid bubbling. Chill the tray thoroughly before baking.
- Bake the pastry cases until they are pale golden and set; cool in the tray for a short while, then release and cool completely on a wire rack.
- Make the curd on the hob: warm the lemon, sugar and butter, whisk in the eggs, and cook until the curd thickens. Strain and cool slightly.
- Dust the cooled pastry shells with icing sugar if you like a powdered finish, then pipe or spoon the curd to the top of each case.
- Chill the filled tartlets so the curd firms and the flavours meld. Finish with tiny garnishes just before serving.
- Common mistakes and how to avoid them: don’t rush the curd over high heat or the eggs will scramble; keep pastry chilled to prevent shrinkage; and always sieve the curd for the smoothest result.
Pro Tip for Lemon Curd Tartlets: Make-Ahead & Chill for Stress-Free Entertaining
- Make the lemon curd a day or two ahead — it keeps well in the fridge and the flavour deepens as it chills.
- Blind-bake and store the empty pastry cases in an airtight container for up to 48 hours; fill on the day for the freshest texture.
- Chill the filled tartlets for at least an hour before serving; this helps the curd set and makes transport easier.
- Pack tartlets in a shallow box with parchment between layers to prevent sticking during transport.
Easy Variations: Gluten-Free, Dairy-Free and Flavor Twists (Lavender, Basil, Berries)
- Gluten-free: Use a ready-made gluten-free shortcrust or make one with a blend of gluten-free flours — press firmly into the tray and bake a touch longer if needed for a crisp base.
- Dairy-free: Substitute vegan butter in both the pastry and the curd; choose a neutral-flavoured plant butter and finish the curd with a little extra lemon for lift.
- Lavender lemon curd: Infuse a small amount of culinary lavender into the milk or butter phase, then strain well for a floral note that pairs beautifully with lemon.
- Basil or mint twist: Muddle a few leaves into a syrup before adding to the curd or use as a tiny garnish to add a fresh herbal contrast.
- Berry pairing: Serve with a spoonful of mixed berry coulis or a single fresh berry on top for colour and balance — if you’re looking for more lemon desserts, try our lemon blueberry cupcakes for a delicious twist!
How to Store, Freeze and Transport Lemon Curd Tartlets
- Refrigerate filled tartlets in a single layer, covered, for up to three days — keep them airtight to prevent the pastry from softening.
- For longer storage, freeze unfilled baked cases wrapped tightly; thaw before filling with chilled curd.
- To transport, use a shallow box with a piece of non-slip material beneath the tartlets and a layer of parchment between tiers if stacking. Keep them cool en route.
- If the curd firms too much in the fridge, leave tartlets at room temperature for 10–15 minutes before serving so the curd softens slightly for the best mouthfeel.
Frequently Asked Questions
Can I make the lemon curd tartlets in advance? Absolutely! You can prepare the tartlets ahead of time and chill them until you’re ready to serve. Just be sure to keep them covered in the fridge to maintain freshness.
What can I use if I don’t have shortcrust pastry? If you don’t have shortcrust pastry, you can use puff pastry or even a crumb crust made from crushed biscuits mixed with butter as an alternative.
How long can I store leftover lemon curd tartlets? You can store leftover lemon curd tartlets in the refrigerator for up to 3 days. Just make sure to keep them covered to prevent them from drying out.
Can I make these tartlets gluten-free? Yes! You can easily make gluten-free lemon curd tartlets by using gluten-free shortcrust pastry available in stores or making your own with gluten-free flour.
What should I do if my lemon curd doesn’t thicken? If your lemon curd isn’t thickening, ensure you’re whisking continuously as it heats. It should begin to thicken after 5-10 minutes. If it’s still too runny, you can return it to low heat and whisk until it thickens properly.
Lemon Curd Tartlets
Ingredients
Equipment
Method
- Generously grease a mini cupcake tray with butter.
- Unroll both packs of shortcrust pastry and use a 2-inch round cutter (or the rim of a glass) to stamp out circles. If making flower tartlets, use a flower-shaped cookie cutter.
- Press the pastry cases into the mini cupcake tray and prick the bottom of the cases with a fork. Place in the fridge for 1 hour.
- Preheat the oven to 180°C fan / 200°C conventional. Bake for 15 minutes until light golden brown and cooked through. Leave to cool for 10 minutes, then carefully release and cool completely on a wire rack.
- Combine the zest and juice of all the lemons, the caster sugar and butter in a medium-sized saucepan.
- Place over medium-low heat and stir until the butter melts and the sugar dissolves.
- Whisk three egg yolks and one whole egg together in a jug. Pour the whisked eggs into the saucepan and whisk to combine.
- Turn the heat up and whisk continuously until the lemon curd thickens and coats the back of a spoon.
- Strain the lemon curd through a sieve into a bowl to remove the lemon zest. Leave for 10 minutes to cool and thicken up.
- Generously dust the pastry cases with icing sugar.
- Fill each case to the top with lemon curd and place in the fridge to set or until ready to serve.