The Treat My Kids Beg For: Lucky Charms Rice Krispie Treats
- Prep
- 10 min
- Cook
- 5 min
- Total
- 45 min
- Serves
- 12
- Calories
- 150 kcal
On this page12 quick jumps
TOC
12 quick jumps
Introduction
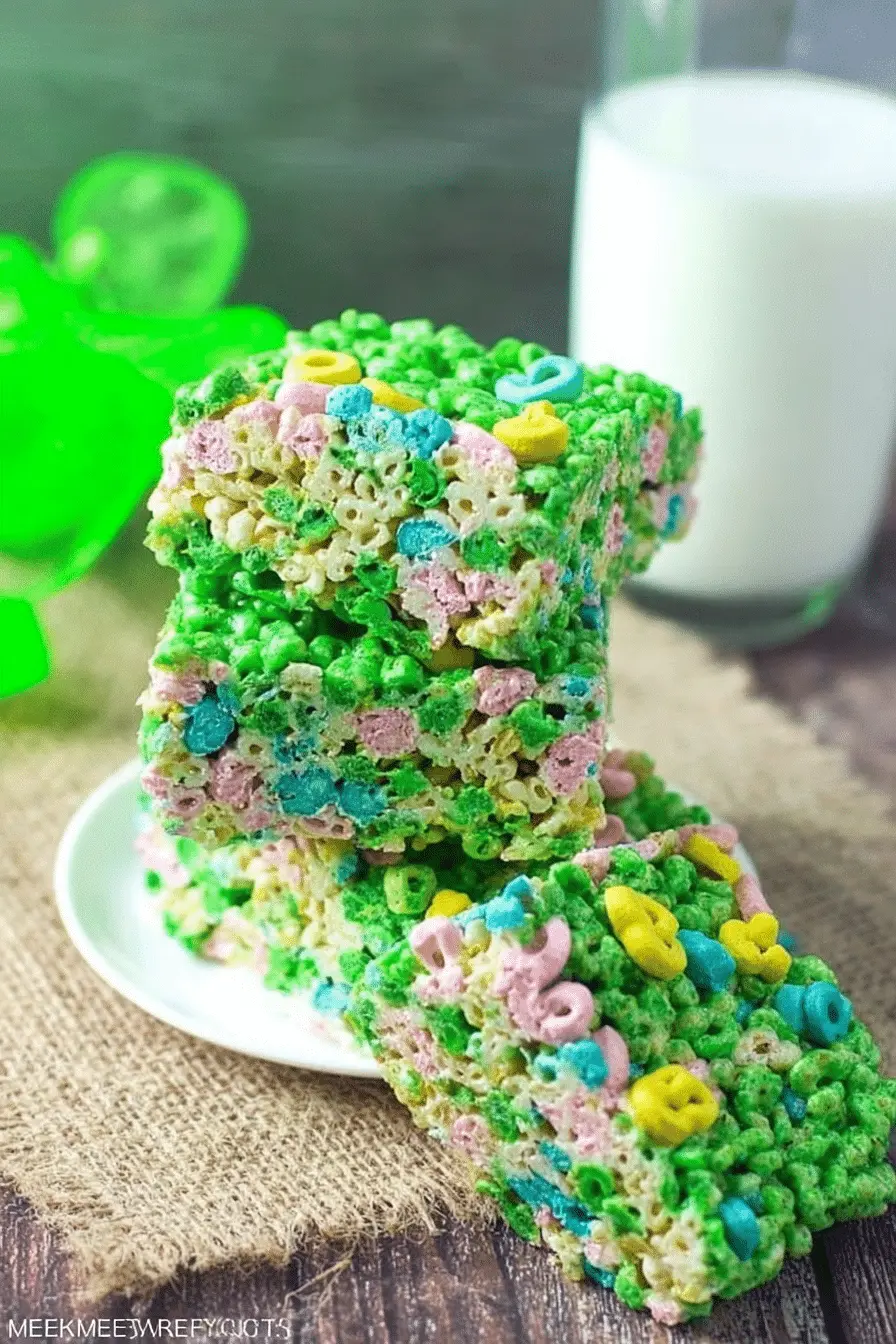
I make these Lucky Charms Rice Krispie Treats whenever I need a quick, cheerful dessert the kids can help with. It takes a few minutes to melt marshmallows and mix in the cereal, and the whole kitchen smells like sweet nostalgia — like Saturday cartoons and sticky fingers. I love that the cereal shapes and marshmallow bits turn an ordinary treat into something that feels like a tiny party.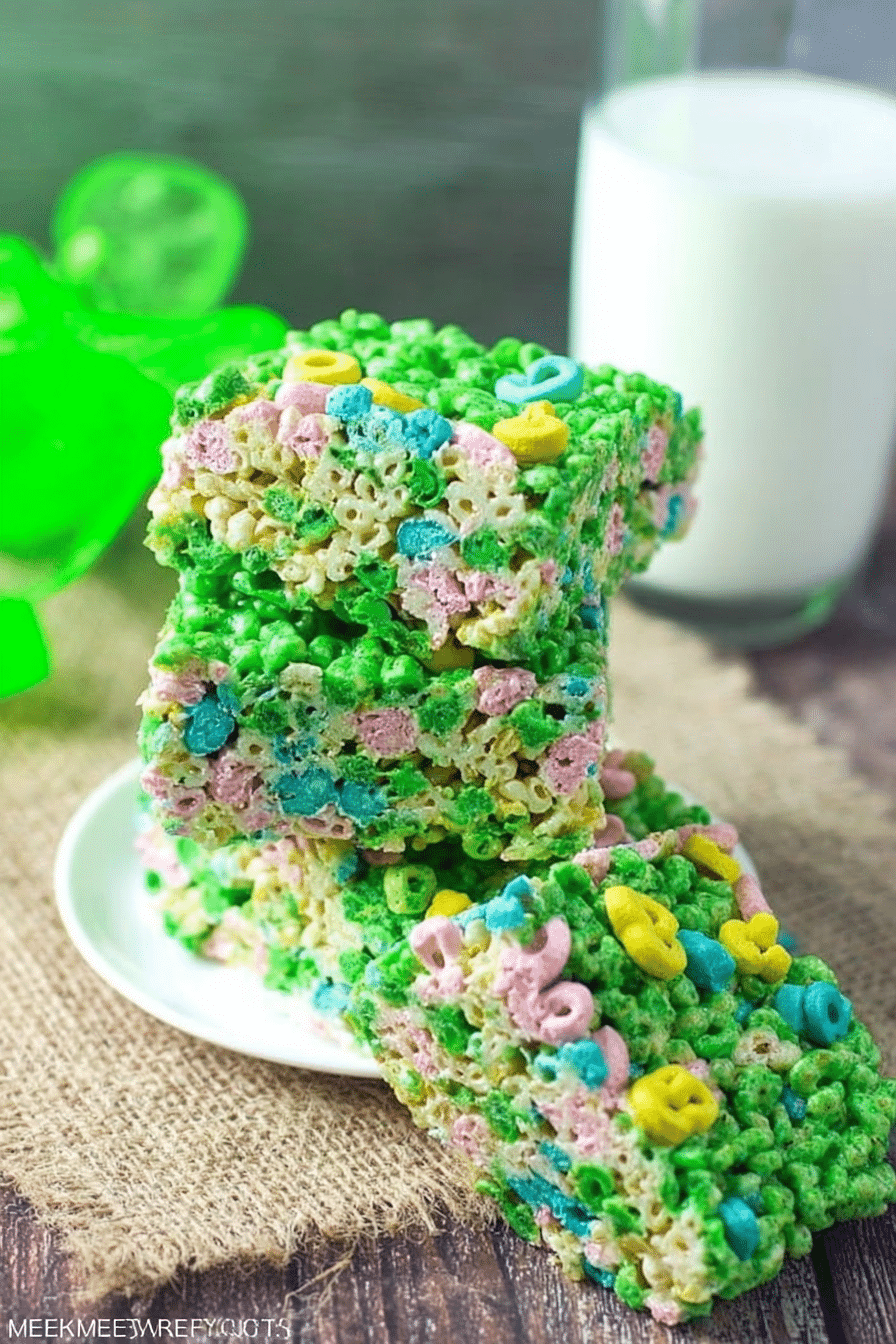
Why Parents Love These Lucky Charms Rice Krispie Treats (Ready in 15 Minutes)
These treats are a joy for busy families because they come together fast and clean up faster. The process is simple enough to include little hands in mixing and pressing, which turns a snack into a memory. For many adults, the Lucky Charms + Rice Krispies combo brings back childhood mornings — that nostalgic pull makes these feel extra special without extra work. Visually, the colorful marshmallow shapes scattered through creamy melted marshmallow are irresistible to kids. The contrast between the bright cereal pieces and the glossy, warm marshmallow is as fun to look at as it is to taste. The sound of the cereal being stirred into warm marshmallow — a soft crackle and squish — is oddly satisfying and helps build excitement while you work.Everything You Need for Lucky Charms Rice Krispie Treats
Here’s what I gather before we start so the kids can jump in without a scramble. Below I list ingredients conversationally (no exact measurements here), plus tools and easy swaps for allergies.- Lucky Charms Cereal – Adds color, crunch, and those signature marshmallow shapes. For a gluten-free option, use a certified gluten-free oat or puffed rice cereal with colorful marshmallows.
- Rice Krispies Cereal – Gives the light, crackly texture that balances the soft marshmallows. Keep this as the base for the best crunch.
- Mini Marshmallows – The glue of the whole recipe; they melt into that glossy, chewy binder. For vegan versions, use vegan marshmallows made from agar/pectin.
- Salted Butter – Adds richness and a touch of salt to cut the sweetness. Substitute vegan butter or coconut oil if you need dairy-free.
- Green Gel Food Coloring – Optional, for a festive green tint. Gel colors work better than liquid for bright hues without changing texture.
- Extra Mini Marshmallows – For topping and decoration; kids love sprinkling these on before the pan sets.
The Secret to That Perfect Chewy Texture
The magic is all in timing and gentle handling. Melt marshmallows slowly and keep the butter warm but not hot so the mixture stays glossy and soft — that’s the texture that yields chewy treats instead of dense bars.- Slow melting: Heat marshmallows in short bursts if using a microwave, stirring between bursts so they soften evenly without scorching. If using the stove, melt over very low heat with frequent stirring.
- Butter temperature: Melt the butter until just mostly liquefied — too-hot butter can make the marshmallow seize or become overly runny and soak the cereal.
- Mixing technique: Fold the cereal into the melted marshmallow gently with a buttered rubber spatula. Work quickly but calmly so each piece gets coated, and you keep that warm, gooey feel before it begins to set.
- Marshmallow types: Mini marshmallows melt faster and give a more consistent chew; jumbo pieces take longer and can leave pockets of un-melted marshmallow.
How Much Lucky Charms vs Rice Krispies? The Best Mix for Color and Crunch
For a bright, marshmallow-forward look with plenty of crunch, I use a ratio of 5 cups Lucky Charms to 4 cups Rice Krispies. That keeps the treats colorful and playful while still giving the snap that comes from Rice Krispies. If you want more crunch and less sweetness, increase the Rice Krispies to match or exceed the Lucky Charms (for example, 5 cups Rice Krispies to 4 cups Lucky Charms). For a more intensely colorful, whimsical bar, bump the Lucky Charms up a cup — the treats will be sweeter and more marshmallow-packed. Those specific amounts help you recreate the texture I aim for: chewy, slightly airy, and studded with marshmallow bits that pop visually and texturally.How to Make Lucky Charms Rice Krispie Treats (Step-by-Step)
- Butter a 9x13" baking dish and set it aside so it’s ready when the mixture is warm.
- In a microwave-safe bowl, gently heat the mini marshmallows in 20-second bursts, stirring after each, until they are just softened and partially melted. This keeps them from burning — kids can help stir but should step back during heating.
- In a separate microwave-safe bowl, warm the butter in short bursts until almost fully melted and soft. Combine the warm butter with the softened marshmallows and heat another 15–20 seconds if needed so everything is glossy and cohesive.
- Add a small amount of green gel food coloring if you want tinted marshmallow; stir until the color is even before adding the cereal.
- Add the Rice Krispies and stir gently to coat every piece. The mixture should be warm and sticky — that’s the perfect feel before the Lucky Charms go in.
- Fold in the Lucky Charms until they are evenly distributed. Work quickly so the mixture stays pliable.
- Using a buttered rubber spatula, press the mixture evenly into your prepared pan. Press gently — too much force makes the bars dense (see Pro Tip).
- Scatter extra mini marshmallows on top for a fun, puffy finish.
- Refrigerate for about 30 minutes to set, then cut into 12 squares (or 8 for larger bars). Serve at room temperature for the best chew.
Pro Tip for lucky charms rice krispie treats: Press Gently and Chill 30 Minutes
- I always press the mixture with a buttered spatula using light, even pressure so the treats stay airy — you should feel a gentle give, not rock-solid compression.
- Chilling for 30 minutes firms the bars just enough to slice neatly while keeping the centers soft and chewy. I find refrigeration also highlights the marshmallow flavor.
- Adding extra marshmallows on top before chilling gives you a playful, puffy surface kids adore. Press them in very lightly so they stick but don’t melt flat.
- Note to editor/writer: Generate the 'Pro-Tips,' 'Troubleshooting,' and 'Variations' sections as bulleted lists for high scannability.
How to Store, Make-Ahead, and Freeze These Treats
- Room temperature: Store in an airtight container at room temperature for up to one week. Layer with parchment paper to prevent sticking.
- Refrigerate: If your kitchen is warm, refrigerate to keep the bars from becoming overly sticky; bring them to room temperature before serving for the best chew.
- Freezing: Wrap individual squares tightly in plastic wrap and place in a freezer-safe bag. Freeze up to 2 months. Thaw at room temperature in their wrap to keep them soft.
- Diet swaps in storage: For dairy-free or vegan swaps, use vegan butter and vegan marshmallows; storage times are similar but check labels for best-by dates.
Fun Decorating Ideas and Party Variations Kids Will Love
- Add edible glitter or shimmer dust on top for birthday treats — a tiny sprinkle goes a long way and captures light like fairy dust.
- Press themed sprinkles or colored sugar around the edges for holidays (red and green for Christmas, pastels for Easter).
- Mix in a handful of chocolate chips or small candy pieces for a sweeter, more decadent version — add them after the cereal to avoid melting.
- Make mini bars by pressing the mixture into a muffin tin for bite-sized party favors kids can grab and go.
- Try flavored marshmallows (strawberry or caramel) or a drizzle of white chocolate on top for a fancier twist.
Frequently Asked Questions
How long does it take to make Lucky Charms Rice Krispie Treats? These treats are quick and easy to make, taking only about 15 minutes of preparation time! Can I use other cereals with Lucky Charms? Absolutely! You can mix in different cereals, but for the best flavor and texture, keep Rice Krispies as your base. What’s the best way to store leftover treats? Store them in an airtight container at room temperature for up to a week, or refrigerate them for longer freshness. Can kids help with making these treats? Yes! Kids can help with mixing and pressing the mixture into the baking dish, just be cautious with microwave time. What’s the secret to achieving the perfect chewy texture? The key is to use the right ratio of marshmallows to cereal and to avoid overcooking the mixture!Ingredients
- 5 cupsLucky Charms Cereal (plus extra marshmallows for topping)
- 4 cupsRice Krispies Cereal
- 1 10.50 oz bagmini marshmallows
- 5 teaspoonssalted butter
- 1 dropGreen gel food coloring
Instructions
- 1
Butter a 9x13” baking dish and set aside.
- 2
In a microwave safe bowl, melt marshmallows in 20 second increments, twice, until a little melted.
- 3
Set aside and in a separate microwave safe bowl, melt butter in 20 second increments until almost all melted.
- 4
Add butter to marshmallows and microwave again, for about 20 seconds.
- 5
Stir to combine.
- 6
Add food coloring and Rice Krispies and stir to combine.
- 7
Add Lucky Charms and stir until coated.
- 8
Using a buttered rubber spatula, evenly spread mixture into baking dish.
- 9
Add additional marshmallows on top.
- 10
Refrigerate for 30 minutes.
- 11
Cut into 12 squares, or 8 if you want larger treats.
Recipe Card
The Treat My Kids Beg For: Lucky Charms Rice Krispie Treats
Keep it handy for later, send it to someone cooking with you, or open the clean print view.
- Prep
- 10 min
- Total
- 45 min
- Serves
- 12
You might also like
The Mocktail My Guests Ask For — Lychee Italian Soda With Blue Tea
May 20, 2026
How I Perfected Delicate Lychee Rose Macarons with Real Lychees
May 20, 2026
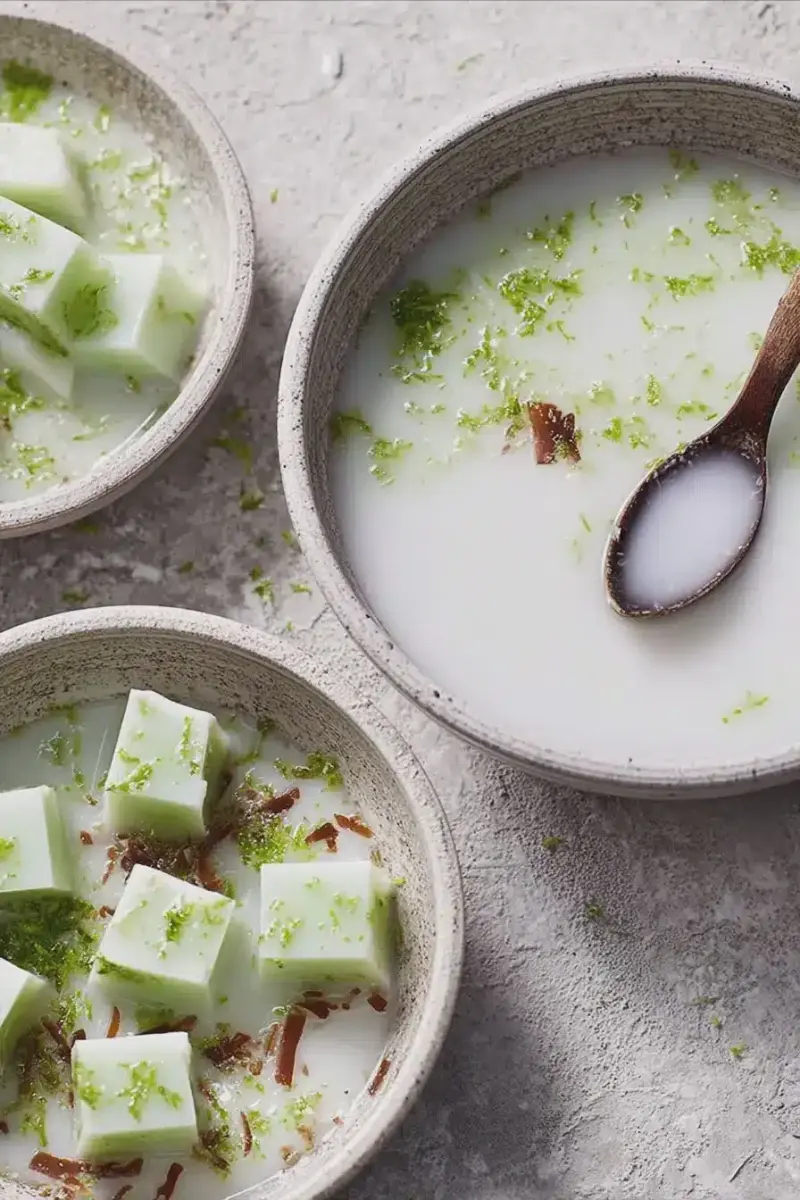
The Coconut-and-lime Jelly Bowls My Guests Always Ask For
May 20, 2026
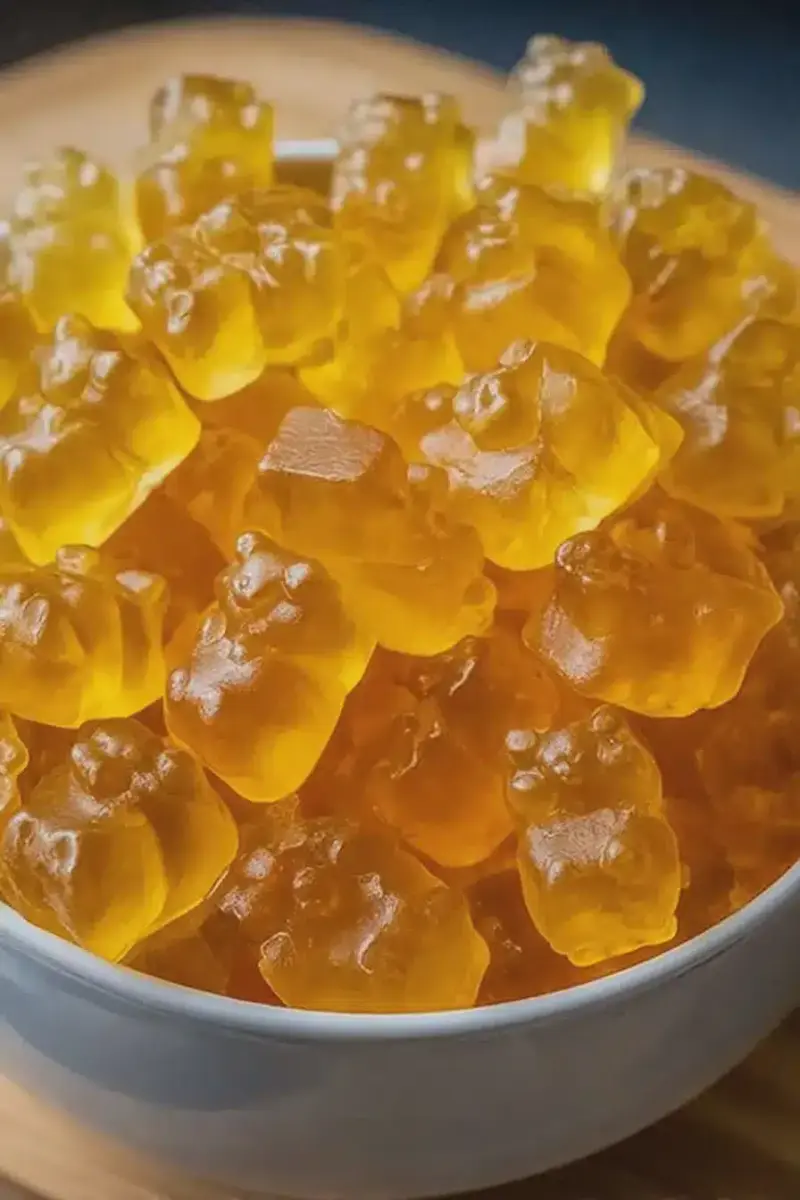
The Homemade Treat My Kids Beg For: DIY Honey Lemon Gummy Bears
May 20, 2026
Reviews
Be the first to review this.