
I started making these mint chocolate brownies the year I needed a dessert that looked festive but didn’t eat up my entire afternoon. I remember the first batch: the kitchen smelled like warm chocolate and fresh mint, and my friends kept coming back to the counter while I was still plating. I learned quickly that a good brownie base, a bright mint buttercream, and a glossy ganache are the three moves that make a tray of bars feel special.
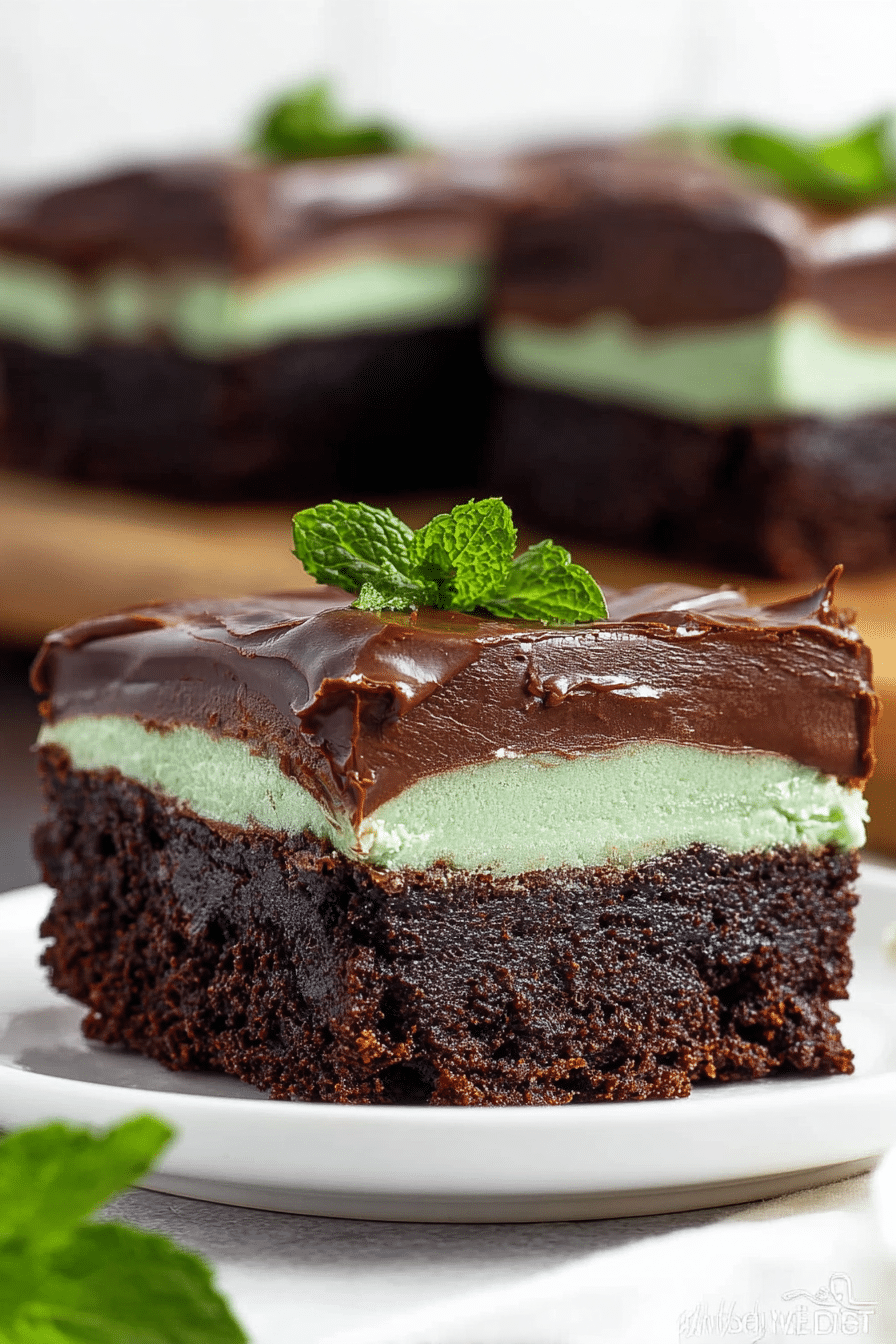
These brownies have become my go-to when friends ask me to bring a dessert to holiday parties. The visual contrast of the vivid mint layer against dark chocolate is half the appeal — people pick them up first. I like to make the brownie layer the day before and finish the mint buttercream and ganache the next afternoon so I’m not tied to the oven on party day.
In my kitchen I aim for texture as much as flavor: the brownies should be fudgy, the buttercream fluffy but firm, and the ganache silky and set. That balance is what makes these bars both comforting and proudly festive — they travel well, slice cleanly when chilled, and pair beautifully with a scoop of vanilla ice cream.
Why These Mint Chocolate Brownies Are the Party Dessert You Need
The charm here is a simple one: familiar, comforting chocolate meets a cool mint hit and a polished presentation that reads holiday-ready. The aroma fills the kitchen — warm cocoa with a bright lift of mint — and that alone will draw guests over. A few honest reasons I reach for this recipe at gatherings:
- The mint adds a refreshing counterpoint to rich chocolate that appeals to a wide range of tastes.
- Layered presentation (brownie, mint buttercream, ganache) looks impressive on a dessert table without requiring complicated techniques.
- It’s flexible: you can bake the base ahead of time and finish the layers later, which frees up your hosting day.
Everything You Need for Mint Chocolate Brownies
Here’s a conversational look at the ingredients and tools that make the best version of these brownies. I list why each item matters and sensible swaps — measurements are kept out of this section on purpose, so focus on function.
- Brownie base (boxed mix or homemade) – Provides the fudgy foundation; a higher cocoa content yields deeper chocolate flavor.
- Salted butter – Adds richness and helps the buttercream spread smoothly; unsalted can be used if you prefer to control salt.
- Powdered sugar – Gives the mint frosting its structure and smooth mouthfeel.
- Mint extract – Concentrated mint flavor that keeps the frosting bright; use sparingly and taste as you go.
- Green food coloring – Purely visual; a tiny amount makes the mint layer festive without affecting flavor.
- Heavy cream – Adds silkiness to both buttercream and ganache; for ganache it helps melt chocolate evenly.
- Semi-sweet chocolate chips – The backbone of the ganache; good-quality chocolate makes a noticeable difference.
- Parchment paper and an offset spatula – Essential tools for lifting the tray and spreading the frosting cleanly.
If you’re a fan of brownies, don’t miss out on these delicious red velvet brownies that are sure to impress your guests!
The Secret to Show-Stopping Layers
Getting crisp, distinct layers is less about fancy tools and more about temperature and patience. I learned that the hard way: I once spread buttercream over warm brownies and ended up with a messy, sinking layer. The fix is simple and repeatable.
- Cool the brownies completely before frosting so the buttercream won’t melt into the surface.
- Chill the frosted pan briefly to firm the buttercream before adding ganache — a firm surface keeps the ganache from seeping through.
- Use an offset spatula and gentle, even strokes to spread the buttercream. Hold the spatula at a slight angle to avoid gouging the brownie.
- Pour the ganache when the frosting is cold; pour slowly from the center and nudge it to the edges with the spatula for a smooth finish.
Why Chilling Gives You Neat, Clean Slices
Chilling is the secret to tidy presentation. The science is straightforward: cold solidifies fat and chocolate, so the buttercream and ganache set into clean layers that slice neatly.
- Chill the frosted brownies until the buttercream is firm — this prevents dragging when you spread ganache.
- After the ganache is poured, let it set at room temperature for a short time, then refrigerate briefly to fully firm the top.
- For cutting, use a sharp knife warmed under hot water and wiped dry between cuts — the heat slices through cleanly without tearing the layers.
- Allow refrigerated slices to come to room temperature for a few minutes before serving so the ganache loses a bit of its chill and the flavors open up.
Choosing the Right Mint: Extracts vs. Fresh
Both options are valid, but they behave differently. I use extract for the frosting most often because it gives a consistent, concentrated mint hit without changing texture. Fresh mint adds a lovely green herbaceousness but also moisture and flecks that affect the frosting’s appearance.
- Mint extract – Clean, strong mint flavor that blends seamlessly into buttercream; start with a small amount and adjust to taste.
- Fresh mint – Brighter and more complex aroma, best when finely chopped and steeped into cream or infused into a simple syrup; can introduce tiny green flecks and extra moisture.
- Use fresh mint for summer parties or garden-themed gatherings; use extract for precise color and flavor control at large events.
How to Make Mint Chocolate Brownies (Step-by-Step)
Follow these steps in order. I recommend breaking the work across two days if you’re hosting — it makes the final assembly calm and controlled.
- Preheat the oven as directed for your brownie base and line an 8×8 pan with parchment so you can lift the finished brownies out easily.
- Prepare and bake the brownies according to the package or your favorite homemade method; bake until just set for a fudgier texture.
- Cool the brownies completely in the pan to room temperature before moving on to the frosting step.
- Beat softened butter until smooth, then add powdered sugar and mix until combined; the mixture will look dry at first.
- Add mint extract and a drop or two of green coloring, plus a splash of cream; beat until the frosting is smooth and fluffy, adjusting color and flavor to taste.
- Spread the mint buttercream evenly over the cooled brownies with an offset spatula; chill the pan until the frosting is firm.
- Heat cream until steaming and pour it over chocolate chips in a heatproof bowl; let sit briefly, then whisk to form a glossy ganache.
- Pour the ganache over the chilled buttercream and smooth into an even layer; chill again until the ganache has set.
- Lift the slab from the pan using the parchment flaps, then use a warmed knife to cut into squares for neat edges.
Pro Tip for mint chocolate brownies: Chill between layers for clean cuts
- Chill between each major step: after cooling brownies, after frosting, and after pouring ganache — this staging keeps layers distinct.
- Line the pan with parchment that extends over the edges so you can lift the whole slab out easily for icing and trimming.
- Warm and dry your knife between cuts for restaurant-style slices.
- For a fun dessert twist, consider making brownie truffles by chilling your brownie mixture to create clean and impressive dessert bites!
Unique Serving Suggestions or Pairings
These brownies are versatile on a dessert table. Their minty brightness pairs wonderfully with rich or creamy companions — think vanilla, coffee, or caramel-forward flavors. For contrast in texture and temperature, serve warm coffee alongside chilled brownie squares.
- Plate a brownie square with a scoop of vanilla ice cream and a drizzle of chocolate sauce for a classic pairing.
- Serve tiny squares atop small plates with a sprig of fresh mint and a dusting of cocoa for a polished buffet look.
- For a playful pairing idea, serve these with other mint-focused treats; for example, try them alongside a batch of triple layer fudgy mint Oreo brownies for variety on the dessert table.
How to Store, Make-Ahead, and Serve Mint Chocolate Brownies
Advance prep is the host’s best friend. I often bake the brownies the day before, frost them the next morning, and add ganache a few hours before guests arrive. Here’s how I keep them at peak quality.
- Refrigerate frosted brownies in an airtight container for up to 3–4 days; bring to room temperature briefly before serving to soften the ganache.
- To freeze, cut into squares and freeze on a tray until firm, then transfer to a freezer bag; thaw in the refrigerator overnight and bring to room temperature before serving.
- If making ahead, bake the base and keep it wrapped; add buttercream and ganache within 24–48 hours of serving for the freshest texture.
Healthier Variations and Dietary Swaps
There are sensible swaps that keep the spirit of the dessert while addressing dietary needs. I’ve tested a few and included the ones that preserve texture and flavor best.
- Use a brownie recipe or mix made with whole grain flour or almond flour as a gluten-free option; adjust bake time as needed.
- Swap coconut oil for butter in the brownie base to reduce saturated dairy — expect a slightly different crumb and flavor.
- For the buttercream, try a lower-sugar powdered sweetener formulated for frosting to trim sugar without losing structure.
- Looking for healthier treats? Check out our healthy 4-ingredient Reese’s eggs for a delightful alternative when you want something lighter.
Step-by-Step Video Guides for Visual Learners
If you learn best by watching, film short clips of the trickier moments: spreading the buttercream without tearing the brownie, whisking ganache to silky perfection, and the warm-knife cutting technique. Keep videos under two minutes per step so they’re easy to reference while baking. A captioned clip showing the ideal frosting consistency and the moment ganache should be poured will save a lot of guesswork for visual bakers.
Audience Engagement Through User-Generated Content or Variations
I encourage readers to share their spins. Simple ways to build a community around this recipe:
- Ask bakers to post their photos with a unique hashtag so you can spot different takes: suggest something like #MyMintBrownies.
- Invite variations — topping with crushed peppermint, adding a cookie layer, or turning leftover scraps into truffles — and feature reader photos in a follow-up post.
- Encourage feedback on what worked or didn’t; small notes from other home bakers are invaluable for refining technique and timing for large batches.
Detailed Nutrition Information
I provide a per-serving estimate for planning, but here’s how I calculate nutrition: total the ingredient nutrition facts for the full batch, then divide by the number of servings. This gives an honest, transparent estimate that accounts for frosting and ganache, which contribute most of the fat and calories. If you need to trim calories, focus on scaling down the buttercream portion or serving smaller pieces — the mint flavor carries well in modest amounts.
Frequently Asked Questions
Can I make these brownies ahead of time? Absolutely! You can prepare the brownies a day in advance and store them in the refrigerator. Just add the ganache and chill before serving.
What kind of mint extract should I use? For the best flavor, use a high-quality mint extract. You can also use fresh mint if you prefer a natural flavor—just be sure to chop it finely.
Can I substitute ingredients for a healthier option? Yes! You can use alternatives like coconut oil instead of butter, low-calorie sweeteners instead of powdered sugar, or whole wheat flour for a more nutritious brownie.
How do I get clean slices for the brownies? Chilling the brownies after frosting them helps set the layers. Use a sharp knife, dipped in warm water, to cut neat squares.
What can I serve with mint chocolate brownies? These brownies pair wonderfully with ice cream or whipped cream. You can also serve them with a drizzle of chocolate sauce for an extra treat!
Mint Chocolate Brownies
Ingredients
Method
- Preheat oven as indicated on brownie box. Line an 8x8 square baking pan with parchment paper and set aside.
- Prepare and bake brownies in an 8x8 square baking dish according to the package instructions.
- Cool brownies completely.
- Prepare the buttercream layer by beating butter until smooth in a mixing bowl. Add the powdered sugar and beat until combined (mixture will be dry).
- Add mint extract, green food coloring, and 1 tablespoon of heavy cream. Beat until smooth and combined. Taste the frosting and adjust tint or add additional extract if desired. Add an additional tablespoon of heavy cream and beat until fluffy and smooth.
- Use an offset spatula to spread the mint buttercream in an even layer over the top of the cooled brownies. Place in the refrigerator or freezer to firm the buttercream.
- Heat the heavy cream in a microwave-safe bowl until steaming (do not boil).
- Pour hot cream over the chocolate chips. Let sit for 3-4 minutes with a plate over the bowl to allow the chocolate chips to soften in the hot cream.
- Whisk the chocolate gently until a smooth ganache forms.
- Spread ganache over the chilled, frosted brownies.
- Allow the ganache to set (either on the countertop for 45-60 minutes or in the refrigerator for about 15 minutes).
- Lift brownies from tray by the flaps of parchment paper. Cut into even squares and serve.