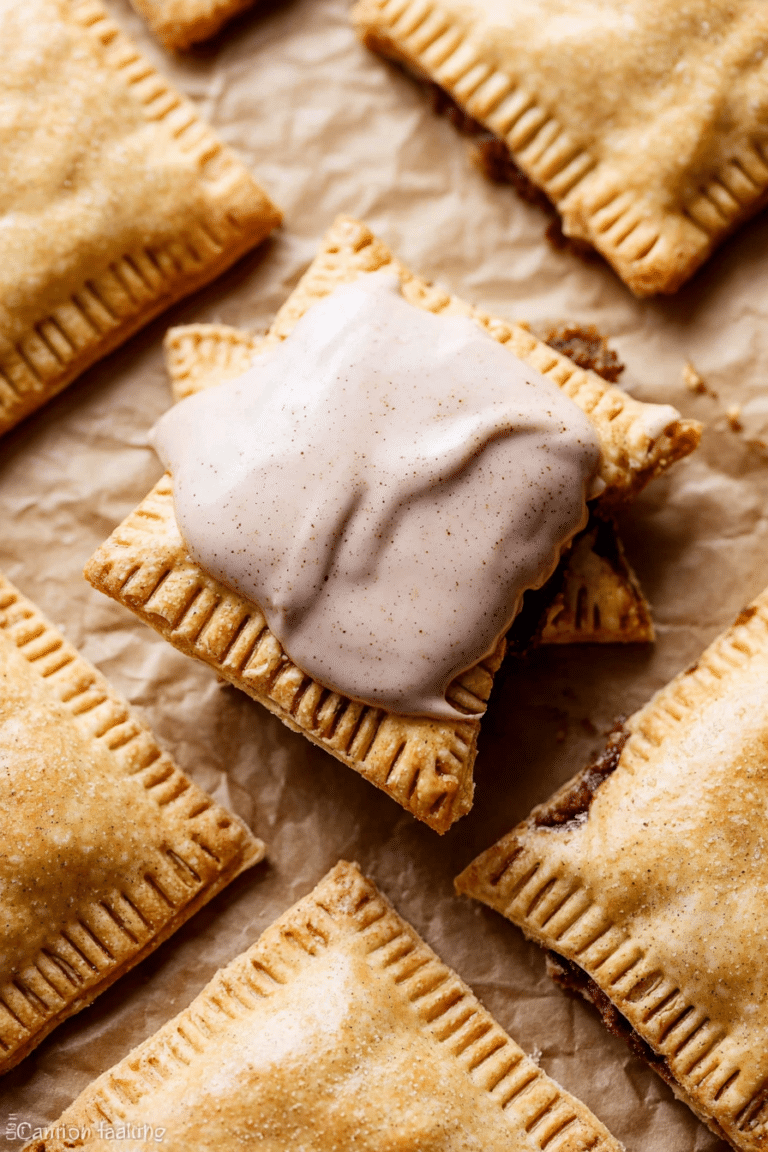
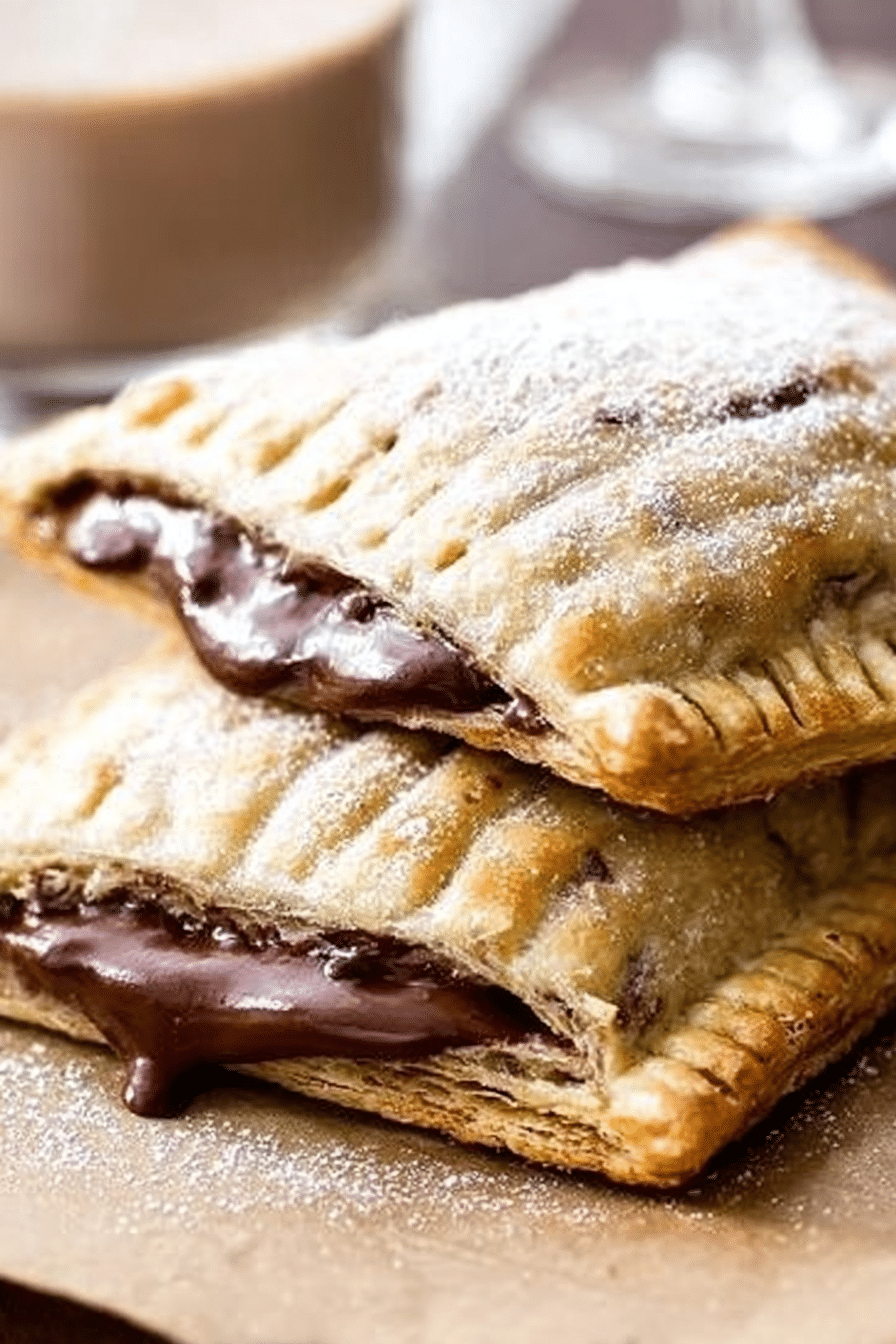
I grew up sneaking toaster pastries from the pantry, but these homemade Nutella pop tarts are the ones I keep making when I want that same childhood comfort with a buttery, flaky crust. I love how the kitchen fills with the warm smell of butter and chocolate while the tarts bake — it’s an instant morning mood lifter. After a few rounds I learned which shortcuts actually save time and which shortcuts cost you texture.
I’ll be honest: the first time I rushed the dough and mixed warm butter, the crust turned out tough. That taught me to respect temperature and a few little techniques that keep the pastry tender and flaky. Once you get the rhythm, these feel fast — enough that I’ll make a batch after dinner and stash them for weekday breakfasts.
I wrote this guide for busy home cooks who want a fun, customizable breakfast without standing over the stove for hours. You’ll get practical tips, quick-prep hacks, and troubleshooting notes so your first batch comes out reliably good and smell-your-kitchen-amazing great.
Why These Nutella Pop Tarts Are Perfect for Busy Home Cooks
These pop tarts hit the sweet spot between nostalgic comfort food and a recipe that respects your time. You can assemble most of the work in one chilled session, freeze the pastries for later, and bake straight from the freezer when you need a quick treat.
- Quick assembly: dough mixes fast in a food processor and the bake time is modest, so you can get warm pastries on the table before you know it.
- Familiar flavors: Nutella plus a buttery crust gives you the same cozy flavor profile you remember — chocolate-hazelnut aroma while they bake is a real mood boost.
- Flexible: swap fillings, skip the glaze, or freeze assembled pastries to bake on demand — the base workflow stays the same.
Everything You Need for Nutella Pop Tarts
Below I list the essential ingredients and tools for making nutella pop tarts at home. Focus on cold fats and accuracy in your prep so the dough behaves predictably.
- All-purpose flour – Gives structure; if you need a lighter crust, a pastry blend works well.
- Granulated sugar – Adds balance to the dough; brown sugar or natural sweeteners can be used in the filling if you prefer.
- Salt – Small but essential for rounding out flavors.
- Cold unsalted butter – The workhorse for flakiness; keep it very cold so it creates layers in the dough.
- Shortening or solid vegetable fat – Helps the dough stay tender and workable; you can use all butter if you like a richer flavor.
- Ice water – Keeps the dough cool and prevents overworking; add a splash at a time until it just comes together.
- Nutella (or chocolate-hazelnut spread) – The star filling; chill slightly if it’s very runny before piping into rectangles.
- Egg (for egg wash) – Gives the pastry a golden finish; keep some reserved for brushing right before baking.
- Powdered sugar, milk, vanilla – For the glaze; mix to a spreadable consistency and drizzle when tarts are cool.
- Tools – Food processor for quick dough, rolling pin, ruler and pizza cutter for precise rectangles, fork for sealing, and baking sheets.
The Secret to a Flaky Pop Tart Crust
Flakiness comes from pockets of fat that steam during baking. Treat the dough gently so those pockets stay intact rather than melting into the flour.
- Work cold and fast: pulse butter into flour until pieces are the size of small peas — you should still see tiny bits, not a uniform paste. The visible specks of fat are what will puff into layers.
- Minimal water: add just enough ice water to bring the dough together. Overhydrated dough develops more gluten and becomes tough.
- Rest and chill: flatten into discs and chill so the fats firm up again; chilled dough rolls more evenly and is easier to cut into neat rectangles.
- Handle gently: flour your surface lightly and don’t overwork the dough when rolling — I press and roll with slow even strokes to keep the texture tender.
Why Temperature Matters: Cold Butter, Cold Water
There’s a simple science to it: cold fats stay as distinct pockets; warm fats blend into the flour and produce a dense crust. Temperature also controls gluten development — colder ingredients slow gluten formation, which keeps the pastry tender.
- Cold butter forms distinct layers — as it melts in the oven, steam creates lift and flakiness.
- Cold water prevents the butter from softening while you mix; warm water encourages gluten to form and makes the crust chewy.
- Chilled dough feels firm and slightly springy; it’s easier to roll thin without tearing and easier to seal without stretching the edges.
Quick Prep Hacks to Save Time
Practical shortcuts that actually work when you’re short on time — keep the texture intact while shaving off hands-on minutes.
- Use a food processor: it cuts fat into the flour in seconds and limits heat from your hands.
- Make dough ahead: mix and chill discs the day before and cut and fill when ready to bake.
- Swap with premade pastry: if you must, use a store-bought rolled pastry for a faster start; the filling and glaze still give you that homemade touch.
- Batch the filling: portion Nutella into small containers or a piping bag so you can fill rectangles quickly on assembly day.
- Freeze assembled tarts: freeze them on the baking sheet before baking — you can pop them straight into the oven whenever you need fresh pastries.
How to Make Nutella Pop Tarts (Step-by-Step)
Below are the steps I follow every time; they prevent common mistakes like leaking filling or a flat crust. Read through once, then work methodically.
- Pulse dry ingredients and cold fats in the food processor until you see pea-sized pieces of butter; add ice water as the machine runs until dough just starts to clump.
- Turn the dough out onto a floured surface, gather into a ball, divide in half, flatten into discs, wrap and chill until firm enough to roll.
- On a lightly floured board, roll each disc into a rectangle a little larger than your final dimensions; use a ruler and cutter to trim even rectangles so they bake uniformly.
- Heat or slightly chill your Nutella so it’s spreadable but not runny; pipe or spoon a small amount down the center of half the rectangles, leaving a clean border for sealing.
- Brush the perimeter of the filled rectangles with egg wash, place the unfilled rectangles on top wash-side down, and press edges firmly; crimp with a fork to double-seal and dock the tops to vent steam.
- Freeze the assembled pastries briefly to firm the filling and butter pockets, then brush with egg wash and bake until edges are lightly golden, rotating pans once for even color.
- Cool on a wire rack and spread glaze once the pastries are completely cool; glaze sets in a short while, but the best part is that warm-but-not-hot moment when the glaze is tacky.
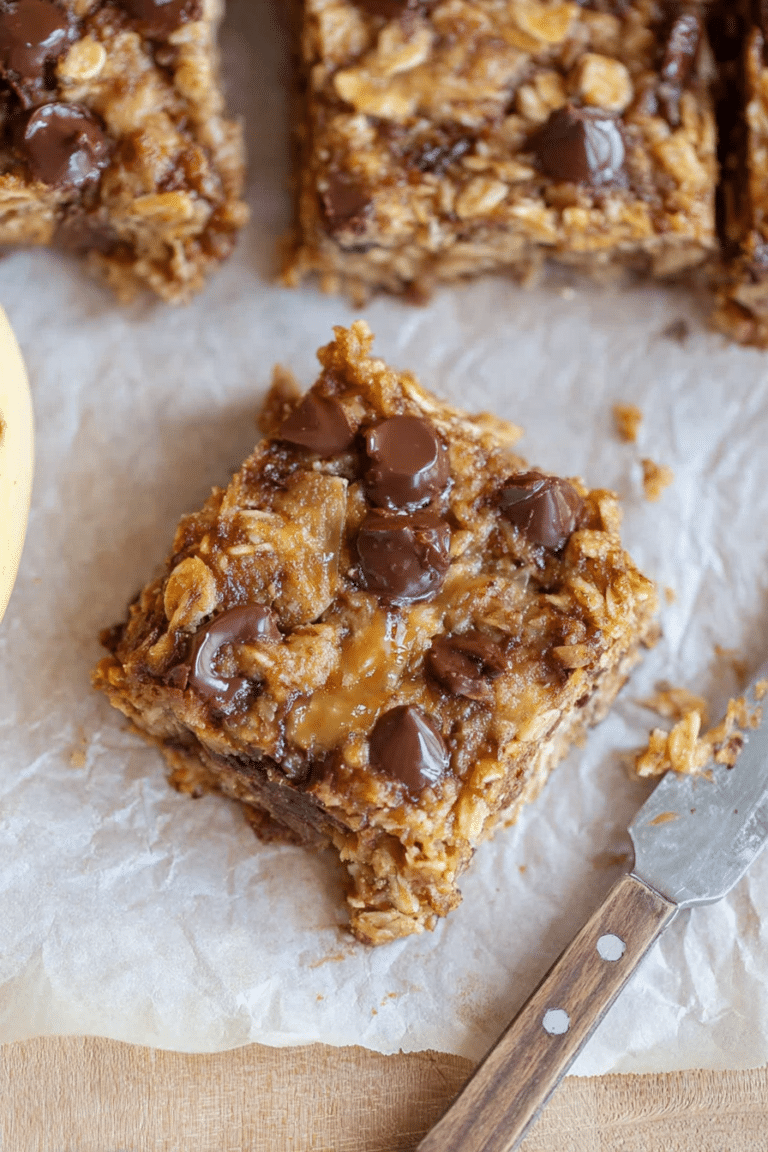
- Pair them with other simple bakes for a brunch spread — and if you want something chocolate-forward, try pairing with an easy brownie for dessert or an indulgent treat: pair your homemade Nutella Pop Tarts with Easy Sourdough Discard Brownies.
Pro Tip for Nutella Pop Tarts: Freeze Before Baking to Prevent Leaks
- I always freeze the assembled, sealed pastries for about 30 minutes — that firms the filling and helps the dough keep its shape in the oven.
- Freeze on a baking sheet in a single layer; once solid you can stack them with parchment between layers for storage.
- Frozen pastries go straight into a preheated oven; extend bake time a few minutes if baking from frozen so the center heats through.
Flavor Twists: Fillings & Topping Ideas Beyond Nutella
If you want to change things up, the same dough works brilliantly with lots of fillings — think preserves, nut butters, or a cinnamon-sugar mix. Toppings can be as simple as a powdered glaze or as playful as sprinkles and drizzles.
- Fruit preserves — raspberry, apricot, or cherry add bright, jammy contrast to the buttery crust.
- Brown sugar and cinnamon — for a warm, cozy option that leans into breakfast flavors.
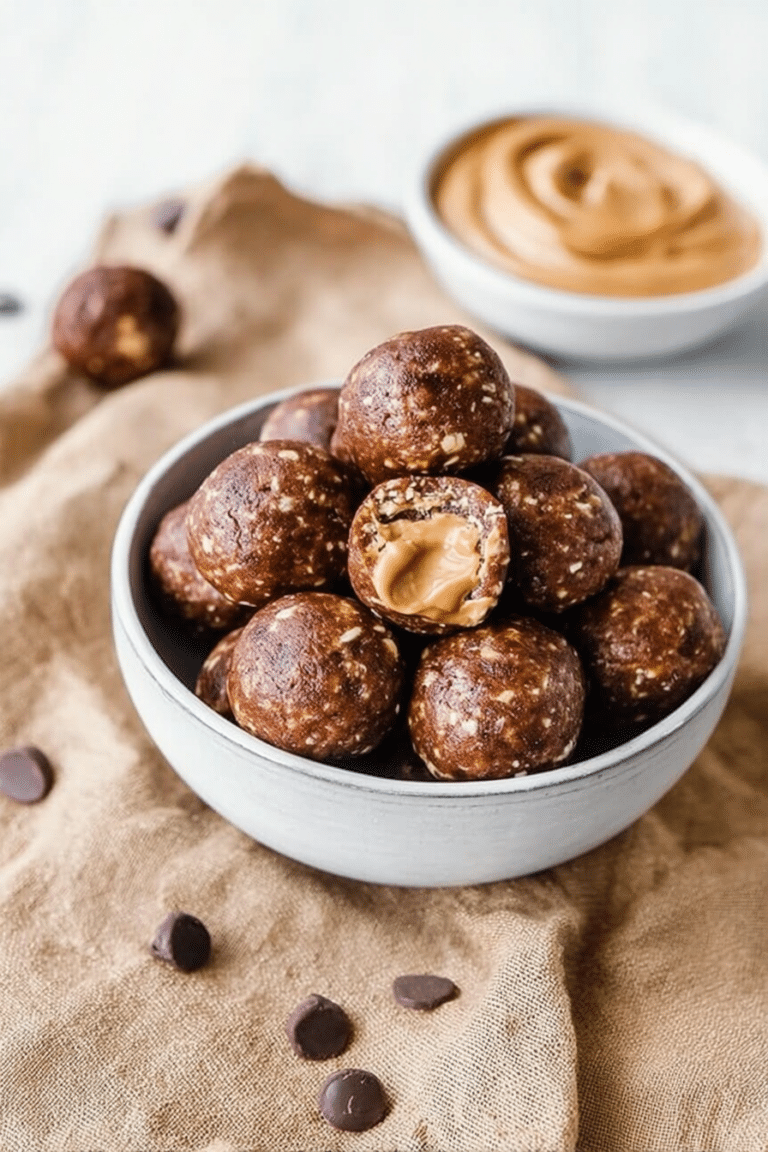
- Peanut or almond butter — use a thin layer to avoid saturation and pair with a bit of honey or jam.
- Cream cheese filling — lighten with a little lemon zest for a tangy option that holds up well when baked.
- Toppings — powdered glaze, chocolate drizzle, coarse sugar, or cinnamon-sugar all add visual and textural interest.
If you’re looking for other delicious options, try making Brown Sugar Cinnamon Pop Tarts for a delightful twist.
For a sweet treat, consider our Frosted Brown Sugar Cinnamon Pop Tarts that add an extra layer of flavor.
How to Store, Reheat, and Make-Ahead Nutella Pop Tarts
Proper storage keeps the crust from becoming soggy and preserves the filling texture. These options make the tarts convenient for breakfast or dessert prep.
- Room temperature short-term: store cooled, glazed tarts in an airtight container at room temperature for a day or two to preserve the crisp edges.
- Refrigerate for longer storage: if your filling is perishable (like cream cheese), refrigerate and enjoy within a few days — bring to room temperature or warm briefly before serving.
- Freeze for make-ahead: freeze assembled (before baking) or baked and cooled; if frozen before baking, bake from frozen with a slightly longer time so the center heats through.
- Reheating: refresh in a toaster oven or regular oven at low heat until warm and the crust crisps again; microwaving will warm the filling but can soften the crust.
For a delightful breakfast option, try the ultimate creamy oatmeal which can complement your Nutella Pop Tarts perfectly.
Troubleshooting Tips for Perfect Pop Tarts
- If your crust is too tough: I usually check whether I handled the dough too much or added too much water — rest the dough and try again with less handling.
- If the crust is too crumbly: I add one more splash of ice water and press the dough together gently; the dough should hold when pinched without falling apart.
- If the filling leaks: make sure you leave a proper border, use egg wash to glue the edges, crimp with a fork, and freeze briefly before baking.
- If the bottoms brown too fast: lower the oven rack or reduce oven temperature slightly and increase baking time to allow the center to cook through without burning edges.
Dietary Swaps and Adaptations
- Gluten-free: use a tested gluten-free all-purpose blend and add a small binder such as xanthan gum if your blend lacks it; chill dough well to help it behave like regular pastry.
- Vegan: swap butter for a firm vegan butter and use a plant-based milk in the glaze; use aquafaba or a vegan egg wash substitute for brushing.
- Reduced sugar: opt for a lower-sugar spread or thin Nutella with a little unsweetened cocoa paste and a natural sweetener; reduce sugar in the dough slightly and balance with a touch of extra salt.
- Nut-free: replace hazelnut spread with sunflower seed butter or a seed-based chocolate spread made for allergies.
Frequently Asked Questions
Can I make Nutella Pop Tarts ahead of time?
Absolutely! You can prepare the Nutella Pop Tarts and keep them in the refrigerator on the baking sheet until you’re ready to bake them.
What is the best way to store leftover Nutella Pop Tarts?
Store any leftover pop tarts in an airtight container at room temperature for up to 1-2 days for the best texture.
Can I use different fillings instead of Nutella?
Yes! Get creative! You can fill the pop tarts with fruit preserves, peanut butter, or even cream cheese for different flavors.
Why is it important to use cold butter and water?
Using cold butter and water helps create a flaky pastry, giving your pop tarts that delicious texture we all love!
How can I prevent my pop tarts from leaking during baking?
A great tip is to freeze the pop tarts for about 30 minutes before baking. This helps set the filling and prevents leaks.
Ingredients
Method
- Add the flour, sugar and salt to a food processor and pulse a few times to evenly combine. Add the butter and shortening and pulse about 8 times, just enough to cut butter into smaller pieces. With the processor running, pour ice cold water down the feed tube and pulse until the dough begins to clump together.
- Turn the dough onto a floured surface and gather into a ball. Divide into 2 even portions and flatten or roll each portion into an approximate 6-inch disc and wrap tightly with plastic wrap. Chill at least one hour in the refrigerator.
- Line two baking sheets with parchment paper and set aside. Remove 1 disc of dough from the refrigerator and let rest 10 minutes to soften (keep the other disc in the refrigerator).
- On a lightly floured cutting board, roll the dough into a rectangle larger than 9x12 inches in order to create nine 3x4 inch rectangles. Transfer these rectangles to a baking sheet and refrigerate.
- Brush egg wash over the edges of the second set of rectangles, add Nutella down the center, and sprinkle with brown sugar and cinnamon.
- Remove the other baking sheet from the refrigerator and brush all surfaces with egg wash. Place on top of the Nutella rectangles and seal the edges.
- Freeze pastries for 30 minutes. When ready to bake, brush tops with egg wash and bake at 350°F for 25 to 30 minutes.
- Let cool for 5 minutes, then transfer to wire rack. Whisk together glaze ingredients and spread on cooled pastries.