
The Peanut Butter Rice Krispie Treats I Make for Busy Weeknights
- Prep
- 30 min
- Cook
- 45 min
- Total
- 75 min
- Serves
- 24
- Calories
- 248 kcal
- Protein
- 4.00 g
- Carbs
- 47.00 g
- Fat
- 5.00 g
Introduction
I make these Peanut Butter Rice Krispie Treats whenever the week gets hectic and I need a quick, smile-inducing dessert. They come together in minutes, and the kitchen always smells like warm marshmallows and peanut butter — the kind of cozy scent that gathers everyone around the counter. I love how the kids can help press the mixture into the pan, and how two minutes of stirring turns pantry staples into something that feels indulgent.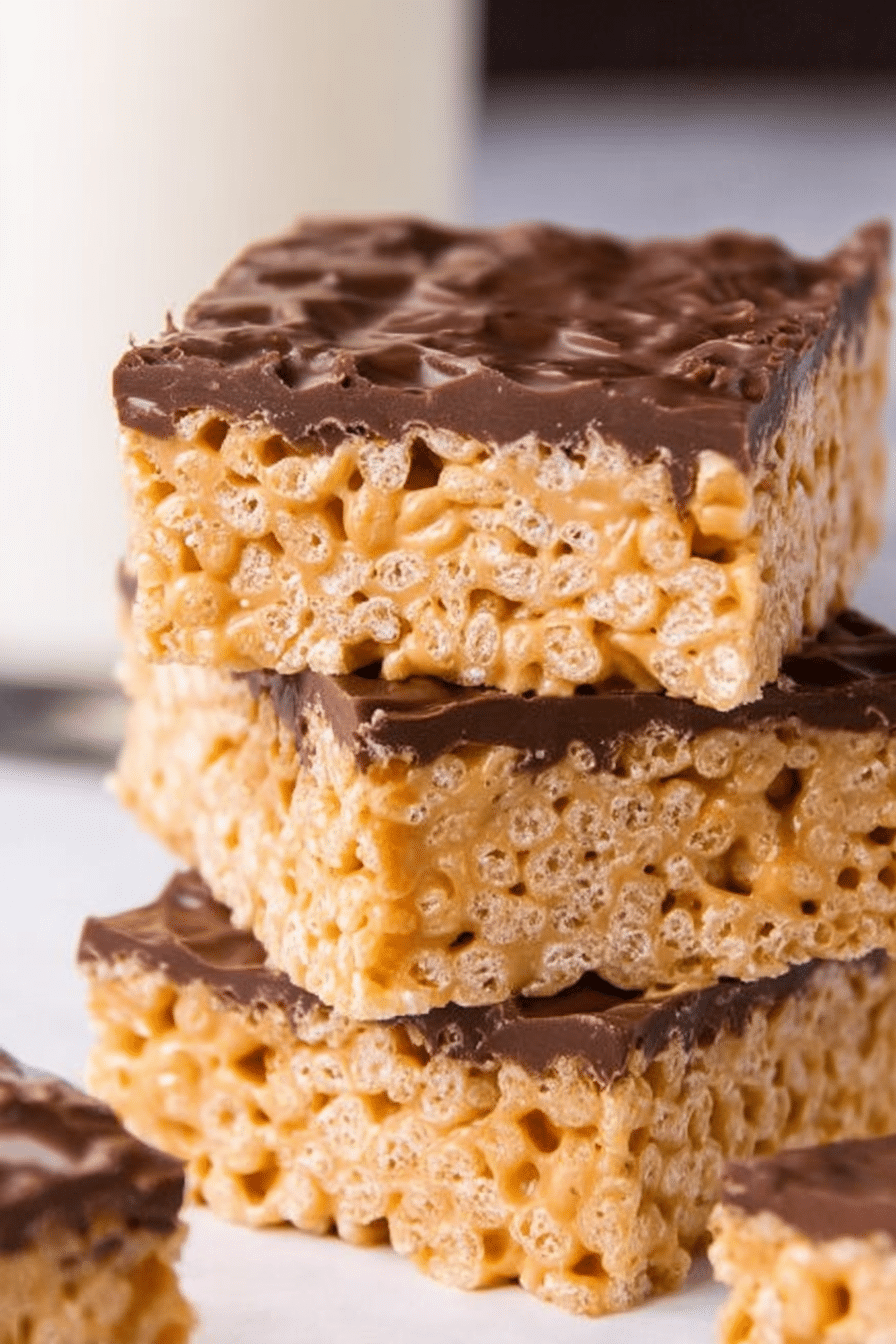
Why Peanut Butter Rice Krispie Treats Are Perfect for Busy Families
They’re no-bake, fast, and forgiving — which is everything a busy household needs. You don’t have to measure with military precision, and kids can help with safe tasks like pressing the mixture into the pan or sprinkling on chocolate. The result is a crunchy-but-chewy bar that satisfies both the cookie-loving and the chocolate-loving members of the family. Picture the kitchen: laughter, the soft pop of mini marshmallows as they melt, and the warm, nutty aroma of peanut butter mixing with toasted cereal. Those sensory moments make the recipe feel like more than a snack; it’s a small family ritual that’s easy to repeat.Everything You Need for Peanut Butter Rice Krispie Treats
- Unsalted butter – Adds richness while letting you control the salt level; I reach for unsalted so the peanut butter sets the seasoning.
- Mini marshmallows – These melt quickly and create the glossy binder that gives treats their chew without large blobs of marshmallow.
- Peanut butter – Provides flavor, creaminess, and helps the mixture stick together; choose a smooth style if you want a uniform bite.
- Crisped rice cereal – The crunchy backbone; any crisped rice cereal works, and substitutes change texture in interesting ways.
- Chocolate – Melted over the top for that classic peanut butter + chocolate finish; a bit of oil or fat helps it spread glossy and smooth.
- Basic equipment – A large saucepan for melting, a wooden spoon or heatproof spatula for gentle stirring, and a pan for pressing the bars into (lined or lightly greased).
The Secret to the Perfect Crispy-Chewy Texture
The sweet spot between crispy and chewy comes from a properly melted marshmallow binder that’s not overheated. If the marshmallow gets too hot it becomes dry and stiff; under-melted marshmallow leaves clumps that don’t coat the cereal evenly. Aim for a glossy, cohesive mass that still feels pliable when you press it.- Heat slowly so the marshmallows soften evenly and integrate with butter and peanut butter.
- Stir gently to keep air in the mixture — that’s what gives the finished bars a light snap instead of a dense, fudgy texture.
- Press the mixture into the pan with a light touch. If you press too hard the bars become compacted and lose their satisfying crunch; if you don’t press at all they fall apart.
Why Low Heat and Gentle Stirring Matter
Marshmallows are mostly sugar, gelatin, and air — all of which react poorly to high, direct heat. High heat can caramelize sugars unevenly and scorch the bottom of your pan, giving the mixture a grainy or bitter note. Low heat keeps the texture smooth and prevents separation when you add peanut butter.- Low, steady heat melts everything into a glossy ribbon instead of a scorched mess.
- Gentle stirring ensures the peanut butter is folded in without deflating the marshmallow’s airiness.
- Be patient: even heat creates a uniform texture that clings to every piece of cereal for the best mouthfeel.
Best Peanut Butter Choices for Flavor and Spreadability
Choosing the right peanut butter is a flavor shortcut. Smooth peanut butter gives a consistent, creamy mouthfeel while crunchy peanut butter adds an extra layer of texture. Natural peanut butter (oil-separated) brings bold, nutty flavor but can be runnier; processed brands are thicker and easier to work with when you want tidy bars. If you love peanut butter, check out our Peanut Butter Oat Balls for another delightful treat! For adventurous twists, try honey-roasted peanut butter for a sweet-salty pop or a cinnamon-spiced variety in cooler months. The aroma as the peanut butter warms and blends with melted marshmallow is one of my favorite parts of this recipe — it smells comforting and a little decadent.How to Make Peanut Butter Rice Krispie Treats (Step-by-Step)
- Lightly grease a pan so the finished bars lift out easily; I like to line the pan with parchment for the cleanest edges.
- In a large saucepan, melt the butter over low heat, then add the mini marshmallows and peanut butter. Stir slowly and constantly until the mixture becomes smooth and glossy.
- Remove the pan from the heat and fold in the crisped rice cereal until every piece is coated; work quickly so the mixture stays pliable.
- Press the mixture into the prepared pan using a piece of parchment or lightly sprayed hands to avoid sticking; press firmly enough to hold together but not so hard the bars get compacted.
- Melt chocolate in short bursts in a heatproof bowl, stirring between intervals until almost smooth; stir in a little oil if you want a shinier finish, then pour over the pressed bars.
- Let the chocolate set at room temperature until firm — usually about a couple of hours — then slice into squares and store in an airtight container.
Troubleshooting
- If the marshmallow mixture seems grainy, I usually had the heat a touch too high — rewarm gently and stir until smooth.
- If bars are falling apart, press the mixture a bit more firmly into the pan next time or add a touch more peanut butter to help bind.
- If chocolate topping blooms or gets streaky, make sure it cools and sets at room temperature — rapid cooling can dull the sheen.
- If your hands get sticky while pressing, I recommend lightly spraying them with non-stick spray or using parchment to pat the top smooth.
Creative Variations for Peanut Butter Rice Krispie Treats
- Chocolate-studded: fold in a handful of mini chocolate chips before pressing for pockets of melty chocolate.
- Crunchy nut mix: sprinkle chopped peanuts or pretzel bits on top for salty crunch.
- Fruity twist: swap in a colorful crisp cereal for part of the rice cereal — kids love the pop of color.For a fun twist, try making Fruity Pebbles Rice Krispie Treats that are sure to delight the kids!
- S'mores-inspired: add crushed graham crackers and a smear of chocolate across the top.Explore even more variations like our delicious S'mores Rice Krispies Treats for extra flavor excitement!
- Mix in dried fruit for a chewy contrast — chopped dried cherries or cranberries work beautifully with peanut butter.
Pro Tip for Peanut Butter Rice Krispie Treats: Easy Gluten-Free & Vegan Swaps
- I often make a gluten-free version by using certified gluten-free crisped rice cereal — the texture stays delightfully close to the original.
- For a vegan option, swap regular marshmallows for vegan marshmallows and use a plant-based butter; the melting behavior is slightly different, so stir patiently until smooth.
- Use almond or sunflower seed butter if nut allergies are a concern — seed butters give a similar creamy structure but a distinct flavor.
- Try different sweeteners sparingly; liquid sweeteners change the set and may require a bit more cereal to reach the right consistency.
- For a protein-packed snack, pair with other recipes likeFor a nutritious snack option, try our Chocolate Peanut Butter Protein Balls that fit well into dietary-friendly diets.
How to Store, Make-Ahead & Customize Peanut Butter Rice Krispie Treats
- Store at room temperature in an airtight container for up to a week — they keep their chew best this way. The sound of treats sliding into a crinkly bag is oddly satisfying and means they’re ready to go.
- To freeze, wrap individual squares tightly and place in a freezer bag for up to a month; thaw at room temperature before serving.
- Make-ahead tip: assemble and refrigerate without the chocolate topping, then melt and pour the chocolate the day you plan to serve for the freshest finish.
- Customize portions by cutting into small bite-sized pieces for lunchboxes or larger squares for an indulgent dessert.
Frequently Asked Questions
Can I use a different type of cereal instead of Rice Krispies? Yes! You can use any crisped rice cereal or even other cereals like cornflakes for a different texture and flavor. How long do Peanut Butter Rice Krispie Treats last? They can last up to a week when stored in an airtight container at room temperature. Can I make these treats vegan or gluten-free? Absolutely! You can use vegan marshmallows and a gluten-free crispy rice cereal to make them suitable for those diets. What type of peanut butter works best for this recipe? Smooth peanut butter generally works best for a creamy texture, but you can also use crunchy peanut butter for added texture. Can I add other mix-ins to my Rice Krispie Treats? Yes! Consider adding chocolate chips, nuts, or dried fruit for extra flavor and texture.Recipe Card
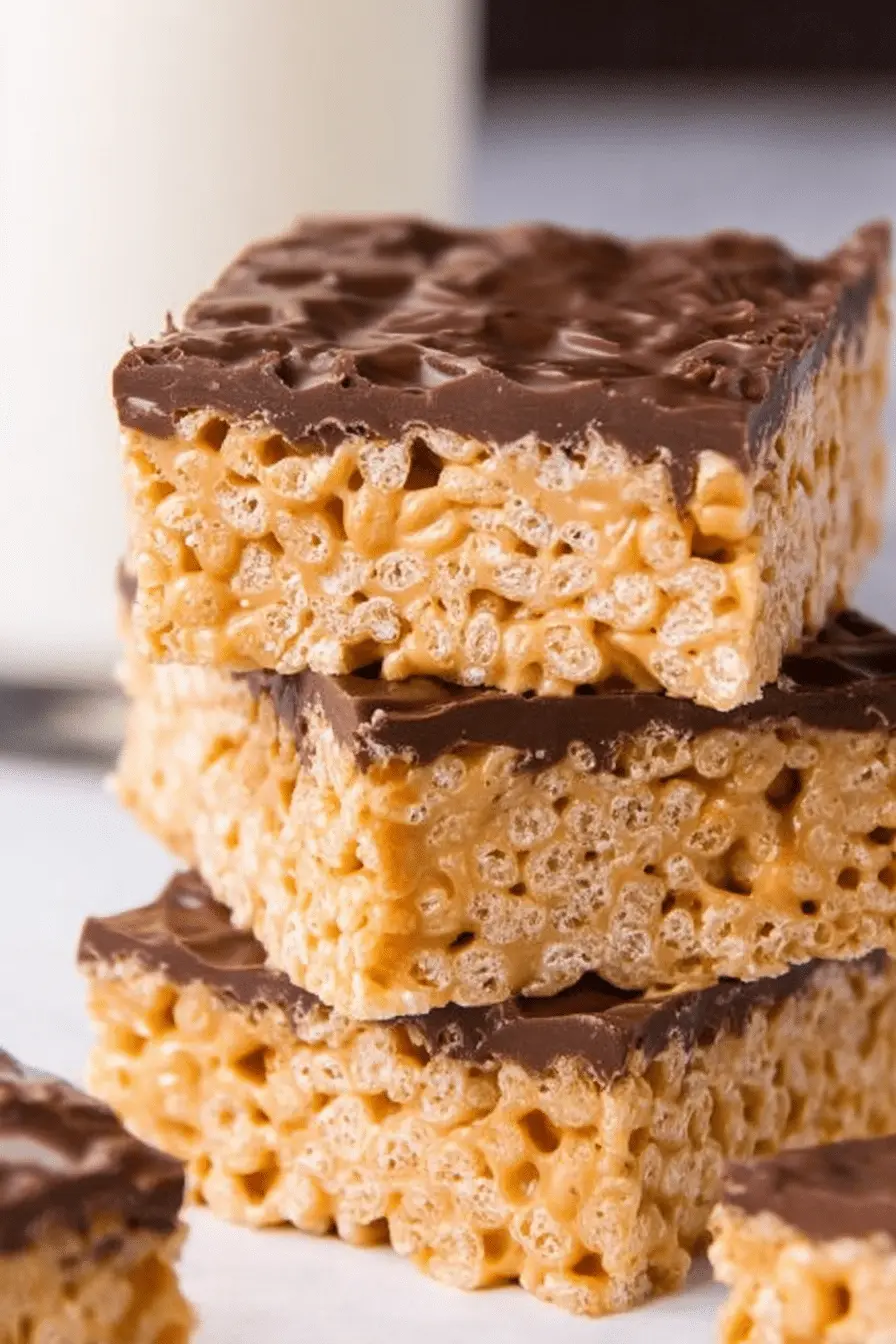
The Peanut Butter Rice Krispie Treats I Make for Busy Weeknights
- Prep
- 30 min
- Cook
- 45 min
- Total
- 75 min
- Serves
- 24
- Calories
- 248 kcal
- Protein
- 4.00 g
- Carbs
- 47.00 g
- Fat
- 5.00 g
Ingredients
- ½ cupsalted butter (melted)
- 2 cupsgraham cracker crumbs (made from 1 1/2 packages of graham crackers)
- 1 cupgranulated sugar
- 1 ¼ cupsbrown sugar (packed)
- ¾ cupunsalted butter (melted)
- 3large eggs (room temperature)
- 1 ½ teaspoonsvanilla extract
- 3 cupsall purpose flour (spooned and leveled)
- 2 ½ teaspoonsbaking powder
- 1 teaspoonfine sea salt (reduce to 1/2 teaspoon if using salted butter)
- 1 cupsemi sweet chocolate chips
- 1 cupmini marshmallows
- 1-2Hershey chocolate bars (each 'Hershey' section broken or cut in half)
- ½ cupmini marshmallows
Instructions
- 1
Preheat oven to 325°F and line a 9"x13" baking pan with parchment paper (or foil). Leave some paper hanging over the sides so you can easily pull the bars out of the pan after baking.
- 2
Crush graham crackers, then combine ½ cup melted butter with crumbs and stir until well combined. Pour mixture into prepared pan, and press evenly into the bottom of the pan. Put entire pan into the freezer while you make the cookie dough.
- 3
In a large mixer, blend together both sugars and the melted butter. Add eggs (one at a time) and vanilla and continue to blend until well combined.
- 4
In a separate bowl, whisk together flour, baking powder and salt. Then, while the mixer is on low, slowly add the flour to the butter/sugar mixture. Stop the mixer immediately when you have added all the flour. Add the marshmallows and chocolate chips and fold together until all of the ingredients are well combined.
- 5
Retrieve the baking pan from the freezer and scoop the dough on top of the prepared crust. Use an offset spatula to carefully spread until evenly distributed.
- 6
Top the dough with the toppings listed, pressing them into the dough slightly.
- 7
Bake 35-45 minutes, or until the top is golden brown, and there is no wet batter visible.
- 8
Remove from oven and allow to cool FULLY before cutting (1 hour or more). For easiest cutting, run a knife around any edges that are touching the sides of the pan, then pull up on the parchment paper and place giant bar on a cutting board.
You might also like

Reviews
Be the first to review this.