I make this strawberry cheesecake whenever I want a show-stopping dessert that I can mostly finish ahead of time. In my kitchen it’s the kind of dessert that looks like hours of work but actually frees you up on party day — the crust sets the foundation, the filling stays luxuriously smooth, and the topping brightens every plate with fresh color and shine.
When I cut the first slice I still remember the soft sigh of the fork through the dense, silky cake and the bright pop of strawberry on the tongue. Hosting becomes easier when a dessert slices cleanly and travels well from fridge to table — that calm feeling is worth the small handful of steps this recipe asks of you.
I’ve written the notes below with hosts in mind: how to prep ahead, how to plate attractive slices, and how to tweak the topping so it looks polished on a banquet table. Read on and you’ll have the creaminess, the color, and the confidence to serve a dessert your guests will remember.
Why This Strawberry Cheesecake Is Ideal for Hosts and Parties
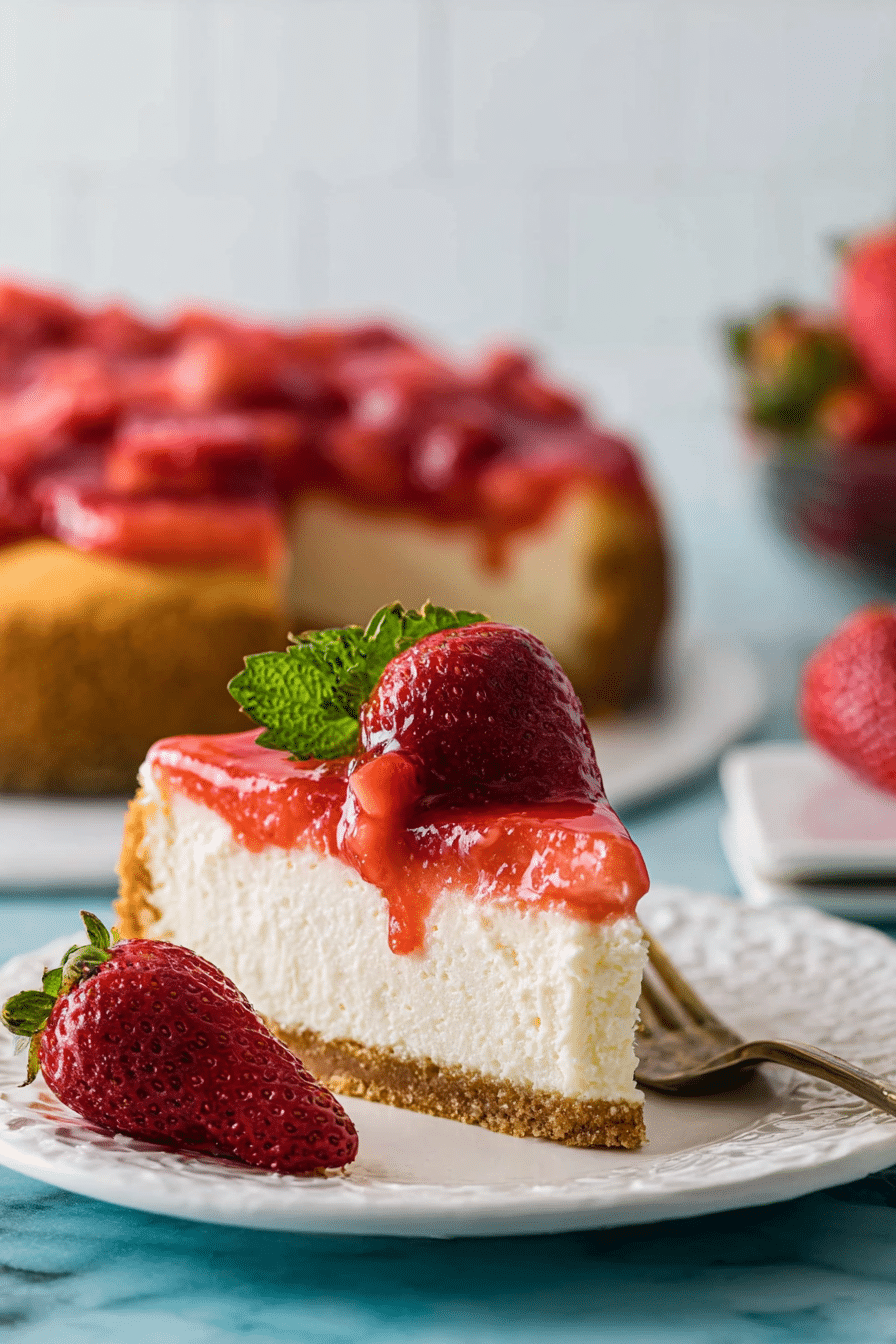
This cheesecake is built for entertaining. The filling is smooth and holds its shape for neat slices, while the fresh strawberry topping adds vivid color that brightens any dessert spread. Because the cake chills and develops flavor over hours, you can do nearly everything the day before — freeing up your time on the day of the event.
Sensory notes: the interior is lush and velvety, with a mild vanilla scent that lets the strawberries sing. The topping offers a sweet‑tart contrast that cuts through the richness, and a glossy finish gives every slice a polished, professional look.
Everything You Need for Strawberry Cheesecake
Below are the essentials — ingredients and equipment — described by purpose so you know what each element brings to the final dessert. I also suggest a companion dessert for variety on your table.
- Graham or cookie crumbs – Provide a lightly sweet, crunchy base that holds together when pressed into the pan; swap for digestive biscuits or gluten‑free crackers if needed.
- Butter – Binds the crust and creates that golden, sliceable edge.
- Cream cheese – The star for creaminess; use full‑fat for the smoothest texture and richest mouthfeel.
- Sugar – Balances the tang of the cheese and sweetens the topping; consider reducing slightly for a less-sweet profile.
- Sour cream or Greek yogurt – Adds a gentle tang and keeps the filling tender; Greek yogurt is a lighter swap with similar results.
- Eggs – Help the filling set while remaining silky when handled gently; room‑temperature eggs create a smoother batter.
- Fresh strawberries – For bright flavor and color in the topping; frozen berries can work if thawed and drained.
- Cornstarch – Thickens the strawberry sauce so it holds on the cake without running everywhere.
- Springform pan – Makes removal simple and keeps edges pristine; this is the most helpful piece of equipment for presentation.
- Electric mixer – Smoothes the cream cheese without over‑aerating; a stand or hand mixer both work well.
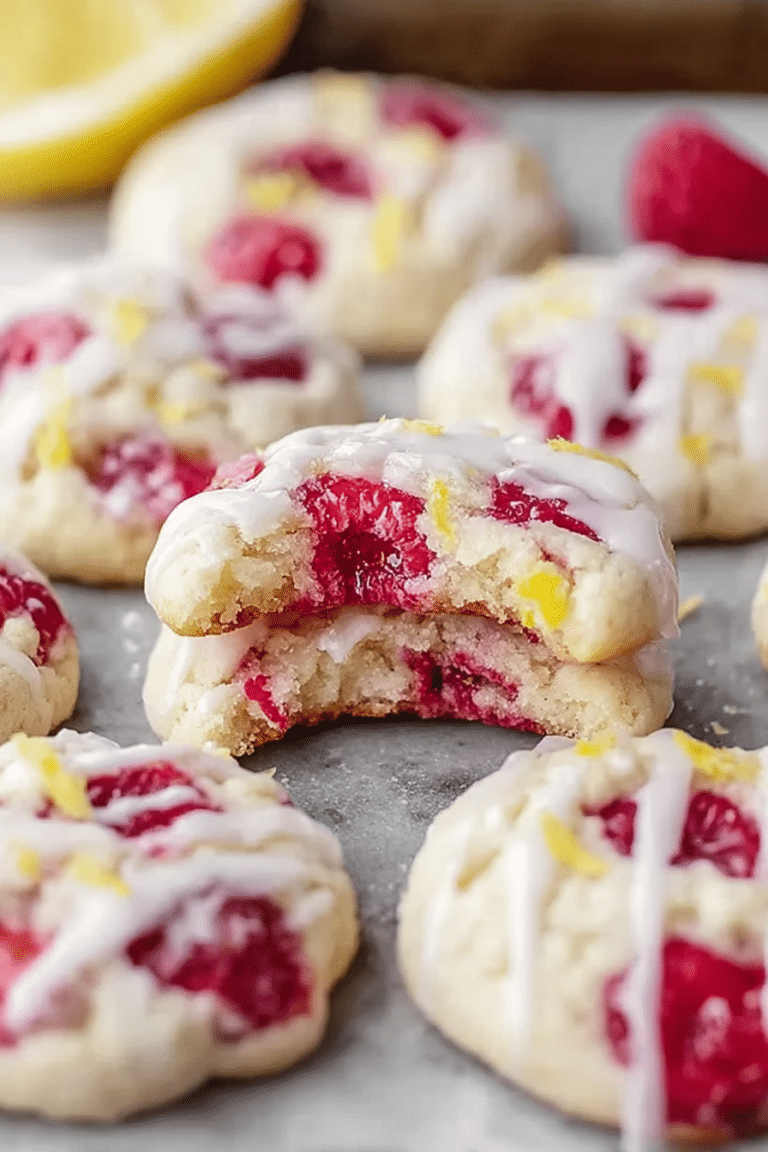
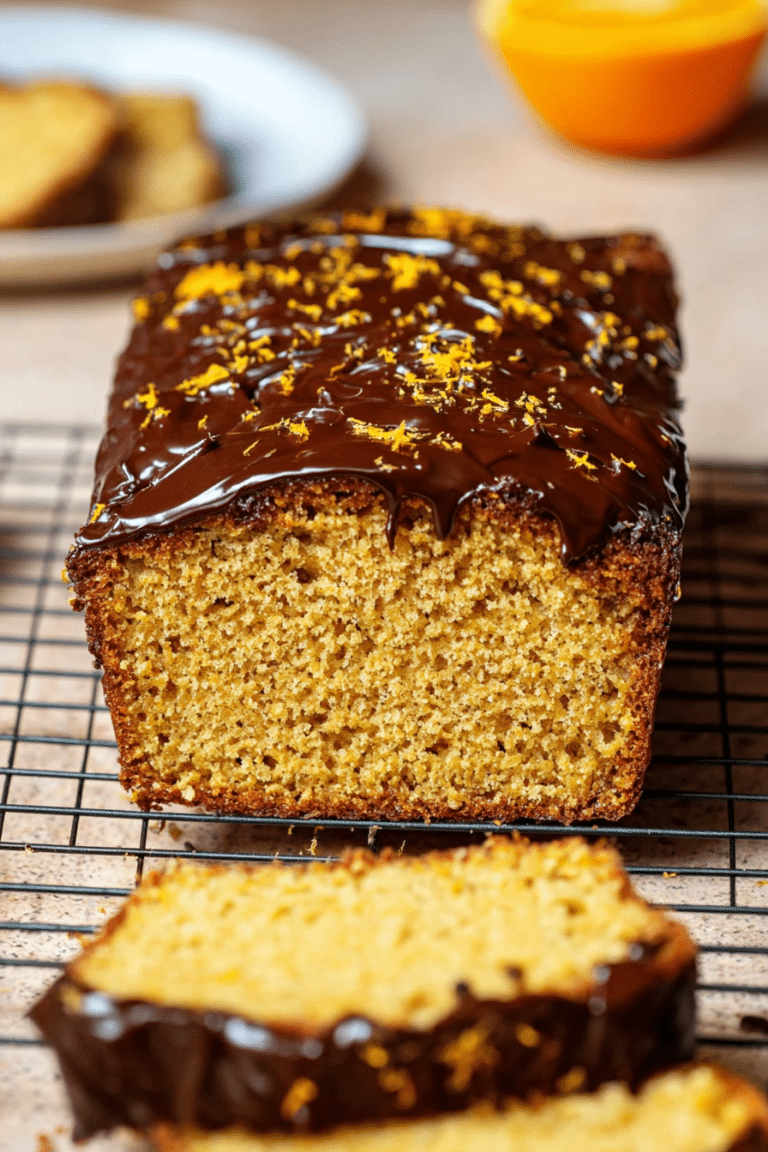
If you want another showpiece on the table, consider a bright citrus option like a strawberry lemon cake to balance the menu:
Check the strawberry lemon cake for another beautiful dessert option.
The Secret to a Smooth, Crack-Free Cheesecake
I’ve learned the hard way that small details matter more than fancy tricks. A crack-free top and satiny texture come down to temperature and patience. I always make sure my cream cheese is fully softened and I never rush the eggs into the bowl — that keeps the batter cohesive.
- Bring ingredients to room temperature so they incorporate evenly; cold cream cheese makes lumps and forces extra mixing.
- Mix on low speed and stop as soon as the batter is smooth; overmixing adds air that expands in the oven and causes cracks.
- Avoid opening the oven while baking; sudden temperature changes can make the center collapse or the surface crack.
- Cool gradually at room temperature until the cake no longer feels warm, then chill; abrupt cooling often leads to splitting.
- If a tiny crack appears, cover it with the topping — the glossy strawberry sauce disguises imperfections perfectly.
How to Build a Glossy, Flavorful Strawberry Topping
The topping balances sugar and acid so that the strawberries sing without being cloying. I cook half the berries to release juices and thicken them, then fold in fresh pieces for texture and sheen.
- Start by combining sugar and a thickener in a small pan to prevent lumps; add half the strawberries, water, and a touch of lemon to brighten the flavor.
- Gently heat and stir until the strawberries break down and the mixture thickens—watch carefully so it doesn’t scorch.
- Remove from heat and stir in the remaining raw strawberries plus a small knob of butter; the butter adds gloss and rounds the flavor.
- Cool the sauce until it’s no longer warm before spooning it over the chilled cheesecake so the topping sets neatly.
If you prefer a lighter, airy finish, pairing the cheesecake with a strawberry mousse can add delicate texture and drama:
Try a velvety strawberry mousse as an exquisite topping.
Timing & Serving: Stage the Cake for a Crowd
Planning your timeline makes hosting calm. I bake the cake one day, chill it overnight, and add the topping the morning of the event if I want neat slices — or the night before if I need the extra time.
- Chill the cheesecake for at least several hours, preferably overnight, so it firms for clean slices.
- Add the topping at least an hour before serving if you want it set; for a looser, more rustic look, top right before guests arrive.
- Portion slices using a hot, dry knife for polished edges — run the knife under hot water between cuts and wipe dry.
- Plan portions for 12 servings; standard slices are generous for dessert after a full meal.
- For buffet service, pre-slice and keep covered in the refrigerator to make passing plates effortless.
How to Make Strawberry Cheesecake (Step-by-Step)
- Preheat the oven and prepare your springform pan by pressing the crust mixture into the bottom and slightly up the sides for a sturdy base.
- Beat softened cream cheese and sugar on low until completely smooth, scraping the bowl to ensure no lumps remain.
- Mix in sour cream and vanilla until just combined to maintain a silky texture.
- Add eggs one at a time on low speed, stopping as soon as each is incorporated so you don’t add excess air.
- Pour the batter into the prepared crust and bake until the edges are set and the center still has a slight jiggle; do not overbake.
- Cool the cheesecake gradually at room temperature, then refrigerate for several hours or overnight to fully set.
- Prepare the strawberry topping by cooking half the fruit with sugar and a thickener, stirring in the remaining berries and butter off heat for a glossy finish.
- Let the topping cool until it’s no longer warm before spooning it over the chilled cheesecake; refrigerate further if you prefer neat slices.
If you’re curious about other cheesecake riffs for gatherings, the blueberry crumble cheesecake is another crowd-pleaser that pairs well with this format:
Try the blueberry crumble cheesecake for variety.
Pro Tip for Strawberry Cheesecake: No-Bake & Vegan Swaps
- For a vegan base, use blended soaked cashews with a neutral oil and a setting agent (like agar-agar) to mimic creaminess and body.
- Replace eggs with aquafaba for a light set in vegan or egg-free versions; it foams and adds structure when gently folded in.
- No-bake versions rely on a gelatin or plant-based gelling agent to set the filling; chill thoroughly so the texture becomes sliceable.
- To keep things fun and casual for a party, try serving no-bake mini cheesecake portions inside a playful format like strawberry cheesecake tacos for an interactive option:
Strawberry cheesecake tacos provide a delightful no-bake option.
How to Store, Make-Ahead, and Serve Strawberry Cheesecake
- Refrigerate the finished cheesecake, covered, for up to 3–4 days; the flavor continues to meld and often tastes better after a day.
- Freeze for longer storage: wrap the cake (or individual slices) tightly and freeze. Thaw overnight in the refrigerator before serving.
- If you’re transporting the cake, keep it on a level surface in a cool carrier; add the topping on site if you expect heat or jostling.
- Make-ahead timeline: bake one day ahead, chill overnight, and prepare the topping the morning of the event for the best combination of convenience and presentation.
Pro-Tips
- Warm your knife under hot water and dry it between cuts for mirror‑clean slices.
- Use full‑fat cream cheese for the most luxurious mouthfeel — lower fat versions can make the filling softer and less stable.
- Don’t rush cooling; sudden temperature changes are the main cause of cracks and sinking centers.
- Reserve a few unmashed berries for garnish to add fresh texture and visual contrast.
Troubleshooting
- If the batter is lumpy, stop and scrape the bowl; softening the cream cheese a bit more will help before continuing.
- If the top cracks, cover with the warm topping or a thin layer of whipped cream to disguise imperfections.
- If the center is still runny after recommended baking time, return to the oven for brief additional baking at a slightly lower temperature.
- If slices are weeping, the topping was likely too warm when applied—next time cool the sauce fully before adding it.
Variations
- Roasted strawberry topping: roast halved berries with a bit of sugar for deeper, jammy flavor and an aromatic caramel note.
- Lemon‑infused filling: fold in a touch of lemon zest to brighten the rich cheese base and balance the sweetness.
- Chocolate‑streaked version: swirl a tempered chocolate ribbon into the batter for a subtle chocolate contrast.
- Individual cheesecakes: make in a muffin tin or small springform pans for portable, plated desserts.
Frequently Asked Questions
Can I use frozen strawberries for the topping?
Absolutely! Frozen strawberries work well in the topping. Just make sure to thaw them and drain any excess liquid before using.
How long should I chill the cheesecake before serving?
For the best flavor and texture, chill the cheesecake for at least 6 hours, but it’s even better if you can let it sit overnight!
What can I use instead of sour cream?
You can substitute sour cream with Greek yogurt for a similar tangy flavor and creamy texture.
Is it necessary to use a springform pan?
Yes, a springform pan is recommended as it allows for easy removal of the cheesecake without damaging it.
How do I prevent my cheesecake from cracking?
To prevent cracks, avoid over-mixing the batter and make sure not to open the oven door while baking. Cooling the cheesecake gradually is also crucial.
Strawberry Cheesecake
Ingredients
Method
- Preheat your oven to 325F (160C).
- In a medium-sized bowl, stir together the graham cracker crumbs, granulated sugar, and brown sugar. Stir in the melted butter until all of the graham cracker crumbs are moistened.
- Press the graham cracker mixture evenly into the bottom and up the sides of a 9” springform pan.
- In a large mixing bowl, combine the softened cream cheese and sugar using an electric mixer on medium-low speed until smooth, creamy, and completely combined.
- Stir in the sour cream and vanilla extract until just combined.
- Add the eggs, one at a time, stirring until just combined after each addition. Do not over-mix.
- Pour the batter evenly into the prepared springform pan and bake at 325F (160C) for 45-50 minutes.
- Allow the cheesecake to cool at room temperature and then refrigerate for at least 6 hours.
- In a small saucepan, whisk together the sugar and cornstarch. Add half of the strawberries, water, and lemon juice, and heat until the sauce thickens.
- Remove sauce from heat, add remaining strawberries and butter, stirring until combined. Let it cool.
- Pour over set cheesecake and serve.