Chocolate Covered Banana Pops: A Healthy Summer Snack You’ll Love
- Prep
- 15 min
- Cook
- 5 min
- Total
- 20 min
- Serves
- 12
- Calories
- 100 kcal
- Carbs
- 20.00 g
On this page11 quick jumps
TOC
11 quick jumps
Introduction
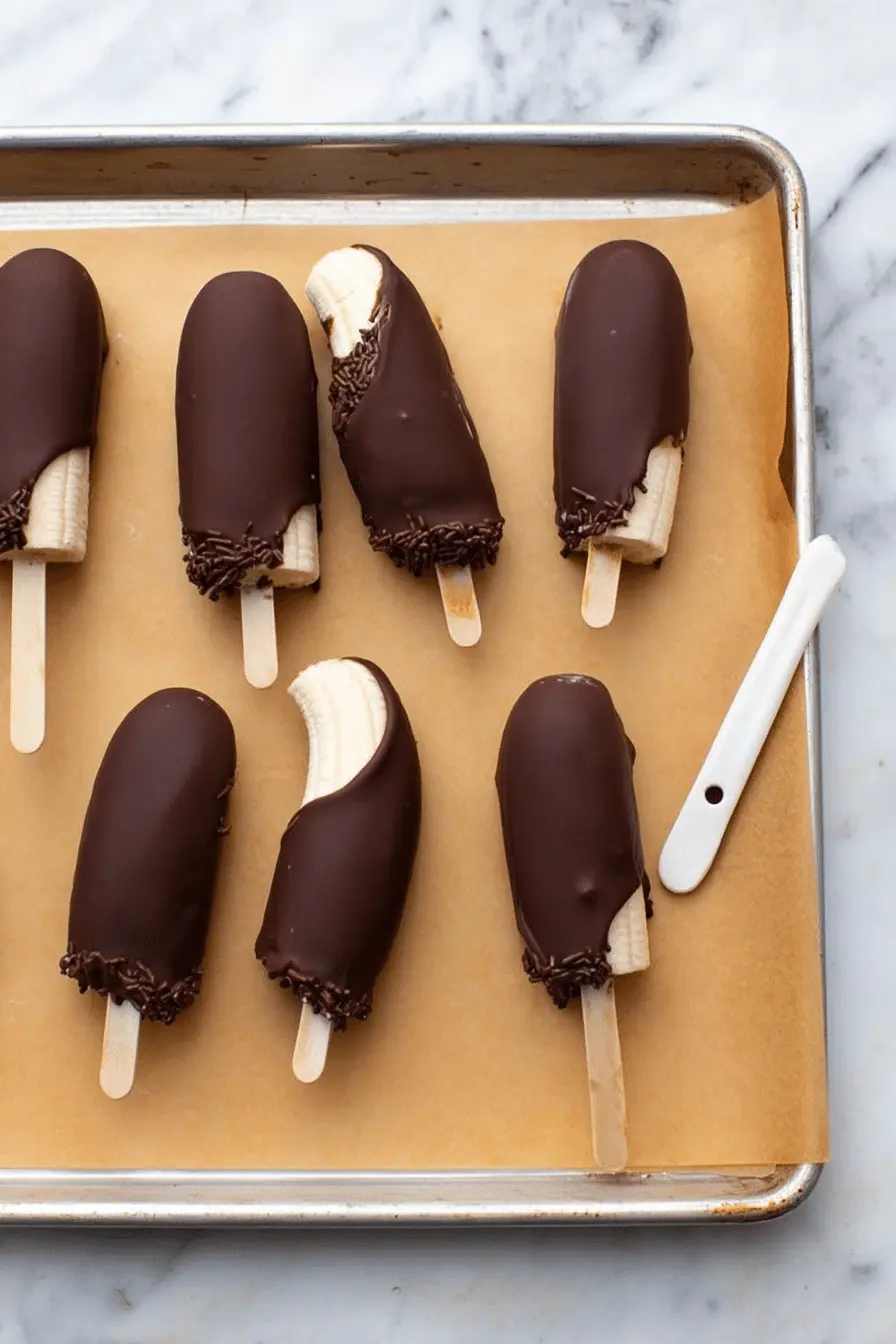
Chocolate covered banana pops are one of those impossibly simple treats that somehow feel like a party. I remember the first time I made them at home: the whole kitchen smelled like warm chocolate while the bananas held a clean, sunny sweetness under the snap of a crisp chocolate shell. They're a frozen throwback to summer fairs and poolside days, yet elegant enough to bring to a brunch or serve at a kid’s birthday.
Ingredients Required
- Bananas – ripe with a few brown spots for sweetness, but still firm so they hold up to freezing and dipping.
- Chocolate – pick a chocolate you like to eat straight (dark, milk, white, or dairy-free options work). Quality matters for flavor and shine.
- Refined coconut oil – a little helps thin the chocolate and gives it a glossy finish when it sets; use refined so it won’t taste coconutty if you don’t want that hint.
- Wooden sticks or popsicle sticks – they give you something to hold and make the pops easy to dip and serve.
- Toppings (optional) – things like chopped nuts, shredded coconut, granola, or flaky salt add texture and flavor contrast.
Step-by-Step Instructions
I’ve cooked this recipe many times and the method below is the version I always return to because it’s forgiving and yields consistent results. Read it once through before you start — there are a few small tricks that save time and frustration.- Line a baking sheet with parchment paper. Peel your bananas and cut them in half so you’ll end up with twelve short pops. Insert the popsicle sticks into the flat, cut side of each banana firmly; you want them to feel secure so they don’t wiggle out during dipping. Tip from experience: if a stick slides out when you press it in, discard that piece — the banana is likely too soft. Use bananas that are spotted but still have a slight resistance when you squeeze them.
- Arrange the banana halves on the parchment with space between them and freeze for at least 4 hours. I often freeze mine overnight. Freezing longer than 48 hours can make the banana interior a bit icy, so I don’t recommend storing uncoated frozen bananas for more than two days before coating. What to expect: a fully frozen banana will feel rock-solid but not glassy. If it’s still soft in the center, it won’t hold up under the warm chocolate and may collapse.
- While they’re freezing, chop about 8 ounces of your chosen chocolate into small, even pieces. This makes it melt quickly and evenly. Add about a tablespoon and a half of refined coconut oil — this thins the chocolate so it pours and sets with a glossy sheen. I usually melt the chocolate using a double boiler: set a heatproof bowl over a saucepan of barely simmering water and stir frequently. Remove the bowl when the chocolate is about 80% melted and stir off the heat — the residual motion finishes the last bits. If you prefer the microwave, heat in short 15–20 second bursts at medium power, stirring well between bursts so the chocolate doesn’t scorch. Pro tip: if your chocolate seizes (sudden grainy texture from water contact), the quickest salvage is a teaspoon of neutral oil or a few drops of warm water while whisking vigorously — but prevention is better: keep steam and splashes away from your bowl.
- When the bananas are solid and the chocolate is glossy and pourable, take the bananas from the freezer. I find that pouring chocolate with a ladle gives better coverage and wastes less chocolate than dunking. Pour over the banana slowly, rotate to coat, and hold the pop upside down for a second so excess chocolate drips off before returning to the parchment. Common issue: thickening chocolate while you work. If the bowl gets cool and the chocolate stiffens, briefly rewarm it over the double boiler or in short microwave bursts. Keep unused melted chocolate warm by placing the bowl over warm (not simmering) water — you want it temperate, not hot.
- Immediately add your chosen toppings — nuts, coconut, or sprinkles — before the chocolate sets. If you wait until the chocolate hardens, toppings won’t stick. For an even coating of fine toppings like coconut, hold the banana over a small bowl and roll or sprinkle so the bits adhere evenly. When you place the finished pops back on the baking sheet, keep them in a single layer and return to the freezer for at least 10–15 minutes so the coating snaps hard when you bite into it. Once hardened, transfer to a freezer-safe bag for storage.
- Storage and serving: store in a freezer-safe bag for up to two weeks. Expect the banana to be firm and spoonable when you bite into it; if you let them thaw a bit at room temperature for 1–2 minutes before serving, the center softens and the chocolate still keeps its snap.
Creative Topping Ideas
I like to keep a few bowls of toppings ready when I dip so each pop becomes its own little experiment. Here are combinations that have worked beautifully over many batches.- Chopped peanuts – adds crunch and a salty contrast to the sweet banana and chocolate.
- Shredded coconut – gives a tropical chew and pairs well with dark or white chocolate.
- Granola – for a cereal crunch and extra bite; press it gently into the warm chocolate so it sticks.
- Cacao nibs – tiny bursts of bitter chocolate that keep things grown-up.
- Flaky sea salt – a tiny pinch goes a long way to brighten sweetness.
- Sprinkles or colored sugar – perfect for kid-friendly or holiday-themed pops.
- Drizzle of nut butter – swirl a spoonful of melted peanut or almond butter over the set chocolate for a marbled effect.
Variations for Dietary Preferences
This recipe is naturally adaptable. Over the years I've made versions to fit vegan, paleo, and gluten-free needs, and they all turn out well if you pay attention to a couple of details.- Vegan – use a vegan chocolate bar or vegan chocolate chips and ensure toppings (like sprinkles) are plant-based. Vegan chocolate can be a touch firmer when cold, so the coconut oil helps keep it glossy.
- Paleo – choose a paleo-friendly chocolate (sweetened with coconut sugar or other paleo choices) and skip granola if it contains gluten grains.
- Gluten-free – bananas and chocolate are typically gluten-free, but check toppings and granola labels to be sure.
- Lower sugar – use a high-percentage dark chocolate (70%+) for less sugar and a more intense cocoa flavor. If you need to avoid sweeteners, a drizzle of unsweetened nut butter can add richness without added sugar.
- Other fruit – bananas are forgiving because of their texture, but you can make smaller chocolate-dipped fruit pops with strawberries or chunks of apple; keep in mind they will not freeze as solid as bananas and may need quicker handling.
Health Benefits of Bananas and Chocolate
One of my favorite things about these pops is that, while they feel indulgent, they’re actually built from nutritious ingredients. Bananas are a great source of potassium, vitamin B6, and vitamin C, and they provide natural sweetness that reduces the need for added sugar. Dark chocolate, eaten in moderation, contributes antioxidants (flavonoids) and can add a bitter-sweet complexity that makes each bite satisfying so you’re less likely to overindulge. Remember: portion control matters. A single pop is a snack-sized treat — it fills the sweet tooth without being a full dessert. If you want to nudge the nutrition further, add nuts for healthy fats and protein, or a sprinkle of chia seeds for fiber. For more ways to enjoy the nutritional benefits of bananas, check out our delicious banana oatmeal bars.Serving Suggestions for Parties
These pops shine at any gathering because they’re interactive and visually appealing. A few of my favorite presentation ideas:- Platter arrangement – lay pops on a wooden board or a chilled serving platter in overlapping rows, alternating toppings so guests can choose.
- Individual wrappers – wrap the stick end in a small piece of parchment or decorative paper for a neat grab-and-go look.
- Dip station – set out melted chocolate, bowls of toppings, and frozen banana halves so guests can assemble their own. This is great for kids’ parties because it’s part snack, part craft.
- Themed toppings – for holidays, use colored sprinkles or crushed candy that fits the theme (red and green for Christmas, pastels for Easter, etc.).
- Pairings – serve with a small dish of salted caramel or warmed almond butter for dipping, or alongside chilled coffee or iced tea to balance the sweetness.
Conclusion and Final Thoughts
These chocolate covered banana pops are one of those reliable recipes I come back to every summer. They’re fast, flexible, and forgiving — the banana’s texture hides a lot of little mistakes, and the chocolate elevates a humble fruit into something celebratory. Over the years I’ve learned that the key to success is simple: fully freeze the bananas, keep the chocolate warm and pourable, and work in batches so the coating stays glossy. Try different combinations, ask friends to help with the topping station, and don’t be afraid to tweak the chocolate-to-oil ratio for your preferred snap or sheen. If you experiment, leave a note in the comments about what toppings or chocolate you loved — I read them and often steal ideas for my next batch.FAQ
How long do I freeze the banana pops? You should freeze the banana pops for at least 4 hours, but you can prepare them up to 2 days in advance. Can I use milk chocolate instead of vegan chocolate? Absolutely! You can use any type of chocolate you prefer, including milk or dark chocolate, depending on your taste. What are some good toppings for chocolate covered banana pops? Great toppings include crushed nuts, shredded coconut, granola, sprinkles, and even spices like cinnamon! Are chocolate covered banana pops suitable for vegans? Yes! If you use vegan chocolate and ensure all your toppings are plant-based, these treats are perfect for a vegan diet. How can I store the banana pops after making them? Once the banana pops are hardened, you can store them in a freezer-safe bag for up to two weeks.Ingredients
- 6 piecesripe bananas (should have some spots, but still be firm)
- 8 ounceshigh-quality vegan chocolate
- 1.5 tablespoonsrefined coconut oil
- —Optional toppings (chopped peanuts, shredded coconut, granola, cacao nibs, and/or flaky salt)
Instructions
- 1
Line a baking sheet with parchment paper. Peel the bananas, cut them in half, and insert a popsicle stick or wooden skewer into the cut side of each half. Arrange the bananas on the baking sheet with space between them, then freeze for at least 4 hours, or up to 2 days in advance. After 2 days, the bananas may become slightly icy without a coating.
- 2
Melt the chocolate using either a double boiler or microwave.
- 3
For the double boiler method, fill a saucepan with 1-2 inches of water and place a glass bowl on top. Bring the water to a simmer over high heat, then lower to medium-low. While it warms, add the chocolate and coconut oil to the glass bowl. Stir frequently with a clean, dry spatula until the chocolate is about 80% melted, then carefully take the bowl off the pot and stir until fully melted.
- 4
Once the chocolate has fully melted, take the bananas out of the freezer. Pour the melted chocolate over each side of the banana using a large spoon or ladle. Hold the banana upside down over the bowl for a few seconds to let any excess chocolate drip off. Return the coated banana to the parchment paper and repeat with the others.
- 5
Serve immediately, or keep in the freezer until you're ready to enjoy. Once hardened, the banana pops can be stored in a freezer-safe bag for up to two weeks.
Recipe Card
Chocolate Covered Banana Pops: A Healthy Summer Snack You’ll Love
Keep it handy for later, send it to someone cooking with you, or open the clean print view.
- Prep
- 15 min
- Total
- 20 min
- Serves
- 12
You might also like
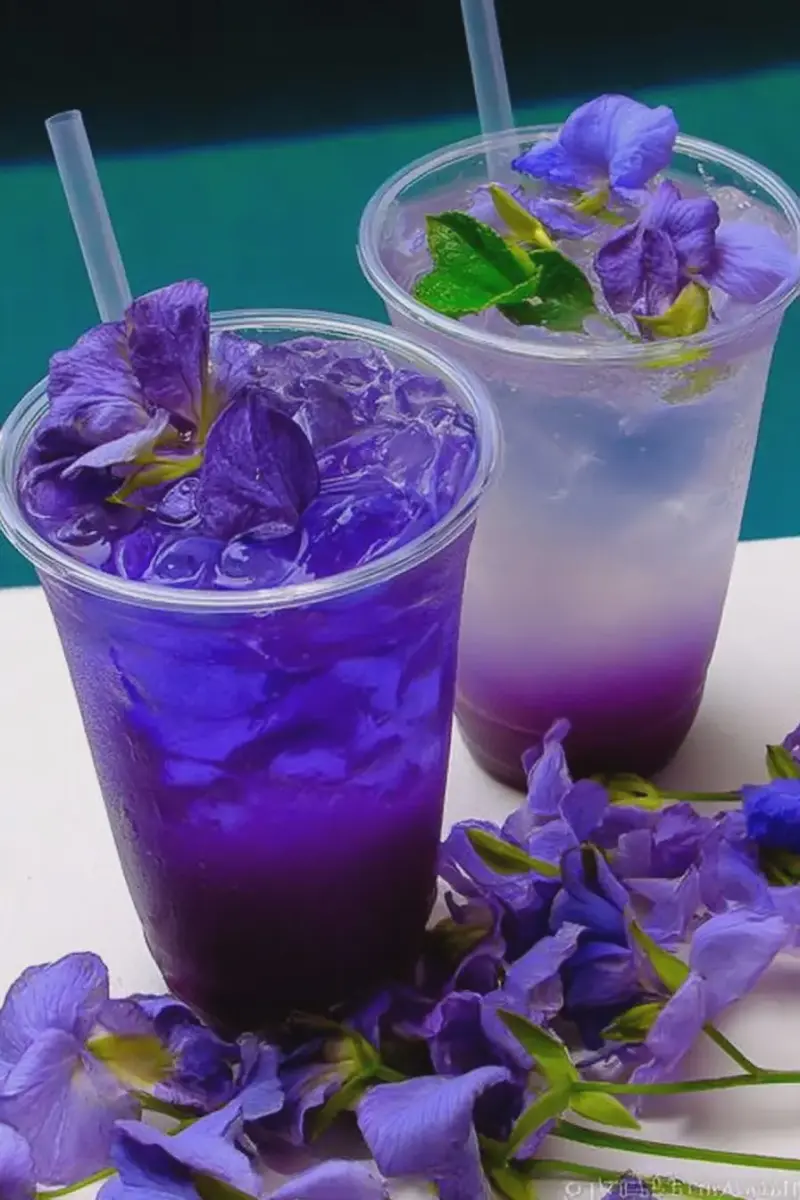
The Mocktail My Guests Ask For — Lychee Italian Soda With Blue Tea
May 20, 2026
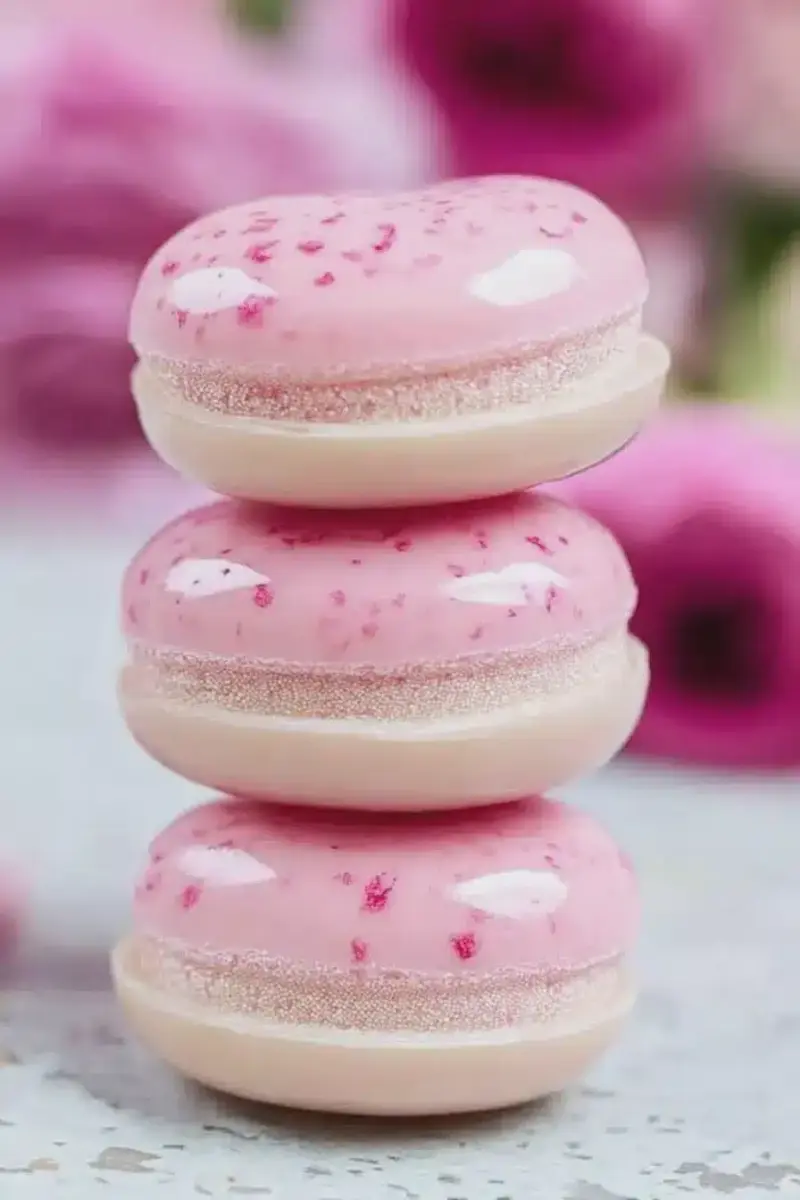
How I Perfected Delicate Lychee Rose Macarons with Real Lychees
May 20, 2026
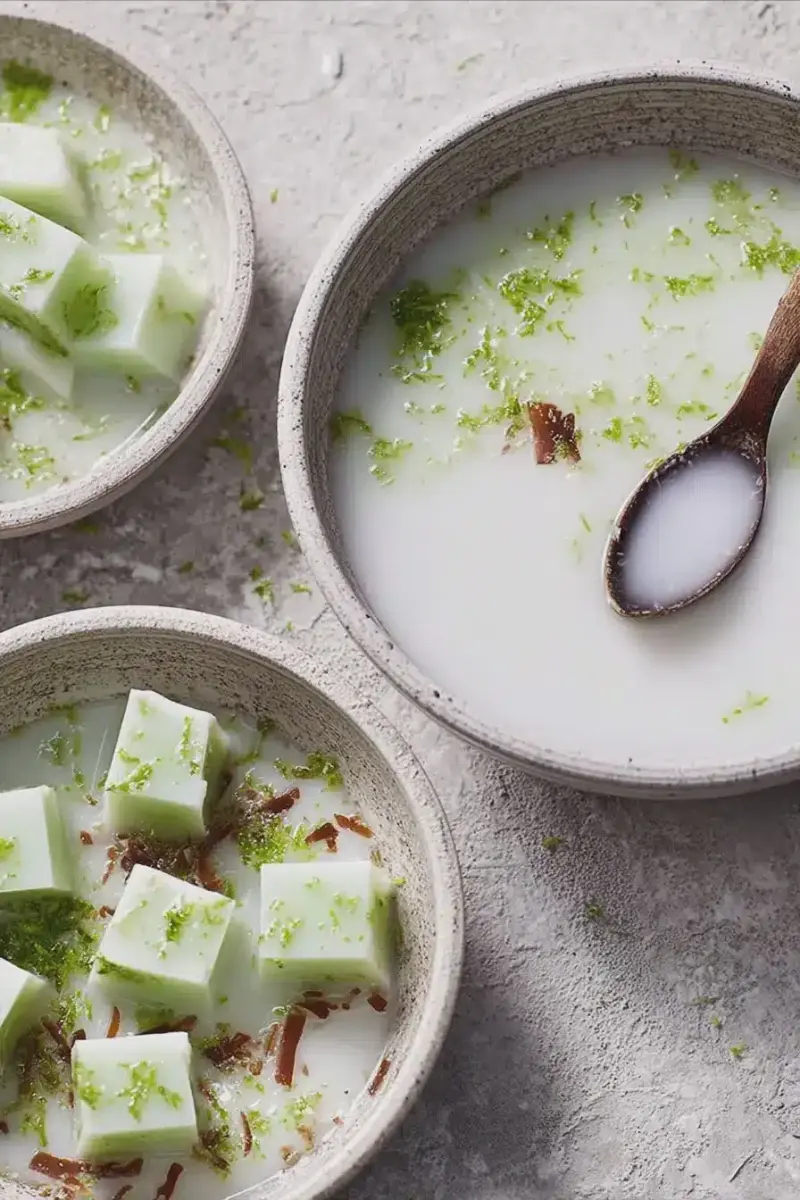
The Coconut-and-lime Jelly Bowls My Guests Always Ask For
May 20, 2026
The Homemade Treat My Kids Beg For: DIY Honey Lemon Gummy Bears
May 20, 2026
Reviews
Be the first to review this.