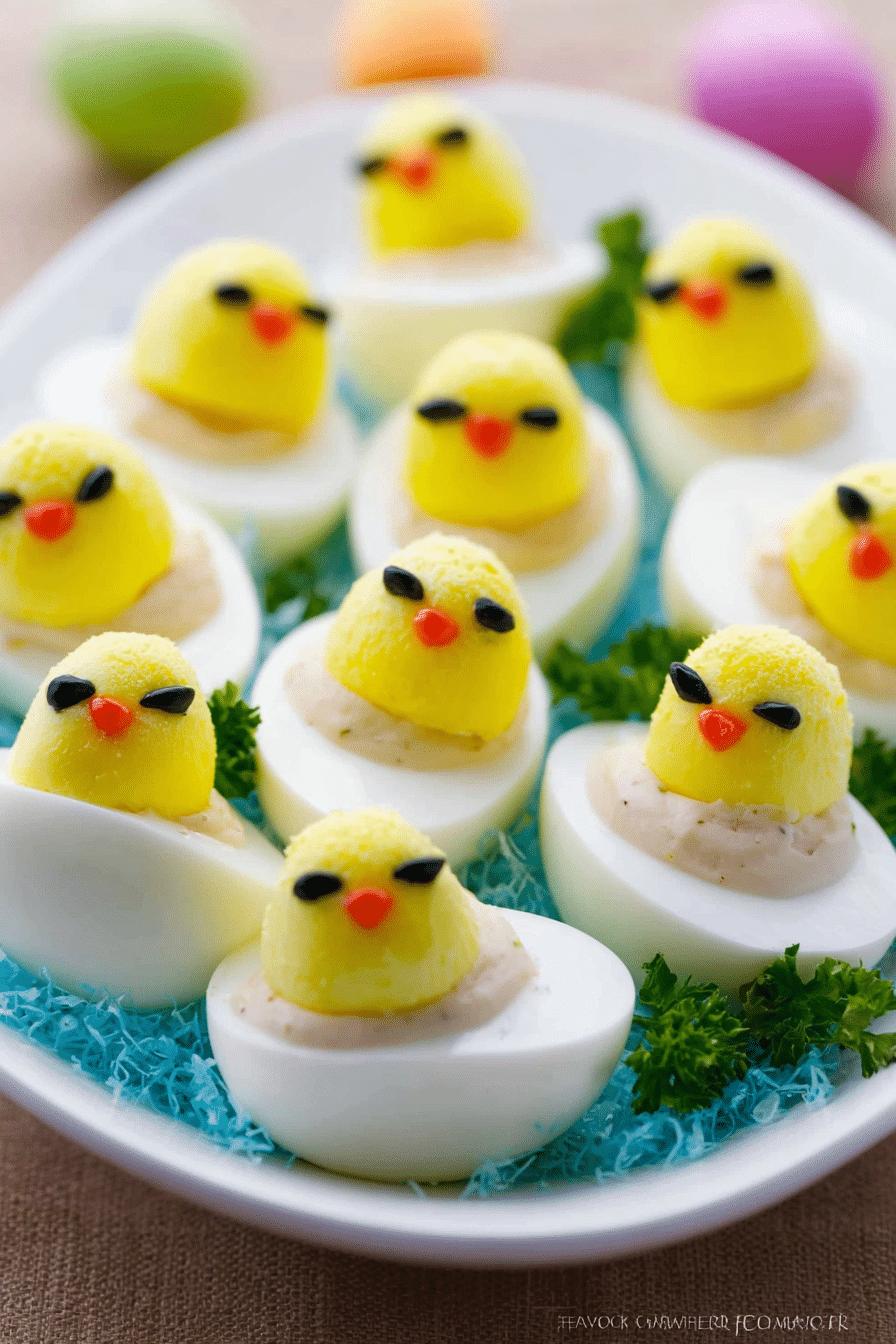
I love recipes that turn a simple snack into a hands-on family moment. These deviled egg chicks are exactly that — quick to make, silly to decorate, and perfect for little hands to help with. I remember the first time I set my kids loose on these: the laughter as they picked tiny olive eyes and the proud grins when they carried their finished chicks to the platter are what I cook for.
Making these with kids means being practical: a short total time, a few tidy tools, and decorations that feel like crafts. The smell of fresh egg and a hint of mustard in the filling is comforting, while the bright carrot beaks and shiny olive eyes make the platter pop. I like to set things up assembly-line style so everyone has a simple job.
If you want something approachable and festive for an Easter table or school party, this is it. The kids learn knife safety in tiny, supervised steps, practice fine motor skills when they pop olive dots with a straw, and come away proud of something they made. The result is cute, portable, and always gone fast at my house.
Why These Deviled Egg Chicks Are Perfect for Busy Families
Short on time but want something special? These chicks check both boxes. They’re simple to prep, easy to adapt, and make great use of everyday ingredients. Beyond convenience, the activity itself is a tiny celebration: kids get to decorate, parents get to sit back and enjoy the smiles. Here’s why I turn to them when Easter rolls around:
- Quick total time (prep + cook) so you can fit them into a busy afternoon or make them between other holiday tasks.
- Fun presentation that invites kids to participate — they’re proud to hand guests food they helped create.
- Engaging, low-pressure cooking tasks that foster interest in food without long attention spans.
- Visual appeal: bright carrot beaks and glossy olive eyes catch the eye; the aroma of mustard-mayonnaise filling is subtle and familiar.
Everything You Need for Deviled Egg Chicks
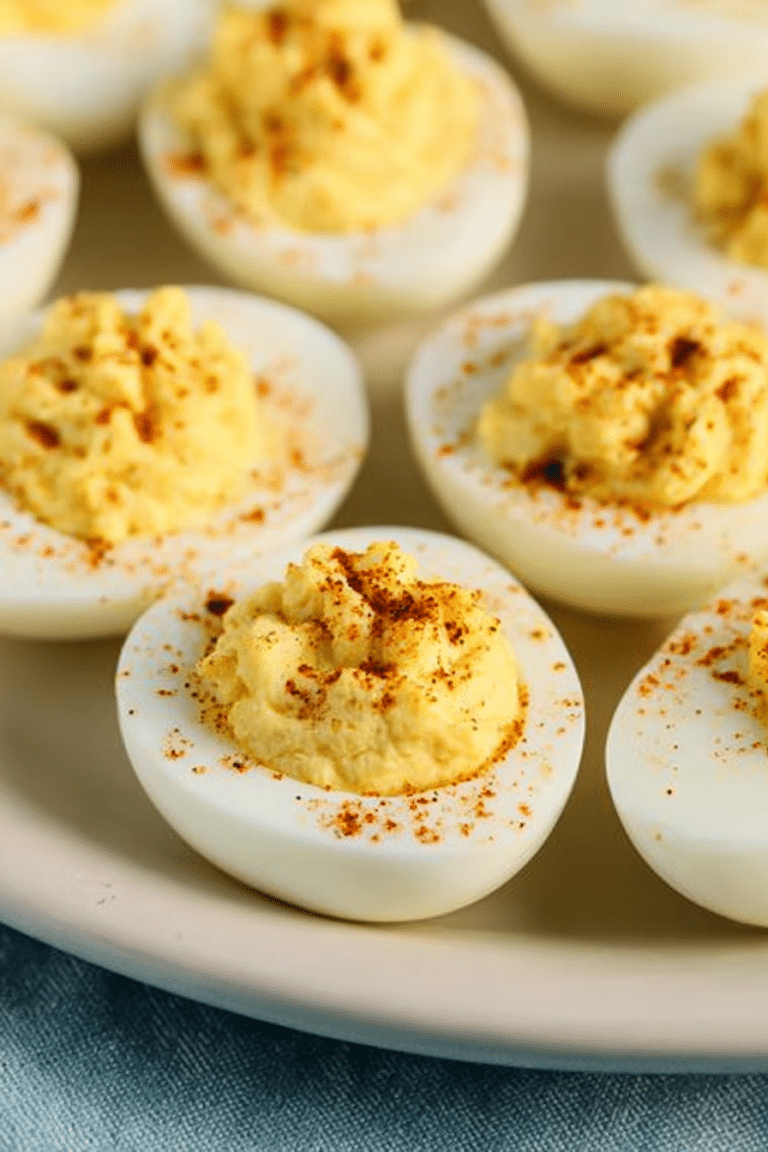
Keep ingredients simple and choose fresh produce for decorating — a little color goes a long way on the platter. Good-quality mayonnaise and fresh eggs make the texture and flavor noticeably better. If you love deviled eggs, try our classic deviled eggs recipe as a tasty alternative.
- Eggs – The star of the show; look for fresh eggs with smooth shells so they’re easier to peel.
- Mayonnaise – Provides creaminess; swap for Greek yogurt or vegan mayo if you prefer a lighter or dairy-free option.
- Mustard – Adds tang; if you don’t have dijon, yellow mustard works fine or leave it out and season to taste.
- Garlic powder & salt – Background seasoning to round the filling.
- Carrot – Crunchy, bright beaks when sliced into thin rings and wedges; pick firm carrots for clean cuts.
- Black olives – Shiny eyes; use pitted olives so small kids can handle them safely under supervision.
- Tools – Sharp knife for trimming bases (adult use), a small straw to cut olive dots, and a pastry bag or zip-top bag for piping the filling.
The Secret to Silky Yolk Filling
Getting a smooth, spreadable filling is more technique than mystery. The texture comes down to how finely you mash the yolks and how well the binder (mayonnaise or a substitute) integrates.
- Mash the cooked yolks until very fine so there are no gritty bits — a fork or a small ricer does the job.
- Balance creaminess and tang: start with a modest amount of mayonnaise (or Greek yogurt/vegan mayo) and add mustard for brightness — taste as you go.
- Season gently with salt and a pinch of garlic powder; the goal is a smooth, slightly tangy filling that holds its shape when piped.
- If you need a dairy-free version, use a vegan mayo and a touch more mustard or a squeeze of lemon to boost flavor.
Tools & Simple Tricks to Assemble the Chicks
Use common kitchen tools for neat assembly and less mess. The tactile part — pressing the lid back on and adding eyes — is what kids love most.
- Trim a thin slice from the base of each egg so it sits flat; this prevents wobbling on the platter (adult task).
- Cut off the top third of the egg with a sharp knife and keep each lid paired with its base — it makes reassembly tidy.
- Gently squeeze around the yolk in the base to pop it out intact; if it sticks, run a small spoon around the inside first.
- Use a pastry bag or a zip-top bag with a corner snipped to pipe the filling neatly; this helps the lids sit naturally over a generous mound of filling.
- To make olive eyes, poke through an olive with a short plastic straw and push the little disks out — it’s surprisingly quick and kid-appealing (supervise small children).
How to Involve Kids Safely: Age-Appropriate Tasks
Kids can do meaningful work at every age if tasks match their abilities. Keep a calm, playful tone and assign one job at a time so they stay focused and proud.
- Preschoolers: wash carrots, place olive dots and carrot beaks on the eggs, and arrange finished chicks on the platter.
- Early elementary: mash yolks with a fork and help spoon or pipe the filling (with supervision using piping bags).
- Older kids: help pair lids with bases, use a plastic straw to poke olive slices, and assist with simple trimming under close supervision.
- Knife safety: adults handle all cutting and trimming; demonstrate safe habits and keep a small first-aid kit nearby for peace of mind.
- Make it a story: ask kids to name their chicks or tell a quick egg-themed tale while they decorate to keep the energy fun and collaborative.
How to Make Deviled Egg Chicks (Step-by-Step)
- Hard-boil and peel the eggs; let them chill so they’re easier to handle (about 15 minutes of cooling helps).
- Trim a thin slice from the base of each egg so it stands flat on a platter (adult task, quick and precise).
- Slice off the top third of each egg and set lids aside, keeping each lid paired with its base to avoid mismatches.
- Gently loosen and remove the cooked yolks from the bases and transfer the yolks to a bowl.
- Mash the yolks until smooth, then fold in mayonnaise (or Greek yogurt/vegan mayo), mustard, garlic powder, and salt; taste and adjust.
- Transfer filling to a pastry bag or a zip-top bag with the corner snipped; pipe filling generously into each egg base so it mounds up slightly.
- Place the paired lids back on top and press gently to adhere; the filling should peek out to form the chick’s fluffy body.
- For eyes, use a small straw to cut olive slices and press two spots into each chick; add a thin carrot wedge for the beak.
- Arrange on a platter with fresh herbs like parsley or dill to create a nest-like setting and serve shortly after assembly for best texture.
Pro Tip for deviled egg chicks: Keep Lids Paired & Pipe Like a Pro
- I always chill the eggs before I start — cold whites are firmer and easier to trim and handle.
- Keep each lid matched to its base; the fit is surprisingly variable and pairing prevents sloppy-looking chicks.
- When piping, keep steady pressure and fill until the mound peeks above the rim so the lid sits naturally on top.
- If you want a smoother finish, press the top of the filling lightly with a spoon before replacing the lid.
- Work on a tray or cutting board so kids can decorate without making the whole kitchen sticky — less cleanup, more fun.
Troubleshooting
- Yolks too dry or crumbly? Mix in a little extra mayonnaise or a splash of milk to soften — I tweak texture until it’s spreadable.
- Lids won’t sit flat? Make sure you trimmed the base enough to give a stable platform; match lids to bases and press gently to set.
- Olive eyes falling off? Press them into the filling slightly or use a tiny dab of filling as glue before pressing the olive dot in place.
- Filling too runny? Chill it briefly so it firms up, then re-pipe; cooler fillings hold shape better under the lid.
How to Store, Make-Ahead & Healthy Variations
These chicks are best assembled close to serving time, but you can make key parts ahead to save time. For a twist on flavors, try making our deviled egg macaroni salad as a make-ahead option.
- Storage: Keep finished deviled egg chicks in an airtight container in the fridge for up to 2 days; flavors mellow, so assemble near serving for peak texture.
- Make-ahead: Prepare the yolk filling a day ahead and chill; fill and decorate the eggs the day of the event for best presentation.
- Healthier swaps: Use Greek yogurt in place of some or all of the mayonnaise for fewer calories and added tang.
- Vegan alternative: Use firm tofu blended with vegan mayo and kala namak (if available) to mimic an eggy flavor; shape into halves using small molds for the base.
- Lower-sodium tip: Choose reduced-sodium olives or rinse them briefly to tone down salt if needed.
Unique Presentation Ideas
Presentation turns a simple platter into a festive centerpiece. Think nests, color, and height to make the chicks sing on your Easter table. Consider presenting your deviled egg chicks alongside a delightful Easter cake roll for festive flair.
- Create edible nests from shredded lettuce, thinly sliced radish, or toasted coconut (for a sweet table) and arrange chicks nestled inside.
- Use colored eggshells (soft-boiled dyed shells reused as holders) for a seasonal palette — the contrast is charming.
- Garnish with tiny edible flowers or fresh herb sprigs to add spring color and a light aroma.
- Arrange chicks in a circle around a small bowl of dipping sauce (mustard-mayo mix) for an interactive platter.
Suggested Pairings
These little chicks go well with light, spring-leaning sides and easy soups for a full family meal. They also make a playful appetizer before a heartier main course. These deviled egg chicks pair perfectly with easy rotisserie chicken noodle soup for a complete meal.
- Light salads (mixed greens with a lemon vinaigrette) to balance the creaminess of the filling.
- Simple vegetable crudités and hummus for extra color and crunch on the table.
- Warm soups like chicken noodle or spring vegetable to turn the platter into a family-friendly lunch.
- For brunch, pair with fruit salad and hot cross buns for a festive spread.
Frequently Asked Questions
What can I use instead of dijon mustard in this recipe? If you don’t have dijon mustard, you can use yellow mustard or omit it entirely. Adjust the seasoning to fit your taste!
Can I make deviled egg chicks ahead of time? Yes, you can prepare the egg filling a day in advance and keep it stored in the refrigerator. Just assemble the chicks close to serving time for the best texture.
How do I safely involve my kids in making deviled egg chicks? Kids can help by mashing the yolks, adding ingredients to the bowl, or decorating the chicks with olives and carrots. Always supervise during cutting tasks.
What’s the best way to store leftover deviled egg chicks? Store any leftover deviled egg chicks in an airtight container in the refrigerator for up to 2 days. However, they are best enjoyed fresh!
Can I use different garnishes to decorate the chicks? Absolutely! You can use fresh herbs, edible flowers, or even colorful vegetables to add extra flair to your deviled egg chicks.
Deviled Egg Chicks
Ingredients
Method
- Peel 12 hard-boiled eggs. With a sharp knife, slice off a very thin layer from the base of the egg - this will give it a flat surface to stand on a platter. Cut off a generous top third of the egg. Squeeze around the egg base gently to loosen the yolk and it should pop right out. Keep the lids paired with their bases.
- In a medium mixing bowl, combine 12 cooked yolks and mash well with a fork. Add mayonnaise, dijon mustard, garlic powder and salt, or season to taste. Mash everything together until smooth. Transfer mixture to a ziploc or pastry bag and pipe generously into egg bases. Place top third back over the base and press down slightly to adhere.
- For the eyes, poke through an olive with a plastic straw several times then gently squeeze down the straw and the little circles of olives will pop right out. For the beaks, thinly slice a few rings of carrot and cut each ring into sixths. Insert 2 olive spots for the eyes and 2 carrot wedges for the beak. Set chicks on a platter and garnish with fresh parsley or dill to give them that 'free range' feel.