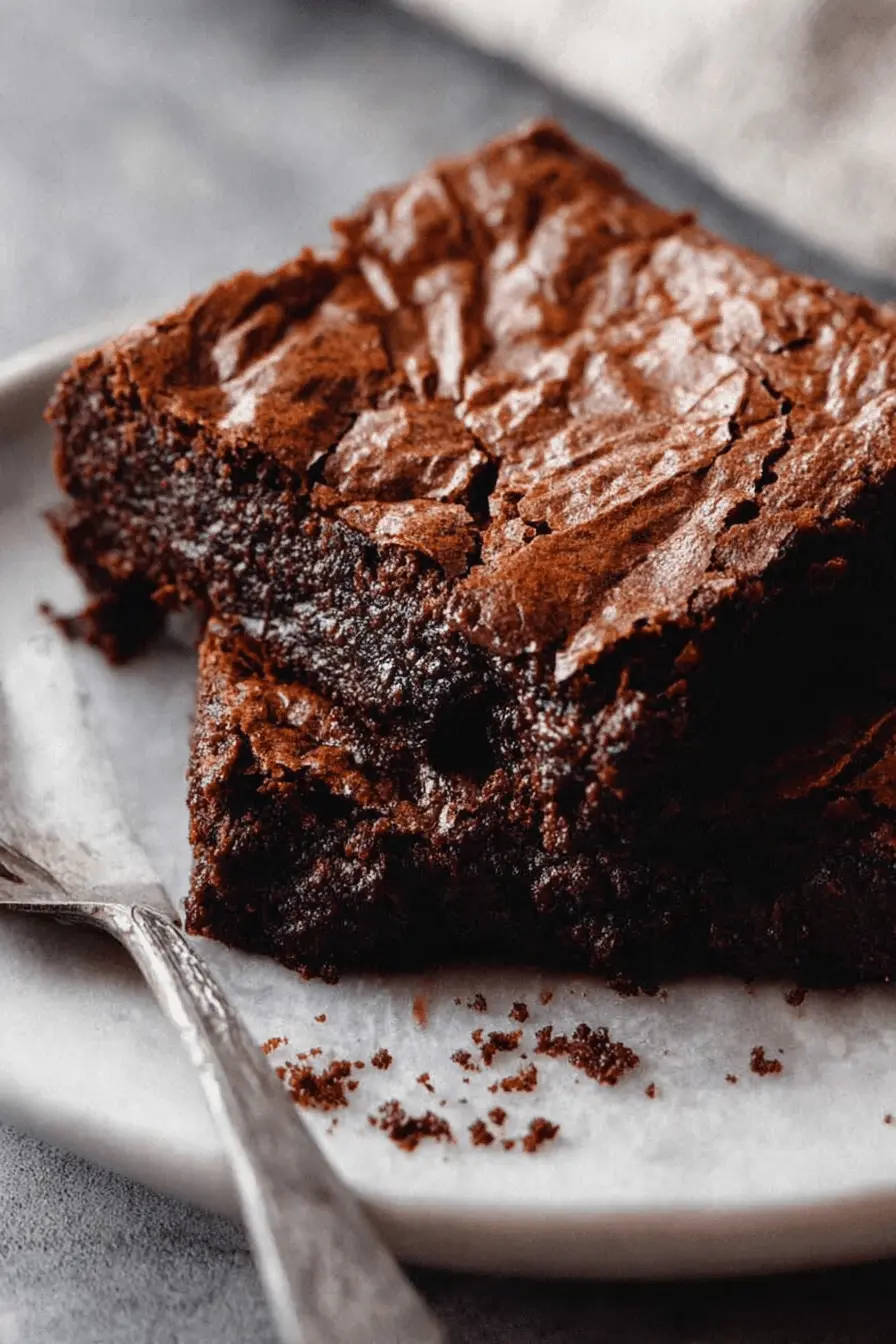
Easy Sourdough Discard Brownies
- Prep
- 15 min
- Cook
- 35 min
- Total
- 50 min
- Serves
- 4
- Calories
- 511 kcal
- Carbs
- 39.00 g
Introduction
I keep a small jar of sourdough discard on my counter because I hate wasting good starter. Over the years I’ve learned that the discard doesn’t just avoid the compost bin — it can deepen the flavor of baked goods, especially brownies. I make these when I want a quick, reliable batch that smells like chocolate and butter filling the kitchen.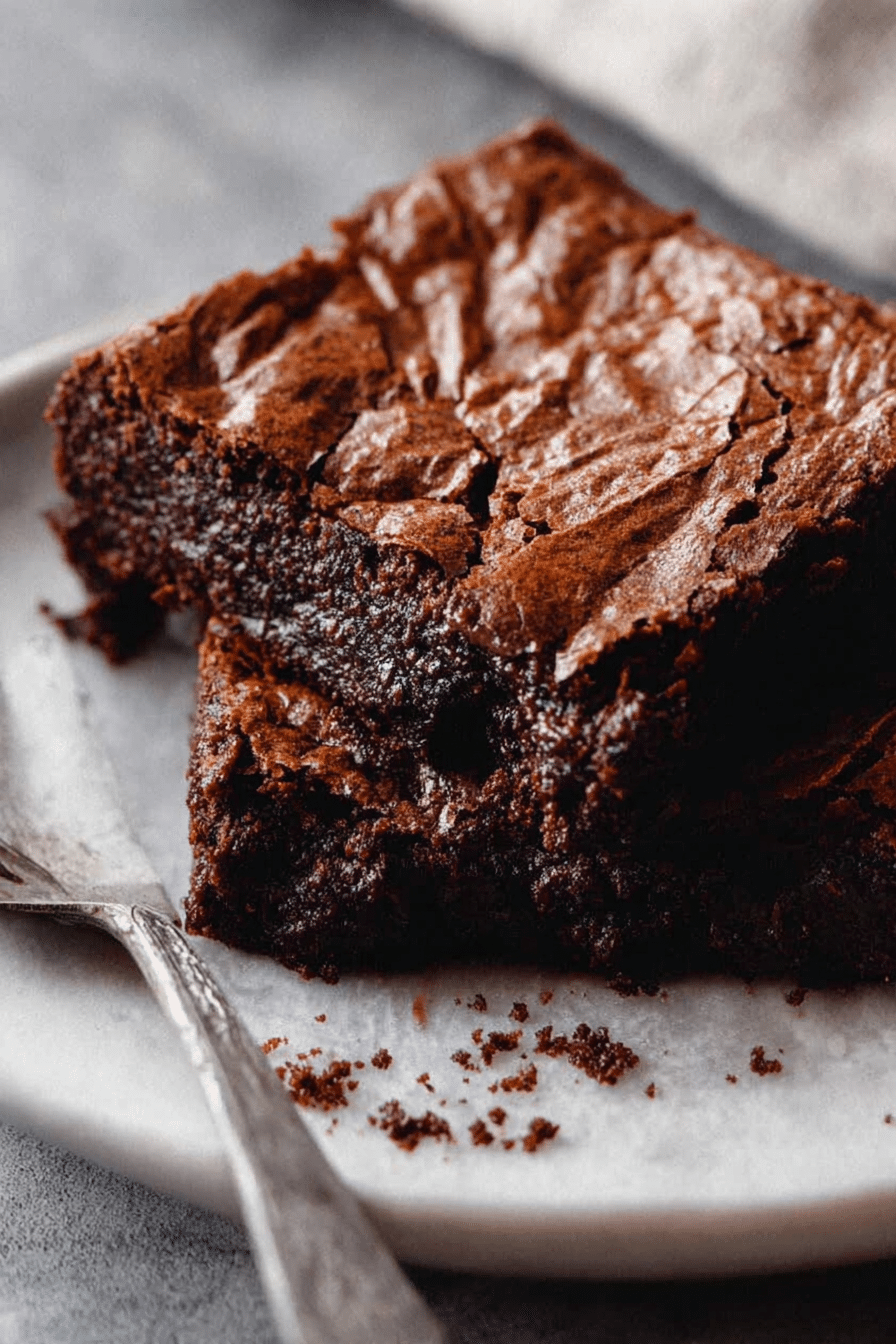
Everything You Need for Easy Sourdough Discard Brownies
Quality ingredients and a few simple swaps will help you get consistent results. Below I talk about each component’s role and easy alternatives if you need them.- Unsalted butter – Provides richness and helps create a glossy top; use room-temperature butter for easier mixing or a plant-based block if you need a dairy-free option.
- Semi-sweet chocolate – Adds depth and melts into a smooth batter; pick a mid-range bar or chips for balance. Darker chocolate will make the brownies less sweet, milk chocolate will sweeten them up.
- Cocoa powder – Intensifies chocolate flavor and affects chew; dutch-processed gives a rounder taste while natural cocoa gives a brighter cocoa note.
- Vanilla – Rounds out chocolate notes; real vanilla or a decent extract both work well.
- Eggs – Build structure and glossy crust; room-temperature eggs incorporate more evenly into the batter.
- White and brown sugar – White sugar boosts shine and lift, brown sugar adds moisture and chew from its molasses.
- Sourdough starter discard – Adds a gentle tang and helps with fudginess; plain yogurt or buttermilk can be used if you don’t have discard, though the flavor will be slightly different.
- All-purpose flour – Gives structure; swap to a gluten-free 1:1 baking blend if needed, but expect a slight change to texture.
- Salt – Balances sweetness and sharpens chocolate notes; flaky sea salt on top is a welcome finish.
How to Make Easy Sourdough Discard Brownies (Step-by-Step)
- Preheat and prep: Line a pan so you can lift the brownies out later. This makes cooling and slicing much easier for a beginner.
- Melt butter and chocolate together gently: Use a heatproof bowl over simmering water or short bursts in the microwave, stirring between intervals so the chocolate doesn’t seize.
- Cool slightly before adding eggs: Let the chocolate mixture come down to warm, not hot, so the eggs won’t scramble when mixed in.
- Add eggs one at a time: You should add eggs gradually and mix until just combined; this keeps the batter smooth and helps form that shiny top.
- Fold dry into wet: Sift cocoa and flour first, then fold them in with a spatula. Folding preserves the dense, fudgy texture better than vigorous stirring.
- Incorporate the sourdough discard and sugars: Stir until just combined — the batter should be glossy and thick, not runny.
- Transfer and bake: Spread the batter evenly in the prepared pan and bake until the edges pull away and a toothpick shows a few moist crumbs.
- Cool before slicing: Let the brownies set in the pan; they’ll firm up as they cool and slicing too soon can make them fall apart.
The Secret to the Perfect Texture
I pay attention to three small things that change a brownie from okay to reliably fudgy: sugar mix, chocolate temperature when adding eggs, and how much you fold the batter. Those simple choices are what I tweak when testing in my kitchen.- Balance of sugars — white sugar helps with shine and a slight lift while brown sugar keeps the crumb moist and chewy. Adjust the ratio depending on how sticky or cakey you like your brownies.
- Sourdough discard’s role — the discard adds acidity that interacts with other ingredients to give a denser, moister crumb. It won’t make the brownies sour; it rounds the chocolate flavor.
- Butter and egg temperatures — room-temperature eggs and slightly cooled melted chocolate prevent curdling and encourage a smooth, cohesive batter.
- Folding vs stirring — use gentle folds to combine dry ingredients; overworking the batter develops more gluten and leads to a cakier result.
- If the top cracks but the inside is raw, your oven may be too hot; try lowering the temperature slightly or shortening the baking time and using a lower rack.
- If your brownies are dry, reduce oven time and watch for that toothpick with moist crumbs; brown sugar also helps retain moisture.
- If the batter looks grainy after adding eggs, you likely added them to hot chocolate — let the chocolate cool more next time.
Why Quality Chocolate Matters
Chocolate is the backbone of any brownie. Better chocolate means deeper, cleaner cocoa notes and a more satisfying melt on the tongue. Choose chocolate based on the level of sweetness and intensity you want.- High-quality vs standard brands — premium chocolate usually contains fewer fillers and more cocoa butter, which contributes to a silkier melt and more complex flavor.
- Cocoa percentage — lower percentages are sweeter and creamier; higher percentages bring bitter, roasted notes. For a balanced brownie, a middle-range percentage is often ideal.
- Cocoa powder and chips balance — cocoa powder deepens flavor without extra fat, while melted chocolate adds structure and gloss. Use both for a rounded profile.
Pro-Tip for Easy Sourdough Discard Brownies: Flavor Variations
Note: Pro-Tips, Troubleshooting, and Variations are presented as bulleted lists for easy scanning.- Classic mix-ins — fold in chopped nuts, chocolate chunks, or a handful of extra chips for texture.
- Swirls — drop dollops of peanut butter or Nutella on top and swirl with a skewer before baking for a marbled effect.
- Salted caramel — stir in swirls of soft caramel and finish with flaky sea salt for contrast.
- Seasonal tweaks — add a small amount of pumpkin spice in cooler months or a pinch of espresso powder to deepen the chocolate flavor.
- Vegan option — use a plant-based butter and an egg replacer, and choose dairy-free chocolate; texture will be slightly different but still enjoyable.
Storage Tips for Fresh and Fudgy Brownies
- Room temperature — store brownies in an airtight container with a layer of parchment to prevent sticking; they keep well for about three days at room temp and stay soft.
- Refrigeration — to extend life up to a week, wrap the brownies tightly and refrigerate; bring to room temperature or warm briefly before serving to regain tenderness.
- Freezing — wrap individual squares in plastic or parchment and store in a sealed bag for up to 2 months. Thaw overnight in the fridge and warm gently to revive fudginess.
- Reheating — warm single squares in the microwave for a few seconds or in a low oven to restore that just-baked softness; a dab of butter or a sprinkle of water helps if they feel dry.
Frequently Asked Questions
Can I use any type of chocolate chips for these brownies? Absolutely! While semi-sweet chocolate chips are recommended for their balance of sweetness and richness, you can use dark, milk, or white chocolate chips depending on your preference. What can I substitute for sourdough starter discard? If you don't have sourdough discard, you can try using plain yogurt or buttermilk for a similar texture, but the flavor might differ slightly. How do I know when the brownies are done baking? The brownies are done when the edges start to pull away from the pan and a toothpick inserted in the center comes out with a few moist crumbs. Remember, they’ll continue to set as they cool! Can I add mix-ins to the brownies? Definitely! Feel free to get creative by adding nuts, chocolate chunks, or even a swirl of peanut butter or caramel for added flavor. How should I store my brownies to keep them fresh? To keep your brownies fresh and fudgy, store them in an airtight container at room temperature for up to 3 days, or refrigerate them to extend freshness for about a week.Recipe Card
Easy Sourdough Discard Brownies
- Prep
- 15 min
- Cook
- 35 min
- Total
- 50 min
- Serves
- 4
- Calories
- 511 kcal
- Carbs
- 39.00 g
Ingredients
- 2 tablespoonsolive oil (divided)
- 2 tablespoonsbutter (divided)
- 8 ozmushrooms (sliced baby bella)
- 1 largeboneless/skinless chicken breast ((about ¾ lb.))
- —Salt/Pepper
- ½ cupdry white wine
- 1 tablespoonbutter
- 3 clovesgarlic (minced)
- 6 cupslow sodium chicken broth
- 2 tablespoonslow sodium soy sauce
- 2 teaspoonshot sauce ((I use Frank’s hot sauce))
- 2 teaspoonshoney
- ¾ teaspoontoasted sesame seed oil
- 2 packetsinstant Ramen noodles ((don’t use flavor packet))
- 6 leavesBok Choy (roughly chopped)
- ¾ teaspoononion powder
- ¾ teaspoonmustard powder
- ¼ teaspoonground ginger
- 1/8 teaspoonwhite pepper
- 1 pinchred pepper flakes
- —Green Onions
- —roughly chopped honey roasted peanuts
- —Soft boiled eggs ((see notes))
Instructions
- 1
Heat 1 tablespoon olive oil and 1 tablespoon of butter in a large soup pot over medium-high heat. Add the mushrooms. Sauté until golden, about 4 minutes. Remove and set aside.
- 2
Slice the chicken in half lengthwise to create 2 thinner slices. Cover with saran wrap and use the textured side of a meat mallet to pound it to ½ inch thick.
- 3
Pat the chicken dry and season each side with salt and pepper.
- 4
Heat remaining olive oil and butter in a large soup pot over medium-high heat. Sear the chicken in batches for 4-5 minutes per side, until a golden crust has developed. Set aside and let the chicken rest for 10 minutes, then cut into strips.
- 5
Add the wine and set the heat to medium. Let the wine bubble gently and reduce by half, 4-5 minutes.
- 6
Add the butter and garlic and cook for 2 minutes.
- 7
Add the chicken broth, soy sauce, hot sauce, honey, sesame oil, and seasonings. Bring to a gentle boil and let the broth reduce for 10 minutes while you soft boil eggs.
- 8
Bring the soup to a rapid boil, add the Ramen, and cook for 1 minute. Reduce to a gentle simmer and add the Bok Choy along with the cooked mushrooms and chicken. Simmer until the noodles are done, about 3 minutes.
- 9
Transfer to serving bowls and top with green onions, roughly chopped peanuts, and a soft-boiled egg.
You might also like

Reviews
Be the first to review this.