
Poolside RecipeDesserts
THE BEST HOMEMADE CARAMELS
- Prep
- 5 min
- Cook
- 60 min
- Total
- 65 min
- Serves
- 40
- Calories
- 174 kcal
- Carbs
- 23.00 g
Introduction
I’ve made caramels on busy weeknights and for holiday gifts, and this straightforward recipe is the one I keep coming back to. The mix of butter, cream, and two kinds of sugar gives that silky, melt-in-your-mouth chew without needing exotic ingredients. In my kitchen it’s the dessert I can make when I want something impressive but quick and reliable.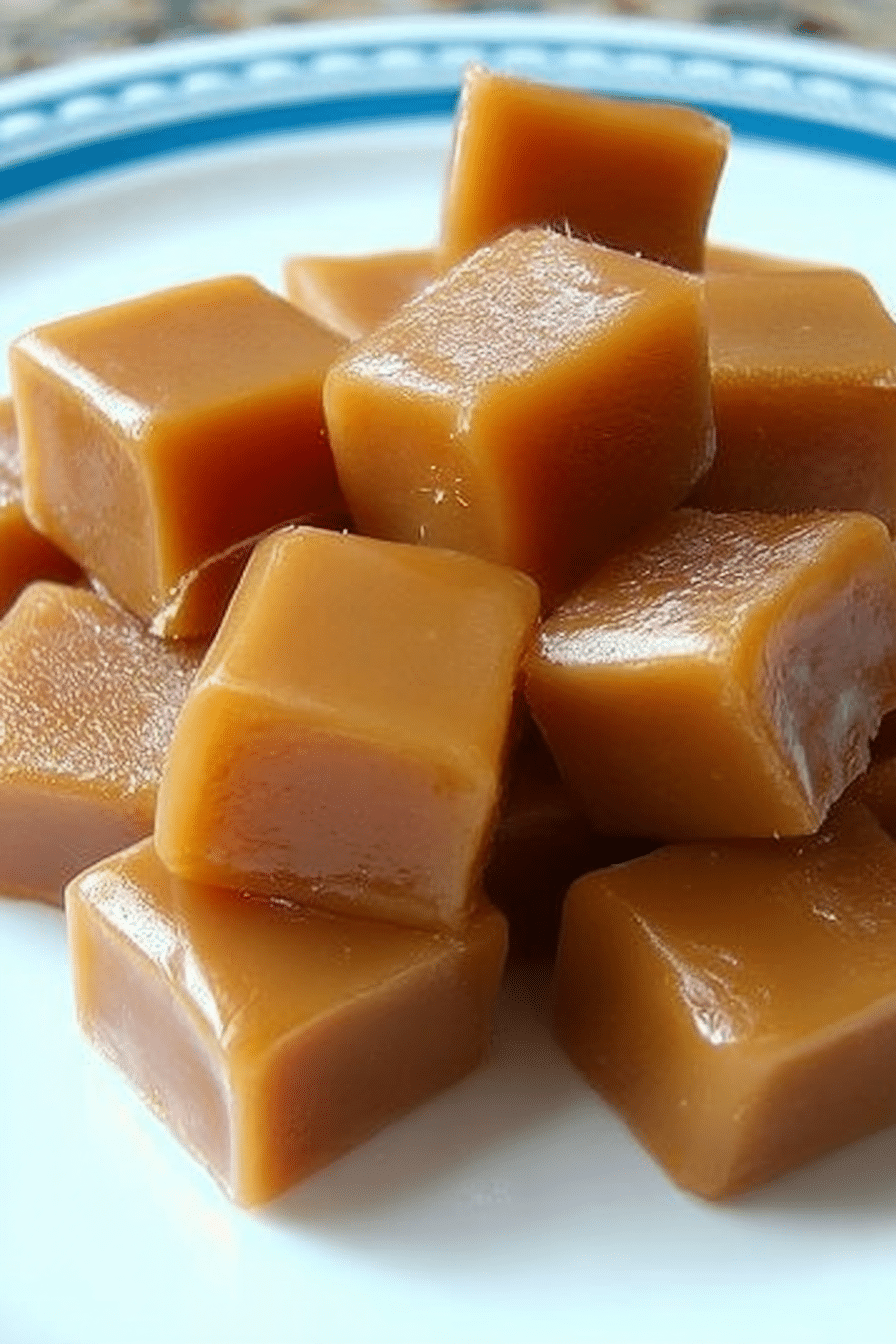
Everything You Need for Homemade Caramels
These caramels are made from everyday pantry items, and the tools are simple: a medium to large heavy-bottomed pot, a candy thermometer, a 9x13 pan (or similar), parchment or wax paper, and something sharp to cut the cooled caramel. A reliable thermometer is the single best investment here — it prevents guesswork and helps you hit the chewiness you want.- Sugar (granulated) – Provides structure and caramel flavor; you can swap with coconut sugar for a deeper, nuttier note but expect a darker color and slightly different texture.
- Brown sugar – Adds moisture and depth from the molasses; it helps keep the caramels soft and chewy.
- Corn syrup – Prevents sugar crystals from forming so the caramel stays smooth; a light-colored syrup preserves the classic look.
- Evaporated milk – Adds concentrated dairy flavor without extra water; full-fat evaporated milk works best for a rich finish.
- Heavy cream – Brings creaminess and a tender bite; for a lighter option try a nut milk, but texture will be different.
- Butter – Adds richness and a silky mouthfeel; use a good-quality butter for the best taste.
- Vanilla extract – Finishes the caramel with warm, familiar notes; you can also use a pinch of flaky sea salt at the end for salted caramels.
How to Make Homemade Caramels (Step-by-Step)
- Combine all ingredients except the vanilla in a medium to large heavy-bottomed pot over medium heat so the sugars dissolve evenly.
- Attach a candy thermometer to the pot. Stir constantly while the mixture heats to prevent sticking and burning, especially as it begins to simmer.
- Keep the heat steady; once the mixture reaches 245°F (soft ball stage) remove the pot from the heat—I usually aim for 245°F for a reliably chewy texture.
- Stir in the vanilla immediately after removing the pot from the heat for even distribution.
- Pour the caramel into a pan lined with parchment or wax paper and spread to the corners. Let it cool completely at room temperature; I usually cover it with plastic wrap after a few hours and leave it overnight.
- When fully cooled and firm, cut the caramel into pieces and wrap each piece in wax paper for storage.
Tips for Getting the Perfect Texture
- Pro-Tips (what I do):
- Use a heavy-bottomed pot so heat distributes evenly—this prevents hot spots that scorch the sugars.
- Keep the thermometer clipped so you can watch it without lifting the lid or stopping your stir; the last 10–20 degrees come quickly.
- If you want softer caramels, take the mixture off the heat a few degrees earlier; for chewier, let it go a touch higher—but be cautious, a few degrees change the final bite.
- Troubleshooting (I’ve fixed these mistakes):
- If the caramel is gritty, it likely crystallized — reheat gently and stir in a little corn syrup or cream to smooth it out.
- If it’s too hard, warm it gently and stir in a bit more cream to loosen the texture, then cool again.
- If it burns, sadly you’ll taste the scorch; start over and give the pot a good scrub before trying again.
- Variations you can try:
- Add a pinch of sea salt to make salted caramels right after removing from heat.
- Stir in chopped nuts or swirl in melted chocolate once the caramel is poured for different textures and flavors.
Monitoring Temperature: Why It Matters
Hitting the right temperature is the single most important control for texture. At around 240–245°F you reach the soft ball stage: the caramel will set but remain tender and chewy. Too low and the candy will be too soft and sticky; too high and it will be firm and brittle. Common mistakes include letting the heat spike (which quickly overshoots your target) and not using a thermometer. If your thermometer reads oddly low or high, check it in boiling water to verify. As the thermometer climbs, you can feel the tension in the kitchen—watch closely in the last few minutes so you can pull the pot at exactly the right moment.Pro-Tip for Homemade Caramel: Healthier Options
- Swap some or all granulated sugar with natural sweeteners like maple syrup or honey—but expect a darker color and a slightly different texture and flavor profile.
- To reduce overall sugar, make a smaller batch or blend in a natural sweetener and reduce the granulated sugar, but lower sugar will change firmness and may need texture adjustments (a little less cooking time or a touch more cream).
- For a dairy-free version, try a fuller-bodied nut milk and a plant-based butter; the texture won’t be identical, but you’ll get a creamy, spreadable caramel.
Creative Ways to Use Your Homemade Caramel
Caramel is incredibly versatile — use it as a sauce, a candy filling, or a finishing touch. Try drizzling your homemade caramel over homemade chocolate turtles for a delicious treat. You can also use the caramel to make harvest caramel corn, a tasty snack for gatherings. For a fun dessert, try making caramel marshmallow rice krispie balls with your homemade caramel.- Drizzle warm caramel over vanilla ice cream or pound cake for an easy dessert.
- Use small caramel squares as a candy filling or sandwich them between cookies.
- Package wrapped caramels in a pretty box or jar for homemade edible gifts.
Storage Tips for Your Homemade Caramel
Wrap each piece in wax paper and keep them in an airtight container at room temperature. In cooler homes they’ll stay fresh and chewy for up to two weeks; in warm climates consider refrigerating to prevent sticky messes. If you refrigerate, let them come to room temperature before serving so they soften. If you want longer storage, freeze wrapped caramels in a sealed container for up to three months and thaw in the refrigerator before bringing to room temperature. Watch for signs of spoilage like off smells or visible mold—otherwise they should be fine within the suggested timeframes. Your homemade caramel pairs perfectly with homemade butter tarts, making it a great idea to keep some stored for baking.Frequently Asked Questions
Can I use a different type of sugar in this caramel recipe? Yes! You can experiment with different types of sugar, like coconut sugar or brown sugar, but keep in mind that it may slightly alter the flavor and color of your caramel. What should I do if my caramel is too hard? If your caramel turned out too hard, you can warm it gently and stir in a little more cream to soften it. Just be careful not to cook it too long while reheating! How can I tell when the caramel is ready? Use a candy thermometer! The caramel is ready when it reaches 245°F, which is a good point for soft ball stage. If you don’t have a thermometer, you can drop a little mixture into cold water; if it forms a soft ball, it's ready! What is the best way to store homemade caramels? Wrap the caramels in wax paper and store them in an airtight container at room temperature. They can last for up to two weeks! Can I add flavorings or mix-ins to the caramel? Absolutely! You can add flavorings like sea salt, chocolate, or nuts to customize your caramel. Just mix them in after you remove the pot from heat.Recipe Card
THE BEST HOMEMADE CARAMELS
- Prep
- 5 min
- Cook
- 60 min
- Total
- 65 min
- Serves
- 40
- Calories
- 174 kcal
- Carbs
- 23.00 g
Ingredients
- 2 cupswhite granulated sugar
- 1 cuppacked brown sugar
- 1 cupcorn syrup
- 1 cupevaporated milk
- 2 cupsheavy whipping cream
- 1 cupbutter
- 1.25 tspvanilla extract
Instructions
- 1
In a medium size pot, combine everything except the vanilla.
- 2
Monitor the heat of the mixture with a candy thermometer while stirring occasionally.
- 3
When the thermometer reaches 245 degrees F, remove pot from heat.
- 4
Stir in vanilla.
- 5
Transfer mixture to a 9x13 pan lined with parchment paper. Let the caramel cool completely.
- 6
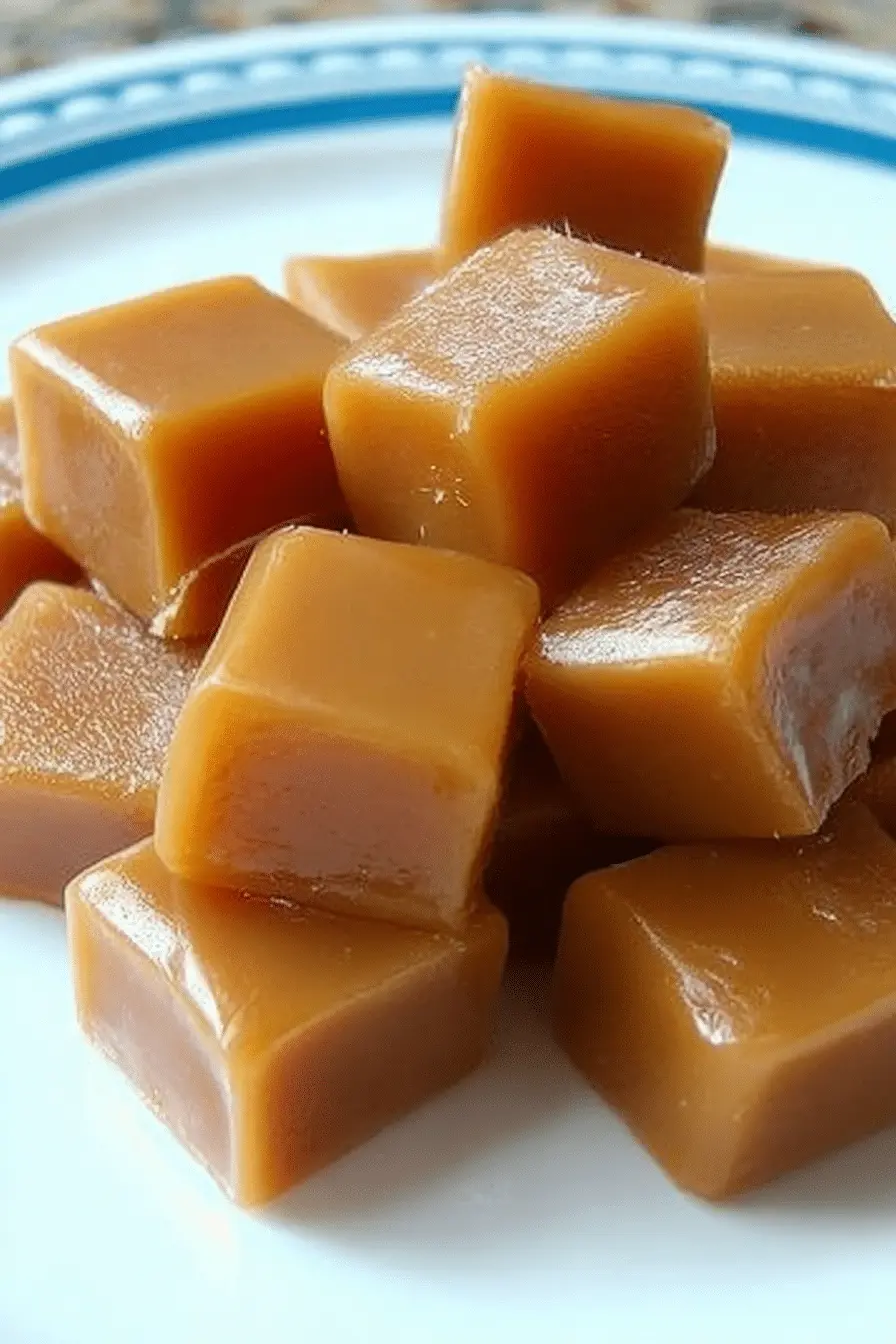
When cooled, cut the caramel into small squares and wrap them in wax paper for storage. Enjoy!
You might also like

Reviews
Be the first to review this.