The Vanilla Bars I Make for Gatherings — Ready in 45 Minutes
- Prep
- 15 min
- Cook
- 30 min
- Total
- 45 min
- Serves
- 16
- Calories
- 180 kcal
- Carbs
- 24.00 g
On this page12 quick jumps
TOC
12 quick jumps
Introduction
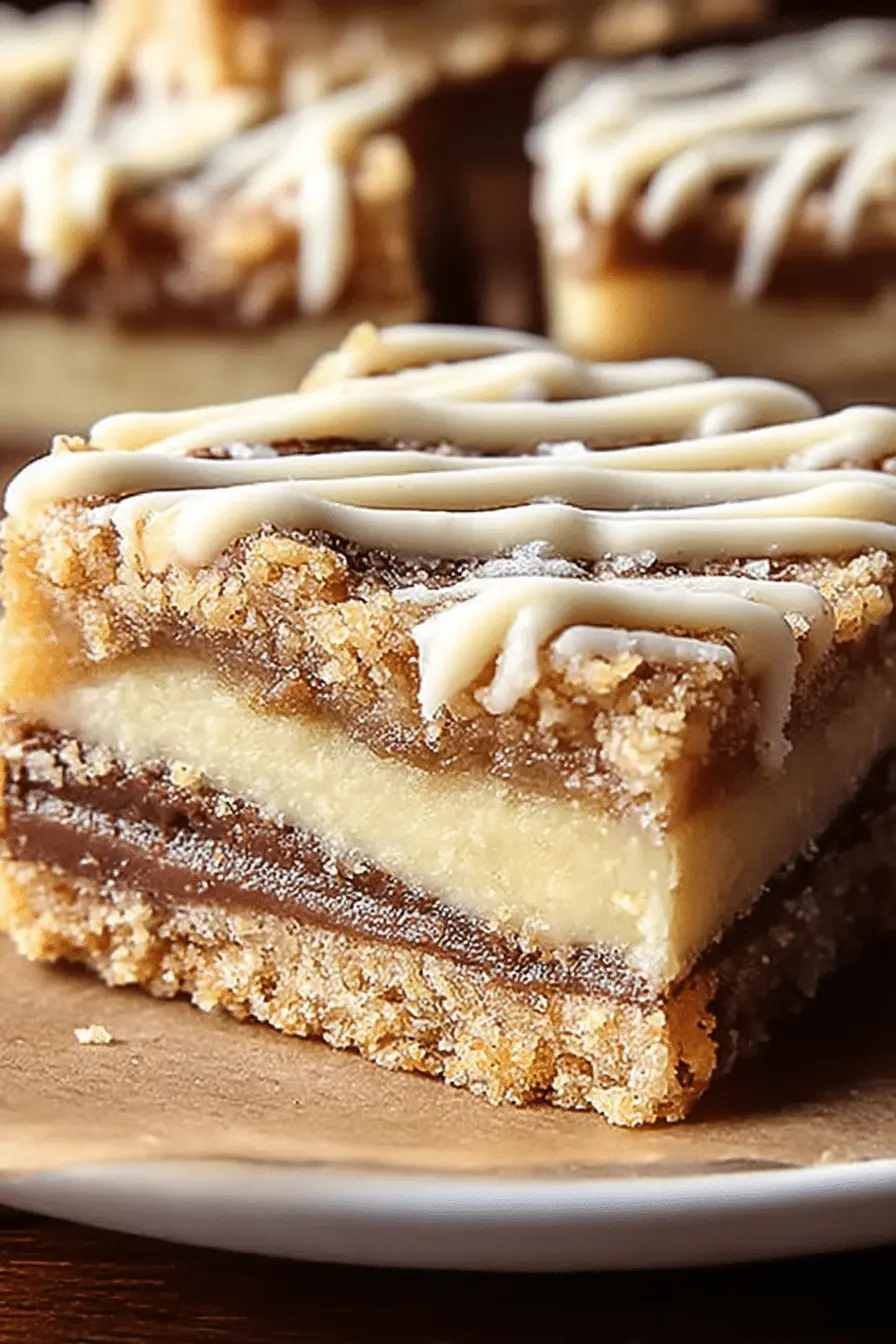
I make these vanilla bars when I want something that feels special but doesn’t take over my afternoon. They come together quickly, bake in under half an hour, and fill the house with a cozy vanilla scent that always pulls neighbors into the kitchen. In my experience the best ones have a shiny, slightly domed top and a tender, almost cake-like crumb that slices cleanly.
Why These Vanilla Bars Are Perfect for Busy Home Bakers
These bars were designed for cooks who need good results on a tight schedule. The total hands-on time is short, and the ingredient list is pantry-friendly. Here’s exactly why they work so well for a busy kitchen:- Short prep and bake time: you can mix, bake, cool, and slice in about 45 minutes — which means dessert while dinner is in the oven.
- Minimal, common ingredients: nothing exotic required, which makes these an easy last-minute bake for unexpected guests.
- Highly portable: bars are easier to transport, slice, and serve than layered cakes, so they’re great for potlucks and school events.
Everything You Need for Vanilla Bars
Below I walk through the key ingredients and why each one matters. I focus on quality where it makes a difference so your bars taste grown-up, even if the method is simple.- All-purpose flour – Provides structure; a plain, reliable base for a tender crumb.
- Granulated sugar – Sweetness and helps with browning and the shiny top.
- Unsalted butter – Adds richness and keeps flavor neutral so vanilla can shine; use unsalted to control sodium.
- Large eggs – Bind and help with leavening and moisture; fresher eggs give a cleaner, lighter texture.
- Pure vanilla extract – I recommend pure vanilla for the depth of flavor; imitation vanilla can taste flat in a simple recipe like this.
- Baking powder – Gives lift so bars are tender, not dense.
- Salt – Balances sweetness and enhances the vanilla notes.
- Powdered sugar – For dusting after cooling; adds a pretty finish and a subtle sweetness on the surface.
The Secret to a Soft, Silky Texture
Getting that soft, silky texture is a matter of aeration, gentle handling, and correct bake time. Here are the technical points that matter and the visual cues I use when I’m in the kitchen.- Creaming butter and sugar traps small air bubbles that expand in the oven, giving a lighter bite. Beat until the mixture looks paler and slightly fluffy, not greasy.
- Overmixing after adding flour develops gluten, which makes bars tough. Stir until the dry bits are just incorporated — a few streaks are better than overworked batter.
- Bake time controls moisture: slightly underbaked bars are softer and silkier; overbaked bars dry out and become crumbly. Stop when the top is golden and a toothpick in the center comes out mostly clean with a few moist crumbs.
Why Room-Temp Butter and Gentle Mixing Matter
Room-temperature butter is the unsung hero for texture because it forms a smooth emulsion with eggs and sugar. Cold butter won’t mix properly, and melted butter removes the aeration that creates a light crumb.- Room-temp butter should give slightly when pressed but still hold shape; when creamed, it will incorporate air more evenly and produce a smoother batter.
- Use a paddle or wooden spoon and fold dry ingredients in gently. Pause when the batter comes together — stop mixing once the flour streaks disappear.
- Common mistake: trying to speed things up by melting butter. That changes the texture and leads to denser, more brownie-like bars.
How to Make Vanilla Bars (Step-by-Step)
- Preheat the oven and prepare your pan so it’s ready the moment your batter is mixed — this saves time and prevents over-mixing while you fuss with pans.
- Cream the softened butter and granulated sugar until the mixture looks lighter in color and slightly fluffy; this takes a few minutes with an electric mixer or a bit longer by hand.
- Add the eggs one at a time, mixing until each is incorporated, then stir in pure vanilla extract for a clear vanilla aroma.
- Whisk together the flour, baking powder, and salt in a separate bowl to distribute the leavener evenly before adding to the wet ingredients.
- Fold the dry mix into the wet mixture gently, stopping as soon as the batter is uniform; overworking will tighten the crumb.
- Pour the batter into your prepared pan and spread it into an even layer so it bakes uniformly; a gentle tap on the counter removes air pockets.
- Bake until the top is golden and a toothpick inserted near the center comes out with a few moist crumbs but no wet batter — usually near the end of the stated bake window.
- Cool fully in the pan before slicing; I’ve found that bars slice much cleaner after they’ve rested and the crumb firms slightly.
Pro Tips for Vanilla Bars: Quick No‑Bake and Gluten‑Free Swaps
I use these variations when time or dietary needs call for them. They’re compact, easy to scan, and tested in my kitchen.- No-bake shortcut: press a crumb crust into the pan, spread a quick creamy vanilla filling, chill until set, and dust with powdered sugar for a similarly satisfying slice without the oven.
- Gluten-free swap: use a good all-purpose gluten-free blend that includes xanthan gum or add a binder; expect a slightly denser texture and a more delicate crumb.
- Flour notes: sorghum- or oat-forward gluten-free blends preserve a mellow, slightly sweet profile, while rice-heavy blends can feel drier — adjust with a splash more egg or a tablespoon more butter if needed.
- Make-ahead: these bars freeze well; wrap tightly and store for long-term convenience (see storage tips below).
Easy Variations: Chocolate Chips, Nuts, and Toppings
These quick additions let you tailor the bars to the crowd. I keep a few mix-in options on hand so I can change the mood of the dessert in a minute.- Chocolate chips — semi-sweet or dark for contrast; fold in gently so they distribute without sinking.
- Nuts — toasted almonds, pecans, or walnuts add crunch and a toasty note; chop coarsely so you get texture in every bite.
- Toppings — a light dusting of powdered sugar, a quick glaze, or a sprinkle of flaky sea salt can change the presentation and the flavor profile.
How to Store and Make-Ahead Vanilla Bars
Keeping these bars fresh is simple if you follow a couple of rules. I often bake a double batch and stash extras for the week.- Room-temperature storage: place cooled bars in an airtight container; they stay fresh for up to five days.
- Freezing: wrap bars tightly in plastic wrap and place in a freezer-safe container or bag; they last up to three months. Thaw at room temperature for a few hours before serving.
- Transporting: layer with parchment to prevent sticking and keep them level to avoid cracking the top.
Frequently Asked Questions
How long do vanilla bars last? Vanilla bars can be stored in an airtight container at room temperature for up to five days. If you want to keep them longer, you can freeze them for up to three months! Can I make vanilla bars gluten-free? Absolutely! You can substitute the all-purpose flour with a gluten-free flour blend to create a delicious gluten-free version of vanilla bars. What can I add to the vanilla bars for extra flavor? Feel free to mix in chocolate chips or nuts to enhance the flavor and texture of your vanilla bars! Why is it important to use room-temperature butter? Using room-temperature butter helps create a light and fluffy texture in your batter, which is essential for those soft, silky bars. Can I make these vanilla bars ahead of time? Yes, you can make these bars ahead of time! Just bake them and store them in an airtight container until you're ready to serve.Ingredients
- 1 cupall-purpose flour
- 1 cupgranulated sugar
- ½ cupunsalted butter ((room temperature))
- 2 largeeggs
- 2 tsppure vanilla extract
- 1 tspbaking powder
- ¼ tspsalt
- —Powdered sugar ((for dusting))
Instructions
- 1
Preheat your oven to 350°F (175°C) and grease a baking pan.
- 2
In a bowl, cream together softened butter and granulated sugar until light and fluffy (3–5 minutes).
- 3
Add eggs one at a time along with vanilla extract; mix until well combined.
- 4
In another bowl, whisk together flour, baking powder, and salt. Gradually add to the wet mixture, stirring until just combined.
- 5
Pour batter into the prepared pan and spread evenly.
- 6
Bake for 25–30 minutes until golden brown and a toothpick comes out clean.
- 7
Allow to cool before cutting into squares and dust with powdered sugar.
Recipe Card
The Vanilla Bars I Make for Gatherings — Ready in 45 Minutes
Keep it handy for later, send it to someone cooking with you, or open the clean print view.
- Prep
- 15 min
- Total
- 45 min
- Serves
- 16
You might also like
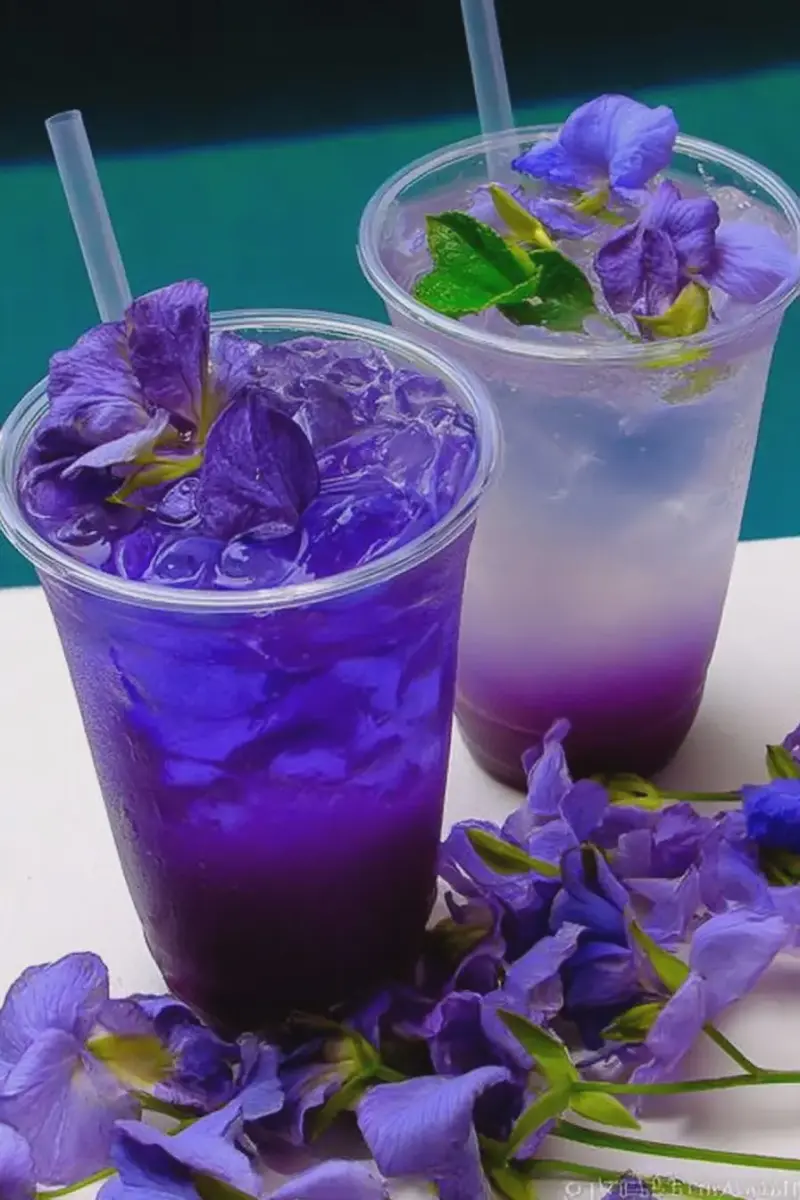
The Mocktail My Guests Ask For — Lychee Italian Soda With Blue Tea
May 20, 2026
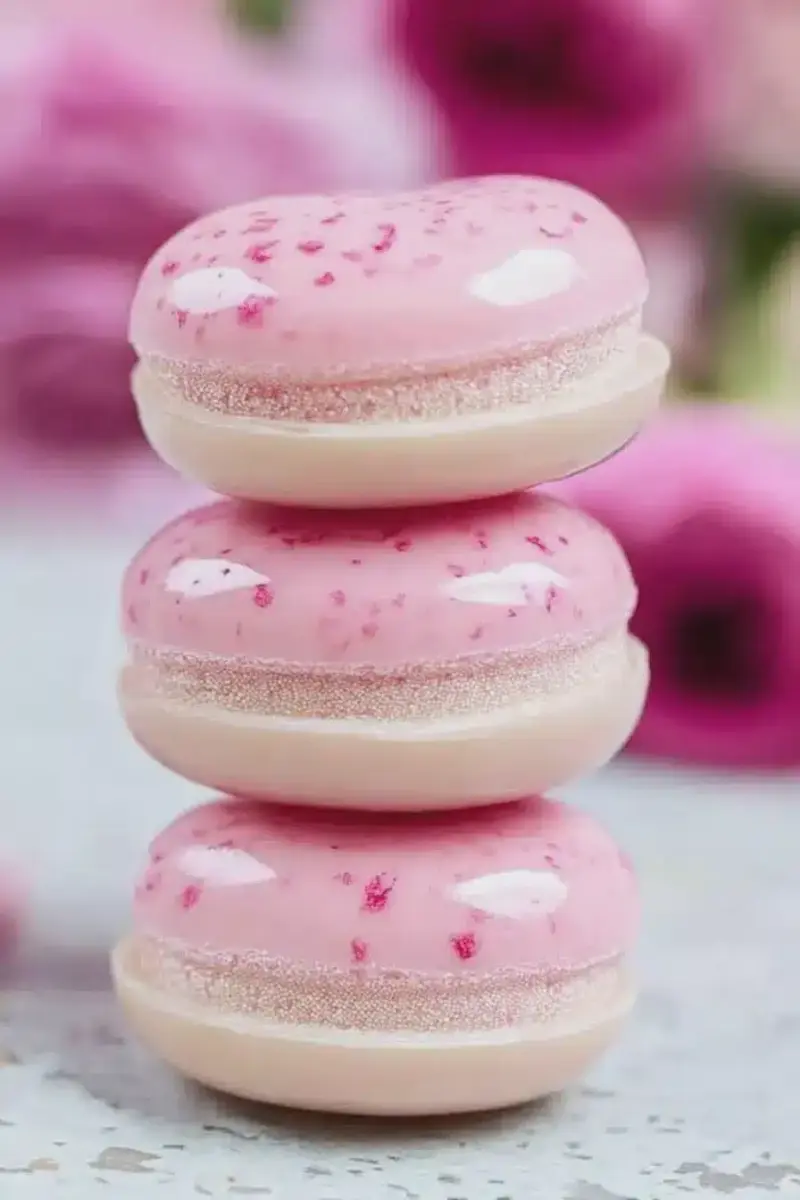
How I Perfected Delicate Lychee Rose Macarons with Real Lychees
May 20, 2026
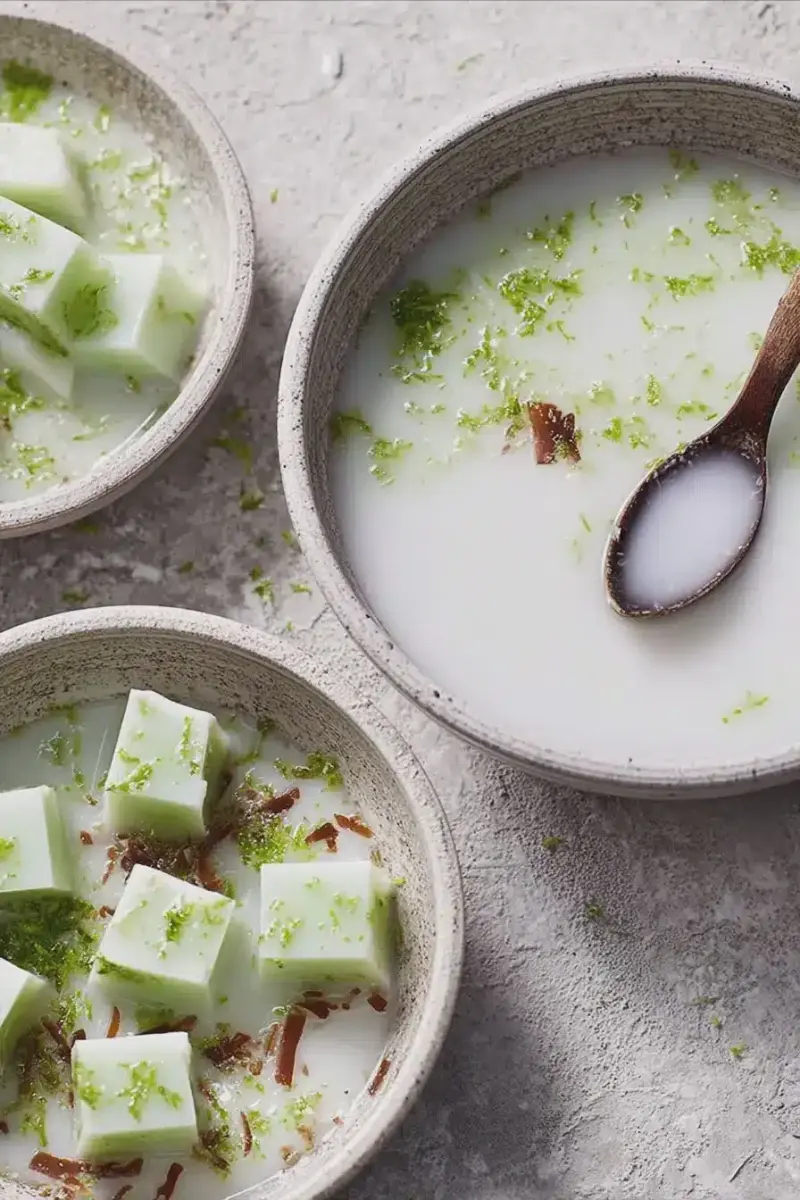
The Coconut-and-lime Jelly Bowls My Guests Always Ask For
May 20, 2026
The Homemade Treat My Kids Beg For: DIY Honey Lemon Gummy Bears
May 20, 2026
Reviews
Be the first to review this.