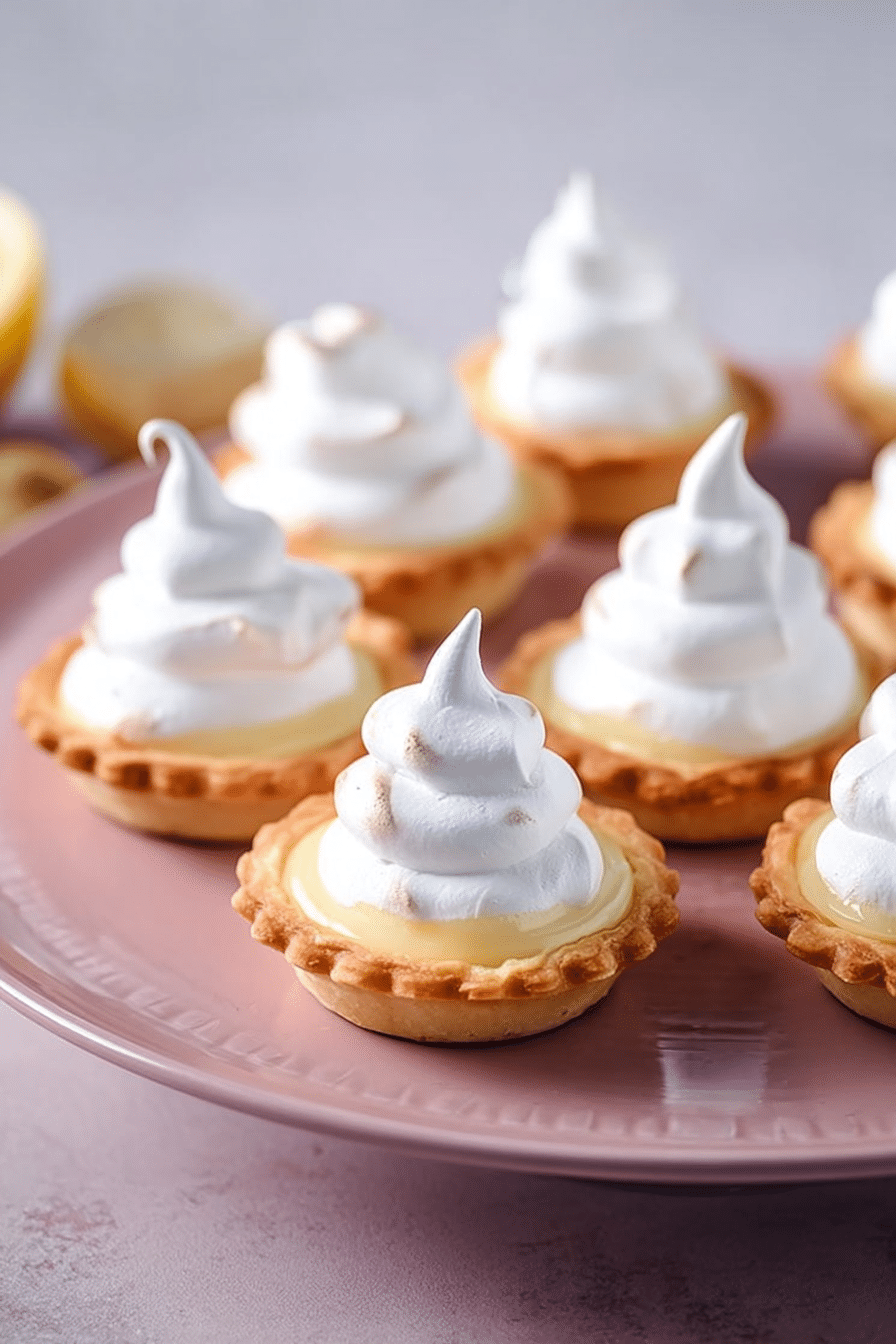
I always keep a batch of these mini lemon meringue tarts in my repertoire for gatherings—there’s something about a glossy, torched meringue crown sitting on a perfectly tangy lemon curd that gets everyone’s attention. In my kitchen they have become my go-to when I want a dessert that looks refined but won’t keep me tied to the oven for hours. They photograph beautifully, stack well on platters, and are easy to pick up during conversation.
When I bring these to a party I focus on three things: crisp shells, silky curd, and a meringue that’s glossy and holds its shape when torched. Over the years I’ve learned which shortcuts are worth taking and which steps are essential if you want consistent results—so I’ll steer you away from the missteps that made me re-bake whole trays in the early days.
If you want to impress without frantically finishing in front of guests, these are ideal: make the shells and curd ahead, then pipe and torch just before serving. They’re small, elegant, and encourage people to try one (or three) while mingling—exactly what I want on a dessert table.
Why These Mini Lemon Meringue Tarts Are Perfect for Hosts
These tarts deliver an upscale presentation with minimal fuss. The shiny, toasted meringue catches light and draws eyes, while the vivid lemon filling provides a color pop on any serving board. Because they’re bite-sized, guests can enjoy a taste without committing to a full slice—perfect for a dessert spread where variety matters.
- Standout centerpiece: A platter of uniformly piped, torch-kissed tarts reads elegant without extra garnish.
- Party-friendly portions: Small size keeps portions tidy and encourages guests to sample multiple desserts.
- Time-smart prep: Shells and curd can be prepared in advance so you can focus on finishing touches when guests arrive.
If you’re assembling a dessert table with contrasting flavors, consider pairing these with other minis — I often add chocolate bites for contrast. If you love these mini lemon meringue tarts, you may also enjoy our mini chocolate tarts for a delightful dessert spread.
Everything You Need for Mini Lemon Meringue Tarts
Below I talk through the ingredients and tools so you understand the role each plays. When you check your mise en place, you’ll know what to prioritize for flavor and texture.
- Unsalted butter – Builds layers and richness in the pastry; use high-quality butter for a better crust flavor.
- Superfine sugar – Dissolves quickly in both pastry and meringue, giving a smooth texture; ideal for the Swiss meringue method.
- Whole egg and extra yolks – Provide structure and emulsification in the dough and curd; yolks add silkiness to the lemon filling.
- Egg whites – Whisk into a glossy meringue topping that holds its shape under the torch.
- Vanilla and salt – Small amounts that balance sweetness and brighten the lemon flavors.
- Cake flour – Keeps pastry tender; if unavailable, a light all-purpose flour will work but expect a slightly firmer crust.
- Condensed milk – Creates a smooth, custardy lemon filling without needing a long stovetop cook.
- Fresh lemon juice and zest – The main flavor driver; fresh zest is non-negotiable for a bright, fragrant curd.
- Pie weights or uncooked rice – Needed for blind baking so the shells hold their shape and develop a crisp base.
- Mini tart tins and parchment – Shallow tins ensure short bake times and uniform shapes.
- Food processor – Makes quick work of cutting the butter into the flour and gives consistent dough.
- Piping bag with round tip and kitchen blowtorch – For neat meringue presentation and that golden finish that wows guests.
The Secret to Silky Lemon Curd (No Curdling, Every Time)
The key to a velvety lemon curd is low, even heat and constant whisking so the eggs combine into a smooth emulsion rather than scrambling. I use a gentle method that minimizes hands-on time while preventing graininess.
- Warm slowly: Combine your liquid ingredients and eggs, then heat gently. Keep the temperature steady—too hot and the eggs will seize.
- Whisk continuously: Move the whisk in a figure-eight and keep a close eye on texture. Continuous motion keeps the emulsion stable and prevents curdling.
- Check by texture: The curd is ready when it thickens enough to coat the back of a spoon and the surface moves slowly when you drag a finger through it; avoid waiting until it looks like jam.
- Finish with zest: Stir in fresh lemon zest off the heat to lift the aroma without overcooking the eggs.
- Strain if needed: If you see any tiny cooked egg bits, pass the curd through a fine sieve for an ultra-smooth finish.
Meringue Mastery: How to Get Thick, Glossy Peaks & Perfect Torch Marks
Meringue is where presentation meets technique. Use the Swiss meringue approach (sugar and whites warmed over a double boiler) for the most reliable, glossy peaks that pipe cleanly and hold up under a torch.
- Room temperature whites: Let egg whites sit at room temperature briefly; they whip up to greater volume and reach glossy peaks faster.
- Warm the sugar: Gently dissolve sugar into the whites over simmering water, whisking until no graininess remains—test by rubbing a bit between your fingers.
- Whip to stiff peaks: Transfer to a mixer and beat until the meringue is thick, glossy, and holds firm peaks; it should feel satiny, not grainy.
- Pipe firmly: Use a plain round tip and apply steady pressure so each tart gets a generous dome that will brown evenly under the torch.
- Torch technique: Hold the torch at an angle, keep it moving, and toast from a few inches away to develop even golden color without burning; concentrate on edges first, then sweep the surface.
How to Make Mini Lemon Meringue Tarts (Step-by-Step)
Follow these steps when you have your ingredients ready. I recommend prepping shells and curd ahead so you can finish with the meringue at the last minute for peak texture.
- Make the dough: Cream the butter and sugar, add the egg and yolk with vanilla, then fold in sifted flour and salt until a cohesive dough forms. Chill for easier rolling and crisper shells.
- Roll and cut: Roll chilled dough to a thin, even sheet and cut discs slightly larger than your tins so the sides are fully covered when pressed in.
- Blind bake: Line shells with parchment and weights (beans or rice), blind bake until set and lightly golden, then remove weights and finish until the base is crisp.
- Prepare the curd: Whisk condensed milk, egg yolks, lemon juice, and zest until smooth. Fill prebaked shells almost to the rim and bake until just set—the filling should wobble slightly at the center.
- Cool: Let tarts cool briefly in their tins, then transfer to a wire rack to cool completely before meringuing.
- Make the Swiss meringue: Warm egg whites and sugar over a double boiler until sugar dissolves, then whip to stiff, glossy peaks.
- Pipe and torch: Pipe a generous swirl onto each tart and use a kitchen torch to brown the meringue evenly. Serve promptly for best texture.
Pro Tip for mini lemon meringue tarts: Prevent Soggy Bottoms with Smart Blind-Baking
These are concise techniques I use repeatedly to ensure crisp shells and consistent shape.
- Choose your weight: I prefer ceramic pie weights for even heat distribution; uncooked rice works in a pinch but can retain moisture—watch shells closely.
- Chill between steps: After lining the tins with dough, chill the shells briefly to reduce shrinkage during blind baking.
- Watch color, not time: Stop blind baking when the edges show a light golden color—overbaking dries the shell and underbaking invites sogginess.
- Vent the shells: After removing the weights, pop the shells back in the oven for a few minutes to dry the base before filling.
Plating and Finishing: Styling Your Tarts for a Stunning Dessert Spread
Presentation is where you make a visual statement. Use contrast, height, and simple garnishes to make a small platter read as intentional and luxe.
- Garnish lightly: Finish each tart with a thin curl of lemon zest or a tiny mint sprig—too much garnish competes with the meringue’s sheen.
- Contrast on the plate: Use dark slate or a wooden board to let the lemon color pop and the meringue’s golden edges stand out.
- Play with height: Arrange tarts on tiered stands or place a few on small pedestals for an elevated look that draws eyes across your spread.
- Group with variety: Mix a few chocolate or fruit minis alongside these tarts so guests can choose based on flavor preference.
Pairings, Common Mistakes and Quick Troubleshooting
Pair wisely and keep a troubleshooting checklist handy so you can fix issues quickly without starting over.
- Drink pairings: Sparkling wine or a bright, floral tea complements the citrus tang and cuts through the sweetness.
- Common mistake — under-whipped meringue: If the meringue is soft and weeps, beat a little longer until firm glossy peaks form.
- Common mistake — curd too runny: If your curd doesn’t set, return the tarts to the oven briefly at a low temperature until the centers barely wobble.
- Common mistake — soggy bases: Re-bake empty shells briefly to dry them out before refilling if you suspect moisture build-up.
- Quick fix for browned sugar bits: If the meringue shows dark spots from the torch, swirl a small offset spatula over the surface to even the color while warm.
For a complementary dessert, consider making some lemon blueberry cupcakes to serve alongside your tarts.
Pair your tarts with delicious lemon garlic chicken bites for a savory balance.
How to Store, Make-Ahead and Easy Variations for Mini Lemon Meringue Tarts
Plan your timeline so you’re calm on the day of the event. I often split the work across two days and finish the meringue before guests arrive.
- Make-ahead workflow: Bake the shells and prepare the curd a day in advance; store them separately and assemble with meringue the day of your event.
- Refrigeration: Keep finished tarts in an airtight container in the refrigerator for up to three days; note that pastry will slowly soften over time.
- Transporting: For off-site events, transport shells and curd separately and pipe and torch on arrival if possible—this keeps the crust crisp.
- Easy variation — different citrus: Swap lemon for lime or orange for a different acidity profile and aroma.
- Health-conscious swap: Reduce the sugar in the curd slightly or top with a lighter Swiss meringue for less density; consider a nut-based crust for a gluten-free option.
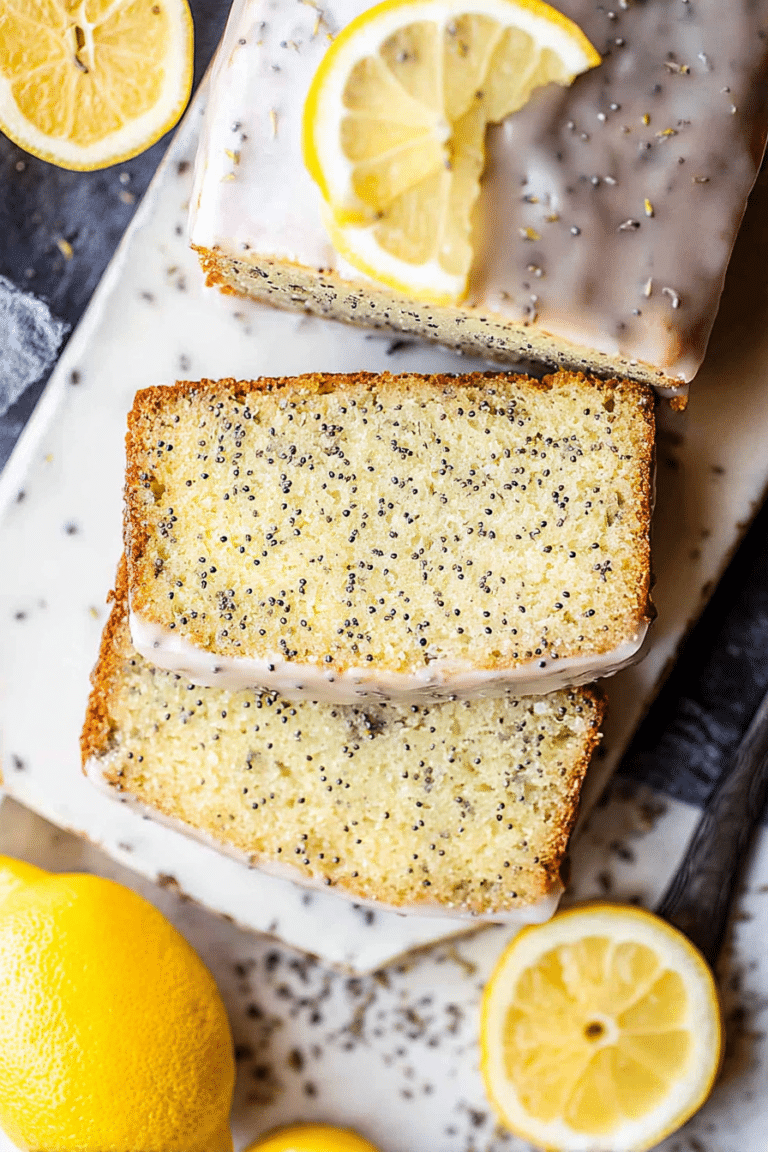
If you’re looking for easy variations, you might also enjoy making lemon poppy seed cupcakes ahead of time.
Frequently Asked Questions
Can I make mini lemon meringue tarts ahead of time?
Absolutely! You can prepare the tart shells and lemon curd in advance. Just assemble the tarts with meringue right before serving for the best texture.
What is the best way to store mini lemon meringue tarts?
Store them in an airtight container in the refrigerator for up to 3 days. However, for the crispiest crust, avoid storing them too long as the pastry can become soggy.
How do I prevent my meringue from weeping?
To prevent weeping, make sure your meringue is whisked until it’s thick and glossy, and avoid exposing the tarts to moisture. Serve them fresh for the best results!
Can I swap ingredients or make variations for this recipe?
Yes! You can experiment with different citrus for the curd, such as lime or orange, and adjust the sweetness to your taste.
What tools do I need to make these mini tarts?
You’ll need a food processor, mini tart tins, a piping bag, and a kitchen blow torch for toasting the meringue, along with basic measuring cups and spoons.
Mini Lemon Meringue Tarts
Ingredients
Method
- Add the butter and sugar to a food processor. Pulse until the mixture is well combined and homogenous.
- First, add the whole egg to the creamed mixture with the food processor running, and pulse until combined. Then add the egg yolk and vanilla and pulse again.
- Sift together the flour and salt and add this flour mixture to the egg and butter mixture all at once. Pulse until a dough forms, do not overmix.
- Remove the dough from the bowl, cover it in a sheet of plastic wrap, and refrigerate for an hour.
- Preheat the oven to 140°C (290°F) and brush 20 mini tart tins with melted butter.
- Remove the chilled dough from the fridge and roll it out on a lightly floured surface to a thickness of ½ cm using a rolling pin.
- Cut discs of the rolled pastry slightly larger than the tart tins, place these pastry discs into the buttered tart tins, and use your fingertips to gently press the pastry into the base of the tin and up the sides of the tins.
- Line each pastry tin with parchment paper and fill this with uncooked rice or pie weights. Blind bake the shells in a preheated oven for 15 minutes until a light golden brown. Set aside.
- In a large mixing bowl add the condensed milk, egg yolks, fresh lemon juice, and lemon zest. Whisk to combine.
- Spoon the lemon mixture into the pre-baked pastry shells, be sure to fill them almost to the top of the pastry shell.
- Bake the filled lemon tarts in a preheated oven at 160°C (320°F) for 15 minutes or until the lemon filling is just set.
- Remove the tarts from the oven and allow the tarts to cool for 15 minutes in their tins before removing them from their tins and allowing them to cool completely on a wire rack.
- Add the egg whites and sugar to a heat-proof bowl set over a saucepan of simmering water.
- With the egg white mixture set over a double boiler, whisk continuously until the sugar has melted. Check this by rubbing a bit of the meringue mixture between your fingertips to ensure there are no sugar granules.
- Once melted add the meringue mixture to a bowl of a stand mixer fitted with a whisk attachment. Beat at medium-high speed for 10 minutes until stiff peaks, the meringue must be thick and glossy.
- Fill a piping bag fitted with a plain round 1cm nozzle with the meringue mixture. Pipe a generous amount of meringue onto each tart, and use a kitchen blow torch to torch the meringue until toasty. Serve, and enjoy!