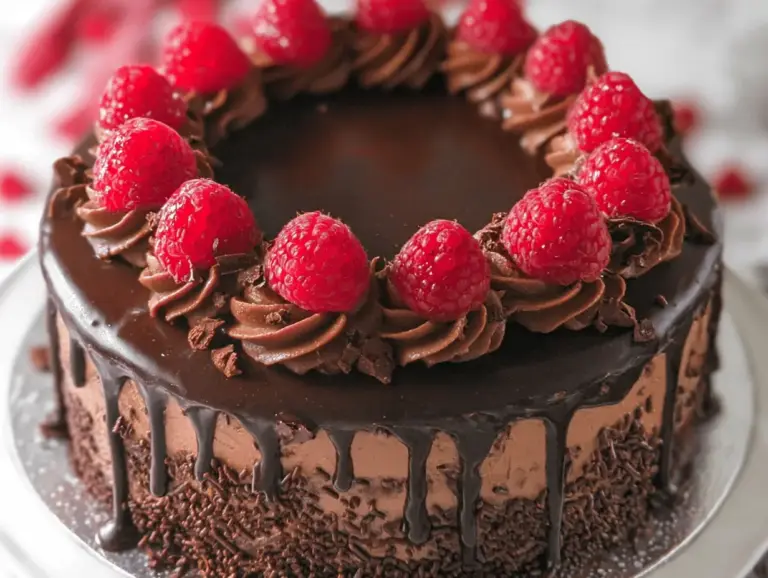
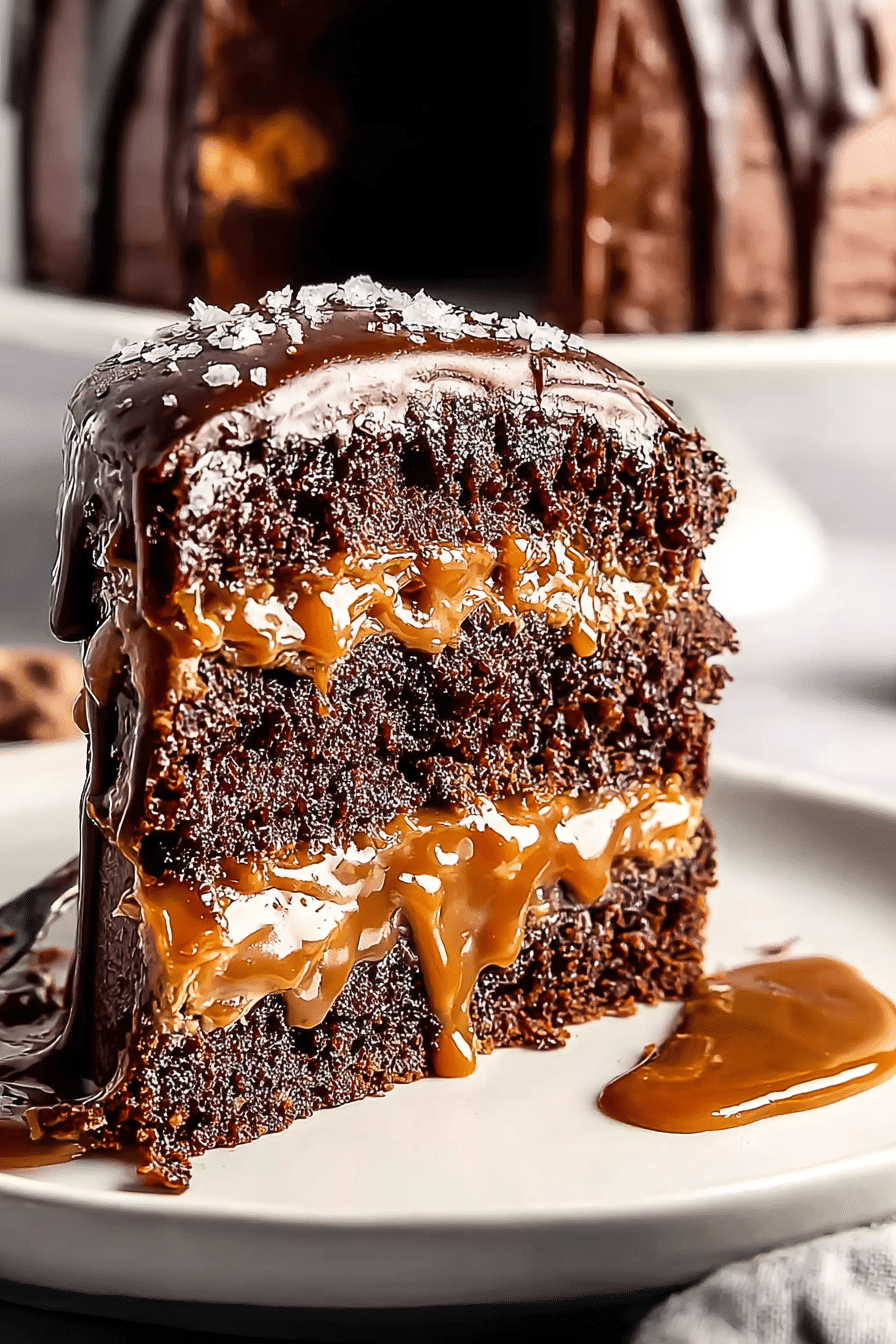
I still remember the first time I pulled this cake from the oven and watched caramel slide down the sides like molten gold — the room stopped talking. I made it for a milestone birthday in my kitchen, and the way the glossy caramel caught the party lights made every guest reach for a second slice. That moment, the hush followed by applause, is why I return to this combination again and again.
In my kitchen this cake has become shorthand for ‘I went all out’ — a little show, a lot of comfort. The salted caramel brings a glossy theatrical finish while the chocolate layers stay tender and slightly fudgy, so each forkful is both decadent and balanced. I’ll share the tricks I use to get that texture and the confident assembly steps that make presentation effortless.
Whether you’re planning a formal dinner or an intimate gathering, this cake dresses the table with a refined, indulgent air. I’ll also give you practical make-ahead ideas, gluten-free options, and quick corrections I rely on when things don’t go exactly to plan — because they rarely do at my house, and that’s okay.
Why this Salted Caramel & Chocolate Cake is the Showstopper of any Celebration
The beauty of this cake is the way two contrasting textures and flavors — deep, fudgy chocolate and bright, buttery salted caramel — play off one another. The caramel’s sheen and careful drizzle create instant drama, while the chocolate layers ground the dessert in comforting richness. I often serve it as the final act of the evening: guests pause, fork poised, and the room leans in.
I recall one winter party where I finished the cake at the last minute and dusted the top with a scattering of flaky sea salt just before serving. The contrast of the glossy caramel, the dark chocolate crumb, and the bright crystals on top made the slice pop on the plate. For celebrations, its look — glossy, layered, and slightly theatrical — is as important as the taste.
Everything You Need for Salted Caramel & Chocolate Cake
The right ingredients and tools make the difference between a pretty cake and a memorable one. Focus on quality and the small details; they give the cake depth and shine.
- All-purpose flour – Structure for tender layers; swap with a cup-for-cup gluten-free blend if needed.
- Unsweetened cocoa powder – Provides chocolate intensity; choose Dutch-processed for a darker, smoother flavor.
- Granulated sugar – Feeds the cake and is the base for the caramel when cooked alone.
- Salted butter – Adds richness; a high-quality European-style butter gives a creamier mouthfeel.
- Eggs (room temperature) – Help emulsify the batter and capture air for lift; bring them to room temperature before starting.
- Heavy cream – Enriches both the batter and the caramel; a full-fat cream produces the silkiest sauce, though you can use a non-dairy cream alternative if needed.
- Semi-sweet or dark chocolate – Melts into the batter for decadence; choose chocolate with good cocoa content for depth.
- Sea salt flakes – Final garnish that heightens the caramel and chocolate contrast; use a light hand.
- Tools – A stand mixer or sturdy hand mixer speeds creaming; an offset spatula, springform or round pans, and a wire rack will make assembly and cooling easier. Lining pans with baking parchment prevents sticking and helps you remove layers cleanly.
The Secret to a Moist, Fudgy Chocolate Layer
- Start with room-temperature ingredients so the batter emulsifies smoothly; cold butter or eggs will make the batter seize and produce uneven texture. I always set my eggs out an hour ahead to avoid that hiccup.
- Cream butter and sugar until pale and aerated — this traps tiny air bubbles that help with lift while keeping the crumb tender. You should see the mixture lighten noticeably.
- Add eggs one at a time and scrape the bowl often; this prevents the batter from breaking and keeps it glossy, which translates to moisture after baking.
- When you combine dry ingredients with wet, mix only until no streaks remain. Over-mixing develops gluten and dries the crumb; stop as soon as the batter looks uniform.
- Fold in melted chocolate or cocoa carefully to maintain that fudgy density. The finished batter should feel thick and slightly satiny — not runny — so the baked layers are dense but tender.
- Watch for doneness using visual cues: the top should spring back slightly and a toothpick inserted near the center should emerge with a few moist crumbs, not raw batter. That’s the sweet spot for fudgy texture.
Step-by-Step Salted Caramel: No-Fail, Silky Sauce
Caramel intimidates a lot of bakers, but with steady heat and a calm approach it becomes one of the most rewarding things you can make. Keep a watchful eye and resist the urge to walk away.
- Use a heavy-bottomed saucepan so heat distributes evenly and sugar won’t scorch in hot spots.
- Cook sugar over medium heat until it melts and turns a deep amber — this is the point where the aroma becomes warm and toasty; avoid letting it go too dark or it will taste bitter.
- When the sugar has reached color, stir in butter in small pieces so it incorporates smoothly; the mixture will bubble vigorously — that’s normal.
- Remove the pan briefly from the heat when you add cream, then return it and stir until the sauce is glossy and silky. Adding cream gradually prevents temperature shock and keeps the caramel smooth.
- Season with flaky sea salt to taste — the salt brightens the richness and lifts the chocolate when plated.
- If you want to practice, keep a small jar of cooked caramel in the fridge and reheat gently before using; it keeps well and saves time on the day you assemble the cake.
For those looking to perfect their sauce, our homemade caramel recipe is an excellent resource to elevate your skills.
Presentation Tricks: How to Plate, Garnish, and Style for Maximum Impact
Presentation turns a great cake into an unforgettable centerpiece. The goal is contrast: shiny caramel, matte chocolate, and bright salt or metallic accents make slices sing on the plate.
- For clean layers, chill cakes briefly after assembly so the caramel sets slightly before you move the cake. It makes slicing neater and the drip looks intentional rather than messy.
- Use an offset spatula to spread caramel and chocolate layers smoothly, then let gravity do the work: a slow pour of warm caramel creates elegant drips down the sides.
- Garnishes that work beautifully: a light scatter of sea salt flakes, shards of tempered dark chocolate, toasted nuts for crunch, or tiny touches of edible gold leaf for pure showmanship.
- Slice with a warm, dry knife — heat the blade under hot water, wipe it dry, and make confident strokes for glossy, neat slices.
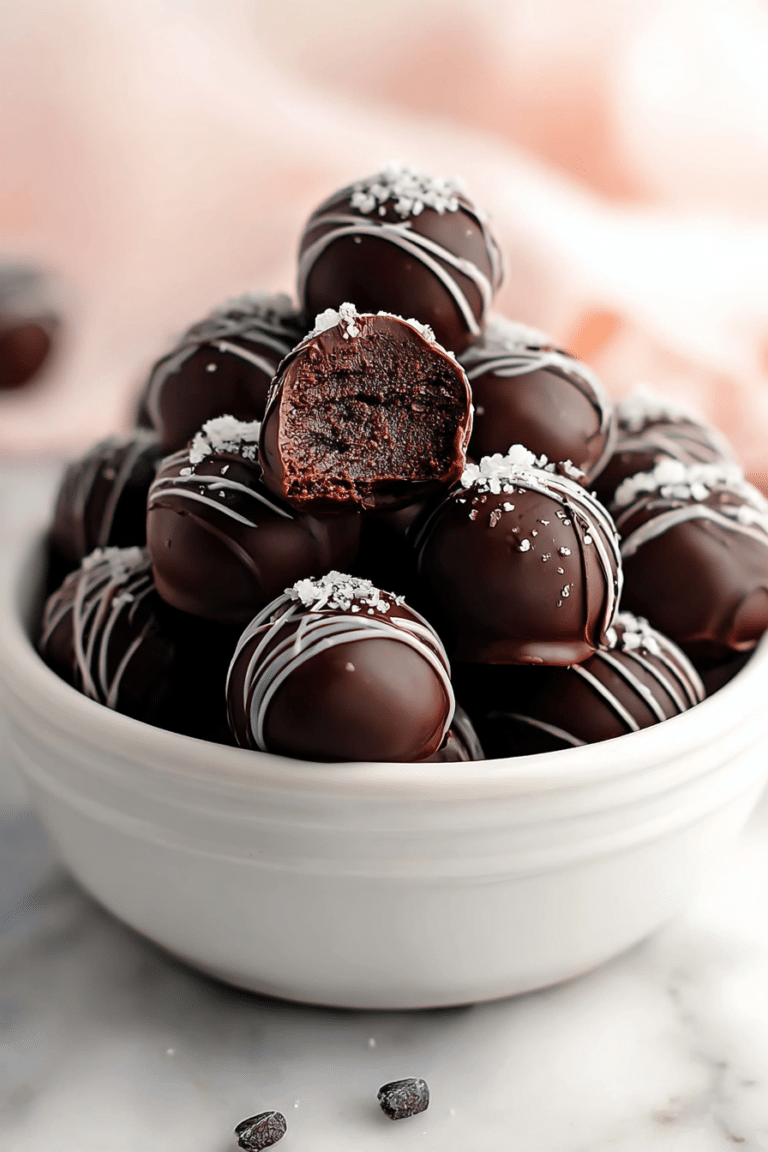
- For more inspiration, check out our delicious salted caramel & chocolate truffles that are perfect for garnishing your cake.
How to Make Salted Caramel & Chocolate Cake (Step-by-Step)
- Prepare your pans and preheat the oven so you can move quickly once the batter is ready. Greased and lined pans give you clean-edged layers every time.
- Mix the chocolate batter as described above, being careful with the creaming and folding stages so the crumb remains tender and fudgy.
- Bake until the centers spring back slightly and a toothpick shows a few moist crumbs; cool in the pans briefly, then transfer to a wire rack to finish cooling so moisture evens out.
- Make the caramel and allow it to cool slightly so it thickens but is still pourable for drips and layering.
- Assemble by placing one cake layer on a serving plate, spooning or piping a generous ring of caramel across the surface, then adding the next layer and repeating. Finish with a warm pour over the top and let it cascade down the sides.
- Chill briefly to set the caramel before slicing for glossy, clean servings. Bring the cake back to near room temperature before serving so the texture is soft and the caramel is silky.
Pro Tip for Salted Caramel & Chocolate Cake: Make-ahead caramel, gluten-free swaps, and quick rescue fixes
- Make-ahead caramel: I often make the caramel a day ahead and store it in a jar in the fridge. Reheat gently in a saucepan over low heat with a splash of cream or water to bring it back to a pourable consistency.
- Gluten-free swap: Use a reliable cup-for-cup gluten-free flour blend and add a teaspoon of xanthan gum if your blend lacks it; this helps the crumb hold together while keeping the texture tender.
- Dairy-free option: Substitute full-fat coconut cream for heavy cream in the caramel and use a vegan butter alternative; the flavor will shift but the texture can remain luxuriously silky.
- Sunken cake fix: If a layer sinks slightly, level it and use it as the bottom layer, or crumble it and use as a textured topping — I’ve done this at late-night parties and no one complained.
- Seized caramel rescue: If sugar crystallizes while cooking, stop stirring and add a small amount of water, then gently heat until it smooths out again.
- For a classic treat, explore our recipe for the best chocolate chip cookies that can be a delightful addition to your dessert table.
How to Store, Make-Ahead, and Try Easy Variations
Storage and smart variations keep this cake practical for entertaining while allowing you to tailor it to the tone of your event.
- Short-term storage: Keep leftovers covered at room temperature in an airtight container for up to three days to preserve the soft crumb and silky caramel. If you need longer storage, refrigerate for up to a week but bring to room temperature before serving.
- Make-ahead strategy: Bake layers a day or two ahead, wrap tightly, and keep them at room temperature. Make the caramel the day before and reheat gently when you assemble.
- Chocolate variations: Swap in a higher-percentage dark chocolate for a more intense flavor, or add a thin layer of milk-chocolate ganache between layers for extra silkiness.
- Add-ins: Toasted pecans or hazelnuts folded into the caramel layer add crunch that contrasts beautifully with the cake’s softness.
- Alternative frostings: For dairy-free crowds, use a whipped coconut cream frosting; for a lighter finish, a thin dusting of cocoa and a smear of caramel can be more elegant than a heavy frosting.
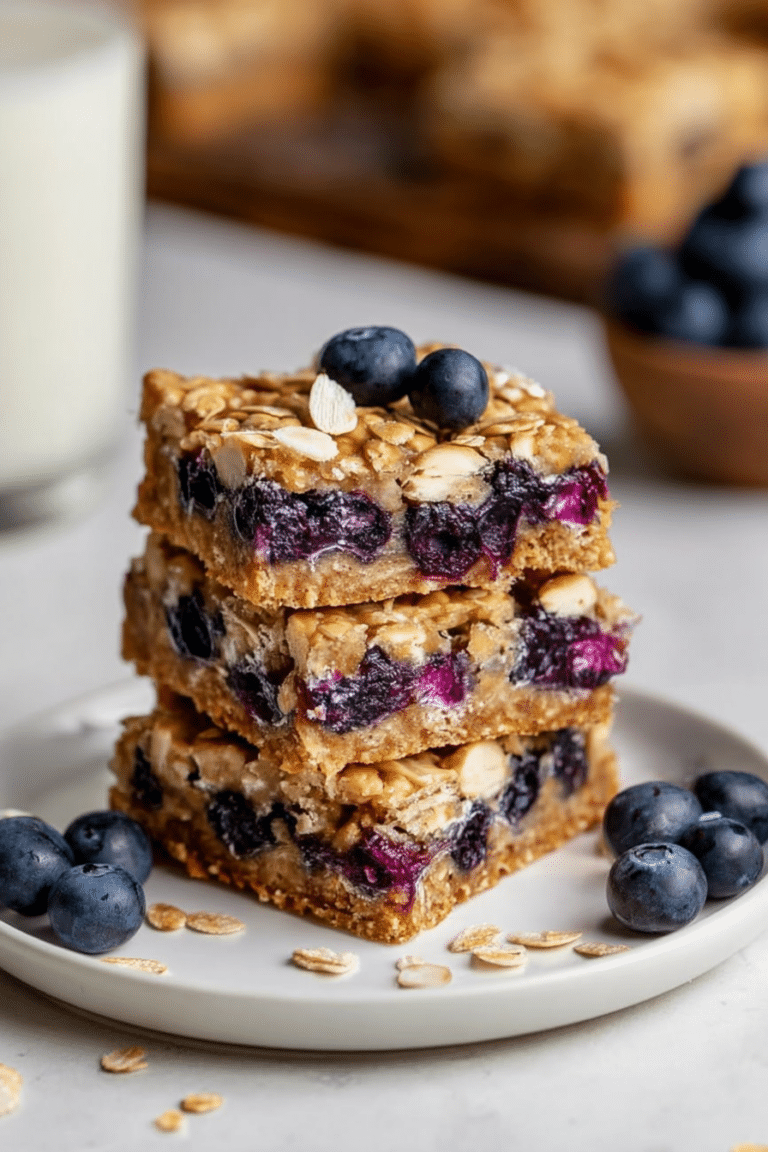
- If you’re interested in variations, our easy sourdough discard brownies provide a unique twist for chocolate lovers.
Frequently Asked Questions
Can I make this cake ahead of time? Absolutely! You can bake the cake layers in advance and store them in an airtight container at room temperature for up to three days. You can also prepare the salted caramel sauce ahead of time.
What can I substitute for the heavy cream? If you’re looking for a lighter option, you can use half-and-half or a non-dairy cream alternative, although the texture and richness may vary slightly.
Can I make this cake gluten-free? Yes! You can substitute all-purpose flour with a gluten-free flour blend. Just make sure it’s a type that works well for baking.
How should I store leftovers? Store any leftovers in an airtight container at room temperature for up to three days. If you need to keep it longer, refrigerate it for up to a week.
What should I do if my caramel hardens? If your caramel hardens, you can gently reheat it on low heat with a splash of water until it becomes silky again. Just stir continuously to ensure it melts evenly.
Salted Caramel & Chocolate Cake
Ingredients
Method
- Preheat your oven to 350°F (175°C) and grease two round cake pans.
- In a bowl, whisk together flour, cocoa powder, baking powder, and salt.
- In another bowl, cream together softened butter and sugar until light and fluffy. Add eggs one at a time.
- Gradually mix in the dry ingredients along with heavy cream until just combined.
- Divide batter between prepared pans and bake for 25-30 minutes or until a toothpick comes out clean.
- Cool cakes in pans for 10 minutes, then transfer to wire racks.
- For the salted caramel sauce: melt sugar over medium heat until golden brown. Stir in butter and heavy cream with a pinch of sea salt.
- Assemble the cake by layering with salted caramel sauce between layers and on top.