I still remember the first time I made Rice Krispies treats with my little helpers: flour on the countertops, sticky fingers, and the proudest faces when we pressed the warm mixture into the pan. Those quiet, gooey minutes felt like a tiny kitchen lesson and a big memory all at once. I make these when time is short but hearts (and bellies) need a little comfort.
I love how approachable this recipe is: almost no tools, a very short warm-up at the stove, and a huge payoff. It’s perfect for evenings when you want a simple activity that lets kids stir, measure, and press — and you can chat while they work. I also use these sessions to teach basic kitchen skills: how to measure, how to listen for melting marshmallows, and why we use gentle motions when folding.
Over the years I’ve learned which tiny tweaks keep the treats soft, how to customize them into kid-approved flavors, and which mistakes make them disappointingly tough. Stick with me and I’ll share the tips I use when I make a pan for a school party or a rainy afternoon snack.
Why These Rice Krispies Treats Are Perfect for Busy Parents and Little Helpers
Simple, quick, and very forgiving — this recipe is designed for hands of all sizes. You can pull the whole thing together while the kettle boils, then set your child up with a spatula and a bowl of cereal. It’s a small project that feels like a celebration.
- Minimal prep and a short warm-up step mean you won’t be stuck in the kitchen for long — great for bedtime routines or after-school projects.
- Children can safely help with stirring warm (not boiling) marshmallows, measuring cereal, and pressing the mixture into the pan — perfect confidence-building tasks.
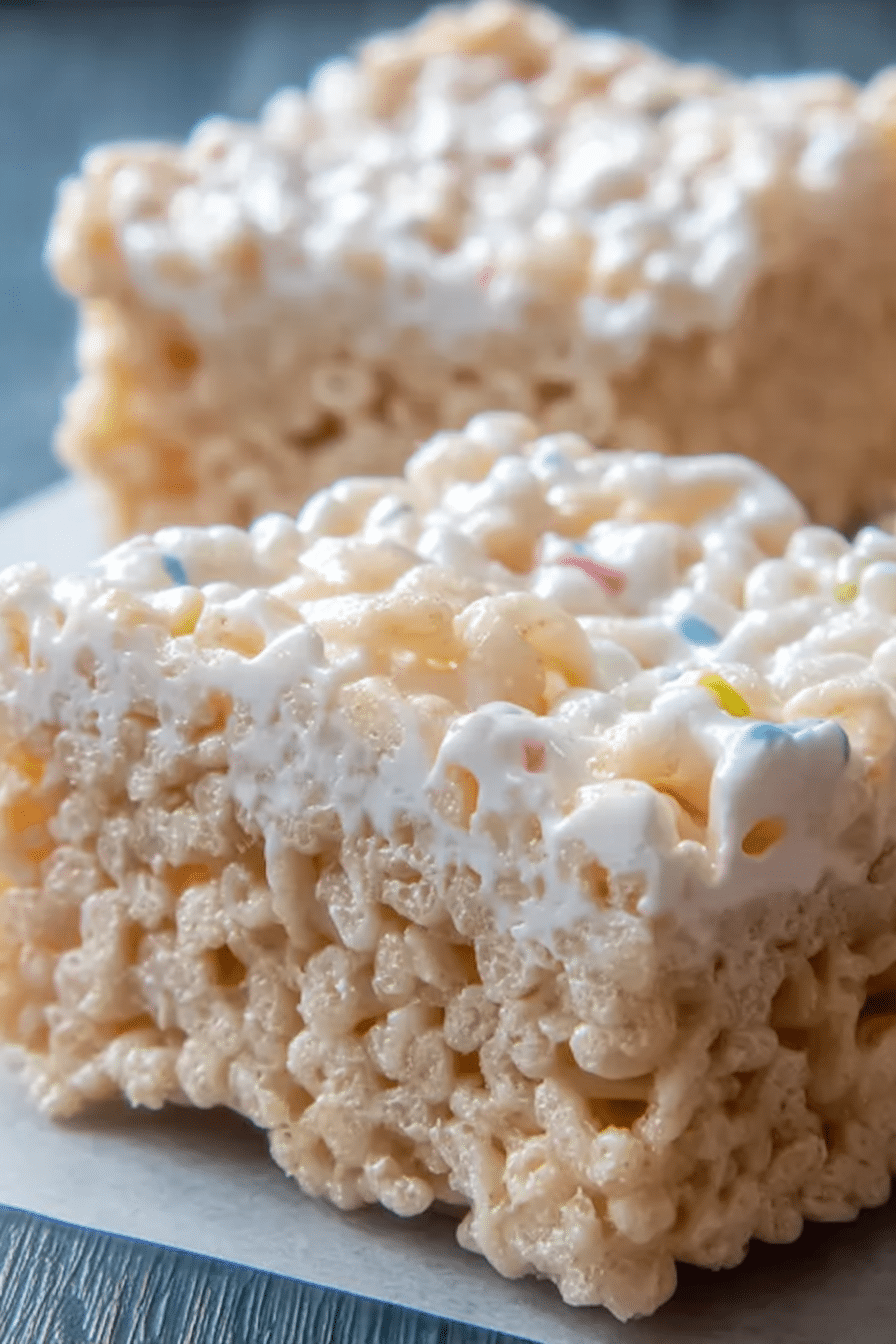
- This is a great way to show kids about texture: dry, crunchy cereal turning glossy and sticky as it meets the melted marshmallow.
Because families have different needs, I’ll show swaps and variations below so you can tailor these treats for lunches, parties, or food sensitivities.
Everything You Need for Rice Krispies Treats
You don’t need a fancy mixer — just a sturdy saucepan, a flexible spatula, and a pan to press the mixture into. A sheet of parchment or a quick spray of butter on the pan keeps things clean and makes lifting the slab out easy.
- Butter – Keeps the melted marshmallow from sticking and adds a rounded mouthfeel; dairy-free spreads work as a swap.
- Mini marshmallows – Melt into the glossy glue that holds the cereal together; fresh marshmallows melt smoother than stale ones.
- Vanilla extract – A splash brightens the sweetness; try almond extract for a different twist if you like.
- Rice cereal – The crisp backbone of the treat; use gluten-free puffed rice if you need a gluten-free option.
For easy variations, try a peanut-butter twist or a cereal swap to change the texture. If you want a nutty, slightly crunchy version, try my peanut butter idea for an extra crunchy treat:
Peanut Butter Rice Krispie Treats
The Secret to the Perfect Chewy, Marshmallow Texture
Chewiness comes from balance: enough melted marshmallow to glue everything together, plus a gentle hand so the cereal keeps its air. Butter helps the marshmallow flow and keeps the final bites soft rather than rock-hard.
- Use low heat so the marshmallows melt evenly and become glossy — high heat makes them seize up or bubble aggressively.
- Reserve a handful of mini marshmallows to fold in at the end for little pockets of pillowy chew that kids adore.
- Try small flavor infusions: a touch of brown-butter flavor (by cooking the butter briefly) or a little citrus zest for grown-up brightness — I add a tiny pinch of flaky salt sometimes to balance the sweetness.
Why Temperature Matters When Melting Marshmallows
The difference between silky and grainy marshmallow melt is almost always temperature control. Marshmallows are mostly sugar and air; heat them too fast and the sugar structure changes, which can make the mixture tough or stringy.
- Keep your heat low and steady so the marshmallows gently collapse into a smooth, glossy sauce.
- If you like gadgets, a candy thermometer can help you avoid overcooking — but your eyes and ears work too: slow, even melting with only occasional tiny bubbles is ideal.
- The warm aroma of butter and marshmallow is a good cue: when it smells nutty and sweet without sharp sugar burn, you’re in the right zone.
Add-Ins Kids Love (and How Much to Use)
Customizing treats is part of the fun — add-ins should complement the chewiness without making the slab fall apart. I usually keep additions modest so the texture stays soft and manageable for little hands.
- Mini chocolate chips — stir in about half to a full cup; they melt slightly and add pockets of chocolate. Use dairy-free chips for vegan versions.
- Sprinkles — a couple of generous tablespoons mixed in or sprinkled on top after pressing keeps color bright for parties.
- Dried fruit (tiny bits) — a half cup or so adds chew and sweetness; choose softer dried fruits to avoid a dry finish.
- Candy pieces (M&M-style) — a half to a full cup gives vibrant color and crunch; press them lightly into the top so they don’t melt completely.
- Switch the cereal for Fruity Pebbles or a marshmallow-forward cereal for a flavor remix — try this Fruity Pebbles version for a blast of color: Fruity Pebbles Rice Krispies Treats.
- For a campy twist, try S’mores additions — chocolate and graham crumbs — which are especially fun: S’mores Rice Krispies Treats.
- Want a lucky-stuffed version? Try mixing in a novelty cereal like Lucky Charms for color and marshmallows: Lucky Charms Rice Krispies Treats.
Note: most add-ins will slightly change texture — chips add richness, candies add crunch, and dried fruit can make bars a touch chewier.
How to Make Rice Krispies Treats (Step-by-Step)
- Butter or line your pan so the finished slab lifts out easily.
- Melt the butter in a large saucepan over low heat so it becomes fragrant but not browned.
- Add most of the mini marshmallows and stir gently until they melt into a smooth, glossy mass; remove from the heat as soon as melting is complete.
- Stir in the vanilla, then add the rice cereal and any chosen add-ins; fold gently so the cereal stays airy and well-coated.
- Transfer the mixture to the prepared pan. Use a buttered spatula or a piece of buttered wax paper to press it into an even layer — press just enough to hold the shape without packing it.
- Let the slab cool at room temperature before slicing so the treats keep their soft texture.
- Clean-up tip: while the pan is cooling, fill the saucepan with hot water to loosen sticky residue for easy washing later.
Pro Tip for rice krispies treats: Keep Them Soft — Don’t Pack the Pan
- Press the mixture gently and evenly — if you press too hard you’ll squeeze out air and end up with a dense, hard bar. I always use a piece of buttered wax paper and glide my hand over it with a light touch.
- If kids are helping, give them small sections to press so they don’t overdo it; I guide their hands rather than taking the job away.
- To get smooth tops without packing, tap the pan gently on the counter to settle the mixture, then give one light, even press.
Troubleshooting
- If your treats are too hard: I’ve found that means the mixture was pressed too firmly or the marshmallows were overcooked—try a gentler press next time and remove from heat as soon as the marshmallows melt.
- If the mixture is too sticky to handle: sprinkle a little extra cereal and fold it in gently; a light dusting on your spatula helps too.
- If the marshmallows become grainy: I’ve overheated them before. Next time melt more slowly over lower heat and take the pan off the burner as soon as the texture is smooth.
How to Store, Make-Ahead, and Serve Rice Krispies Treats
These treats store wonderfully at room temperature and are easy to make ahead for parties or lunchboxes.
- Store in an airtight container at room temperature for up to a week to keep them soft.
- For longer storage, individually wrap bars in plastic wrap before placing them in a container; they freeze well for up to a month — thaw at room temperature.
- Serve on a platter with a fun garnish: a drizzle of melted chocolate, a sprinkle of mini candies, or a dusting of colored sugar makes them party-ready.
Dietary Variations and Swaps
- Gluten-free: use a certified gluten-free puffed rice cereal — the technique stays the same.
- Vegan: swap in vegan marshmallows and a plant-based butter; the texture will be slightly different but still delicious.
- Nut-free: avoid peanut or tree-nut add-ins and choose safe cereals/candies — many schools require nut-free snacks, and I follow those rules when I’m packing lunches.
- Lower-sugar: reduce candy add-ins and try a small amount of dark chocolate for a richer flavor with less sweetness.
Creative Presentation Ideas
Turning these treats into themed shapes or party favors is an easy way to make them feel special.
- Use cookie cutters on a slightly chilled slab to make stars, hearts, or dinosaurs.
- Press colorful sprinkles or candy onto the top right after pressing for a rainbow effect kids love.
- Wrap individual bars in parchment and tie with baker’s twine for school lunches or party favors.
Frequently Asked Questions
What are the essential ingredients for Rice Krispies treats?
You’ll need only four essential ingredients: butter, mini marshmallows, vanilla extract, and Rice Krispies cereal. It’s a simple recipe anyone can follow!
How can I make my Rice Krispies treats more flavorful?
Try browning the butter before mixing it with the marshmallows! This adds a rich, nutty flavor. You can also consider adding a pinch of salt for enhanced taste.
Why is it important not to pack the Rice Krispies mixture too tightly?
Avoiding over-packing is crucial as it helps keep your treats soft and chewy. Gently pressing the mixture into the pan will yield the perfect texture!
How should I store my Rice Krispies treats?
Store your treats in an airtight container at room temperature for up to one week. This will help keep them fresh and soft!
Can I customize my Rice Krispies treats with add-ins?
Absolutely! Kids love adding mini chocolate chips, sprinkles, or dried fruit. Just mix in about 1/2 to 1 cup of your desired add-ins!
Rice Krispies Treats
Ingredients
Method
- Butter your 9 x 13 x 2 inch baking pan, or line with parchment paper.
- Melt butter in a large saucepan over low heat. Once melted, add the marshmallows (minus 1 cup) and stir until melted, then remove from heat.
- Stir in the vanilla, then add the Rice Krispies and the remaining marshmallows. Gently fold until all cereal is coated.
- Transfer to the prepared pan and press down gently with a buttered spatula or your fingers.
- Let cool for at least an hour before slicing and serving.