I make small jars of strawberry jam whenever I want a fresh, fruity spread without committing to a full canning day. There’s something satisfying about watching berries break down and the kitchen fill with that sweet, berry scent while you stir; it reminds me of why I started making jam in my own kitchen. Small batches mean you get the freshest flavor and far less waste.
I grew into this routine because I like being able to adjust sweetness and texture each time I cook. In my kitchen I can taste the strawberries as they cool and stop the cooking when the fruit still tastes bright, not overcooked. That control is the main advantage of a small jar: you keep the fresh notes and avoid the heavy, cooked-fruit flavor that sometimes comes from large batches.
Making a small batch saves time and reduces leftover jars crowding your fridge. It’s easy to make a jar for breakfast, another as a gift, and still have room for the rest of your week’s meals. If you want a more traditional technique for a larger batch, you might like a classic approach —
If you’re looking for more traditional techniques, check out our classic strawberry jam recipe for a comprehensive guide.
Why this small batch strawberry jam is perfect when you only want a little
Small batches are about portion control and practicality. When you only need a few jars, making a small batch avoids food waste, saves countertop and storage space, and keeps your jam tasting fresh because it’s eaten sooner. You also get more opportunities to experiment with flavor — try adding herbs, citrus, or a splash of another fruit without worrying about the whole pantry being committed to a single flavor.
- Portion control: make just what you will use in a couple of weeks.
- Less food waste: small jars mean fresher jam and fewer forgotten tins in the back of the fridge.
- Faster hands-on time: little stirring, quick clean-up, and immediate results.
If you like playing with flavor combinations, a tangy take like strawberry-rhubarb can be a nice follow-up to this method —
If you’re intrigued by flavor combinations, try our strawberry rhubarb jam for a tangy twist on traditional jam-making.
Everything You Need for Small Batch Strawberry Jam
Keep the tool list short and the ingredients focused on ripe fruit and clean, simple additions. Here’s what I keep on hand when I make a single jar:
- Strawberries – Ripe, fragrant berries give the best flavor and natural pectin.
- Sugar – Balances acidity, helps with preservation and texture; adjust to taste if you prefer less sweetness.
- Lemon juice – Brightens the flavor and helps with the set.
- Lemon zest (optional) – Adds a fresh, citrusy lift to the jam’s aroma.
- Saucepan – A heavy-bottomed pan reduces hot spots and burning.
- Spoon or heatproof spatula – For stirring and breaking down the berries.
- Small jar with lid – Clean and warm the jar for easier pouring and better shelf life.
Measure ingredients carefully if you like consistent results; for beginners, eyeballing ripe berries and tasting as you go works well. If you want a full guide to more traditional methods for larger quantities, see this step-by-step classic approach —
If you’re looking for more traditional techniques, check out our classic strawberry jam recipe for a comprehensive guide.
The Secret to the Perfect Texture (No Pectin Needed)
Strawberries contain natural pectin, especially when they’re slightly underripe or paired with the right amount of acid. In small batches you can rely on that natural pectin and careful cooking to reach a spreadable set without commercial pectin.
- Natural pectin: simmering releases pectin from the fruit; I often leave small chunks for texture rather than pureeing everything smooth.
- Cooking time matters: as the jam reduces, it thickens. Watch for syrupy bubbles and the way the mixture slows when you stir.
- Alternative thickeners: if you want a firmer set without commercial pectin, a small amount of mashed apple or a splash of apple juice can help (apples are high in pectin).
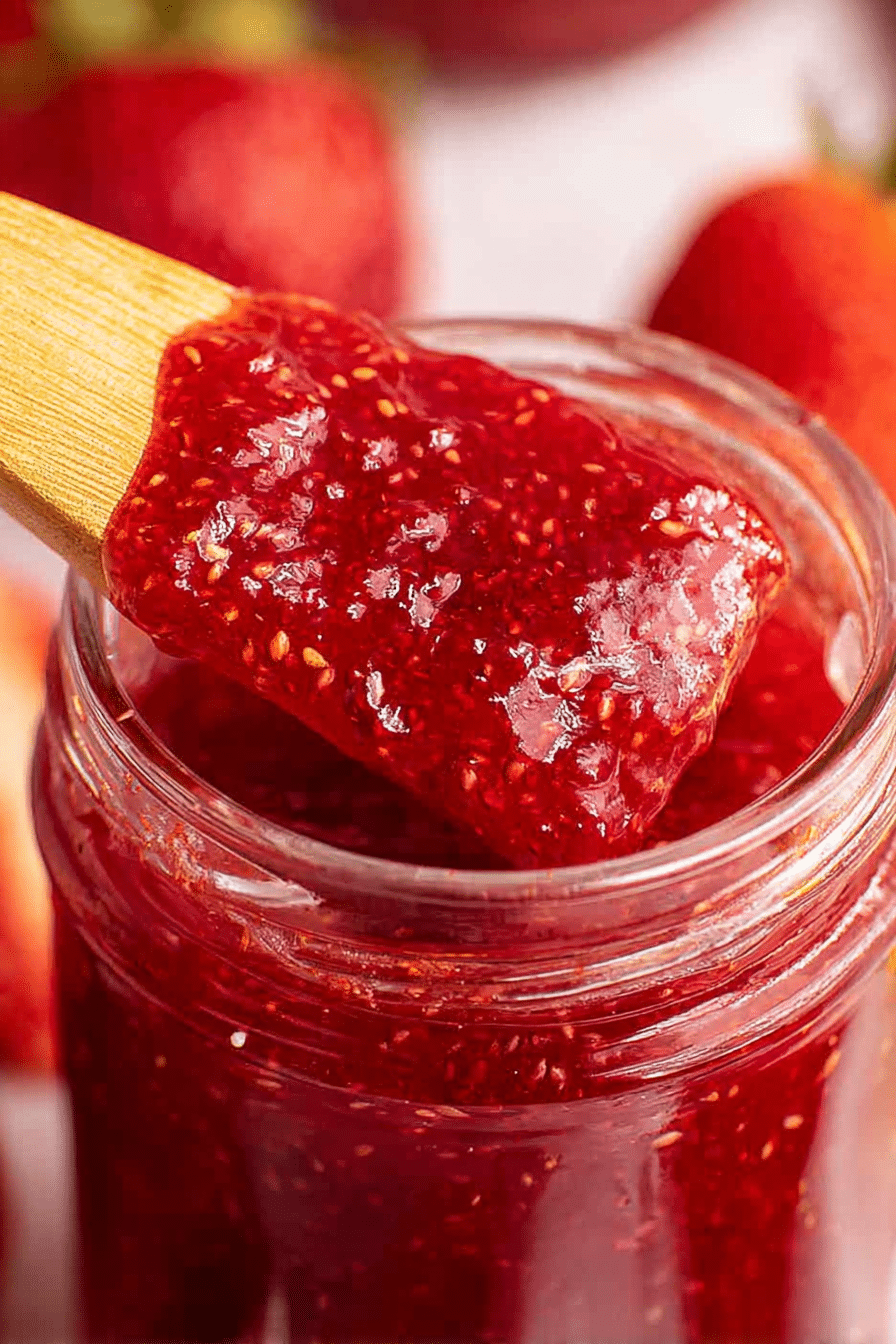
As the jam cooks you’ll notice the color deepen to a glossy, jewel-like red and the texture change from loose fruit to a syrupy cling — that’s your cue the set is approaching.
Why Temperature Matters: Hitting Jam’s Set Point
Temperature is the reliable way to know when your jam has reached its set point. Using a thermometer removes guesswork and helps you hit the right texture consistently.
- Target temperature: the usual set point for jam is around 220°F; this concentrates the sugars and pectin so the jam will gel once cooled.
- Thermometer use: clip a candy or instant-read thermometer to the side of the pan and watch for the temperature to hold as the mixture thickens.
- Boiling and sugar: as sugar concentration rises, the boiling temperature goes up — that’s why 220°F is a practical indicator of reduced water content in the jam.
- Altitude note: at higher elevations the water boils at a lower temperature, so you may need to cook a little longer or use the spoon test to confirm set.
Listen for the change in bubbling — small, rapid, glossy bubbles indicate the water is evaporating and the set is near. The aroma will also shift from fresh fruit to a richer, more jam-like perfume.
Can I Use Frozen Berries? Quick Tips for Best Results
You can use frozen strawberries, and they’re a great option outside peak season. Expect a softer texture and a slightly different flavor because freezing breaks cell walls.
- Thaw then drain: let frozen berries thaw and drain off excess liquid; too much water will lengthen cooking time and dilute flavor.
- Adjust cook time: frozen berries often release more juice, so cook until the mixture concentrates and reaches the set point.
- Flavor touch-ups: after cooking, taste and add a bit more lemon juice if the flavor feels flat, or a small amount of extra sugar if needed for balance.
Thawed berries change the texture, so decide whether you want a chunkier jam or a smoother spread and adjust mashing and cooking time accordingly.
How to Make Small Batch Strawberry Jam (Step-by-Step)
- Prepare the fruit: hull and slice ripe strawberries and place them in your saucepan.
- Add sugar: mix the sugar into the strawberries so the fruit starts to macerate before heat — this helps extract juices.
- Warm gently: heat the mixture over medium, stirring frequently so the sugar dissolves and the fruit begins to break down.
- Bring to a boil: once the mixture reaches a full boil, add lemon juice (and zest if you like) to balance sweetness and help the set.
- Reduce and watch the set: maintain a steady boil, stirring often to prevent sticking. Use a thermometer to reach the set point, or test by spooning a bit onto a chilled plate — if it wrinkles when pushed, it’s ready.
- Skim foam (optional): remove any foam for a clearer jam, or stir it back in for a rustic texture.
- Jar while hot: pour into a warm, clean jar, leave a small headspace, seal, and let cool at room temperature.
- Cool and check: once cool, the jam will thicken further; if it’s too loose, you can gently reheat and reduce a little more.
Common pitfalls to avoid: don’t walk away while the jam is boiling (it can scorch quickly), and avoid undercooking if you want a spread that won’t be runny after cooling. If it does turn out too soft, a short return to the pan will usually fix it.
Pro Tip for small batch strawberry jam: Cool Fast to Preserve Fresh Flavor
- Cool quickly: set the filled jar in an ice water bath (jar submerged up to the neck) to bring the temperature down faster and preserve brighter fruit flavors.
- Small jars cool faster: using smaller jars helps the jam chill quickly and shortens the window of prolonged heat exposure.
- Stop cooking at the right moment: I err on the side of slightly less cooked when I want a fresher taste; the jam will continue to set as it cools.
Troubleshooting
- Jam too runny after cooling — Reheat and reduce further, testing often; or add a small amount of mashed apple to increase natural pectin and simmer briefly.
- Jam too thick or gummy — You may have overcooked; gently stir in a little warm water and reheat to loosen it slightly.
- Jam tastes flat — Add a splash more lemon juice or a pinch of salt to brighten flavors.
- Jam burns to the pan — Transfer immediately to a clean pot, avoiding the scorched portions, and simmer gently until set is reached.
How to Store and Gift Small Batch Strawberry Jam
For short-term storage, keep jars refrigerated and use within about two weeks. For longer storage, freezing in airtight containers preserves color and flavor for several months. Always check lids and the surface for any off smells or visible mold before using.
- Refrigeration: store sealed jars in the fridge for up to two weeks.
- Freezing: use freezer-safe jars or containers and leave headspace for expansion; jam freezes well for several months.
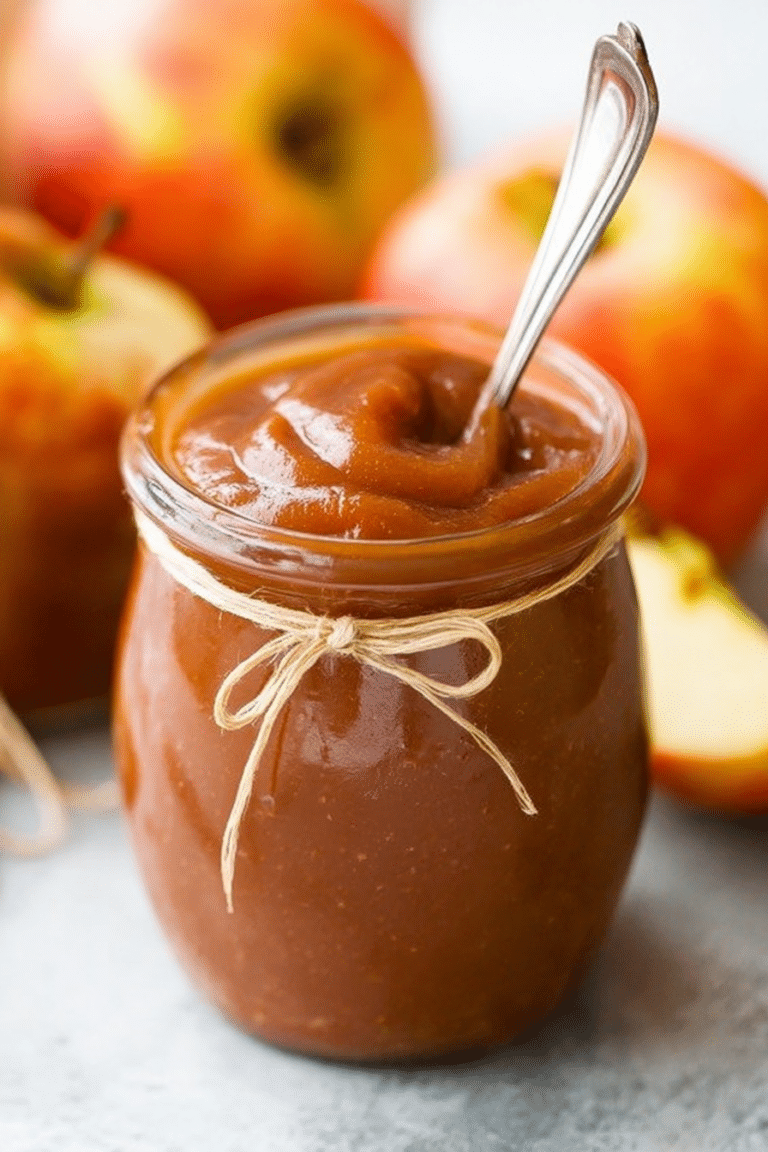
- Gifting ideas: dress jars with fabric squares and twine, include a small label with the date and flavor, and add a handwritten note about how to best enjoy it.
- Shelf life signs: discard if you see mold, an off odor, or bubbling in the sealed jar once stored.
Health-Conscious Variations for Strawberry Jam
If you want to reduce sugar or use alternatives, there are a few reliable approaches. Each change will affect texture and preservation, so choose based on how you plan to store and use the jam.
- Lower sugar: reduce sugar gradually and taste as you go; expect a softer set and shorter fridge life.
- Natural sweeteners: honey or agave can replace some sugar but will change flavor and may require less cooking time.
- No added sugar: cook fruit down until concentrated and rely on the fruit’s own sweetness; use refrigerated or frozen storage rather than room-temperature preservation.
- Pectin alternatives: add a bit of mashed apple or a sprinkle of chia seeds after cooking for a natural thickening effect.
If you want recipes and ideas tailored to lower-sugar cooking, you can look into related health-conscious recipe swaps —
For those mindful of sugar intake, explore our health-conscious variations of traditional recipes to sweeten your jam naturally.
Culinary Uses for Strawberry Jam Beyond Spreading on Toast
Strawberry jam is versatile in both sweet and savory contexts. Here are some of my favorite ways to use a small jar beyond breakfast toast:
- Swirl into yogurt or oatmeal for a bright fruit layer.
- Use as a filling in thumbprint cookies, cakes, or between cake layers.
- Glaze grilled pork or chicken: mix jam with a little vinegar or mustard for a sweet-savory glaze.
- Stir into vinaigrettes for salads that need a hint of fruit and sweetness.
- Top ricotta or cream cheese on crackers or crostini for a simple appetizer.
For more creative recipes that use jam in larger assemblies, try playful desserts that pair jam with creamy layers —
Discover creative recipes like strawberry cheesecake lasagna that make great use of your strawberry jam in unexpected ways.
Frequently Asked Questions
Can I use frozen strawberries to make this jam?
Yes! You can use frozen strawberries, but make sure to thaw them, drain any excess liquid, and consider adjusting the cooking time slightly.
How long can I store this small batch strawberry jam?
You can store the jam in the refrigerator for about 2 weeks. For longer storage, consider freezing it.
What if I don’t have lemon juice?
Lemon juice helps balance sweetness and aids in preservation, but if you don’t have it, you can omit it, although the flavor may be a bit different.
Can I reduce the sugar in the recipe?
Yes, you can reduce the sugar, but keep in mind that it may affect the texture and preservation. You might want to try alternatives like honey or agave syrup.
Is pectin necessary for this recipe?
No, this recipe does not require commercial pectin. The natural pectin in strawberries helps achieve the right consistency!
Small Batch Strawberry Jam
Ingredients
Method
- Wash and slice 1 pound fresh strawberries, removing the hulls and green tops.
- Add them to a saucepan, and mix 1 1/2 cup white sugar in well.
- Stir continually over medium heat, and bring the strawberries to boil.
- Once boiling, add 2 tablespoons lemon juice and ½ teaspoons lemon zest (if using).
- Boil for about 15 minutes, or until the jam reaches 220°F.
- Stir often, to make sure the jam doesn’t burn.
- Pour into a jar and allow to cool.
- Cover and refrigerate. Use within about 2 weeks (if it lasts that long).