I’ve been making this Picnic Cake for as long as I can remember whenever friends and family gather outdoors. It’s one of those recipes that performs the way you need it to: moist enough to feel comforting, sturdy enough to travel, and familiar enough that it disappears first from the dessert table. Over the years I’ve learned a few small tweaks that keep the top crunchy while the interior stays tender — I’ll share those with you below.
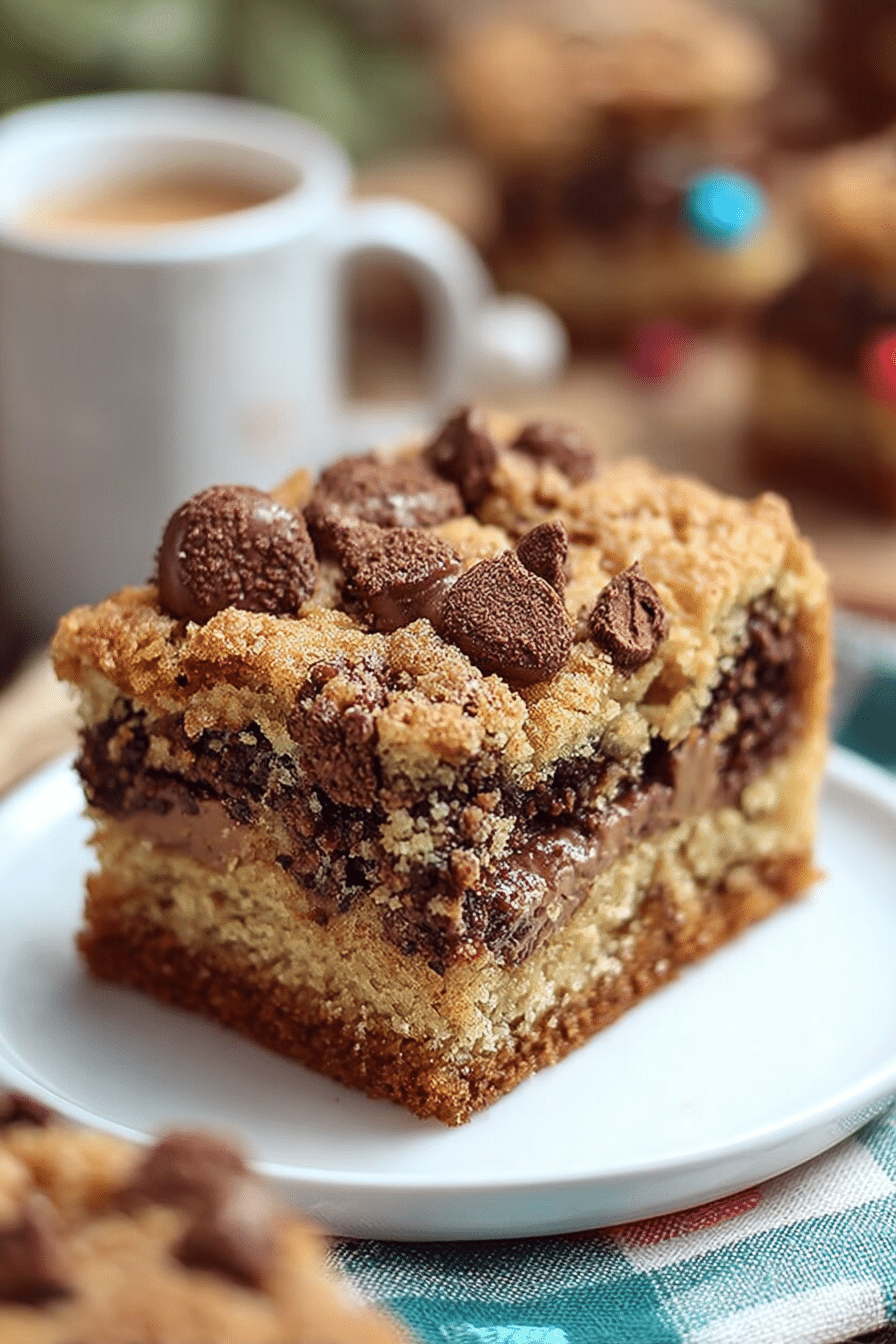
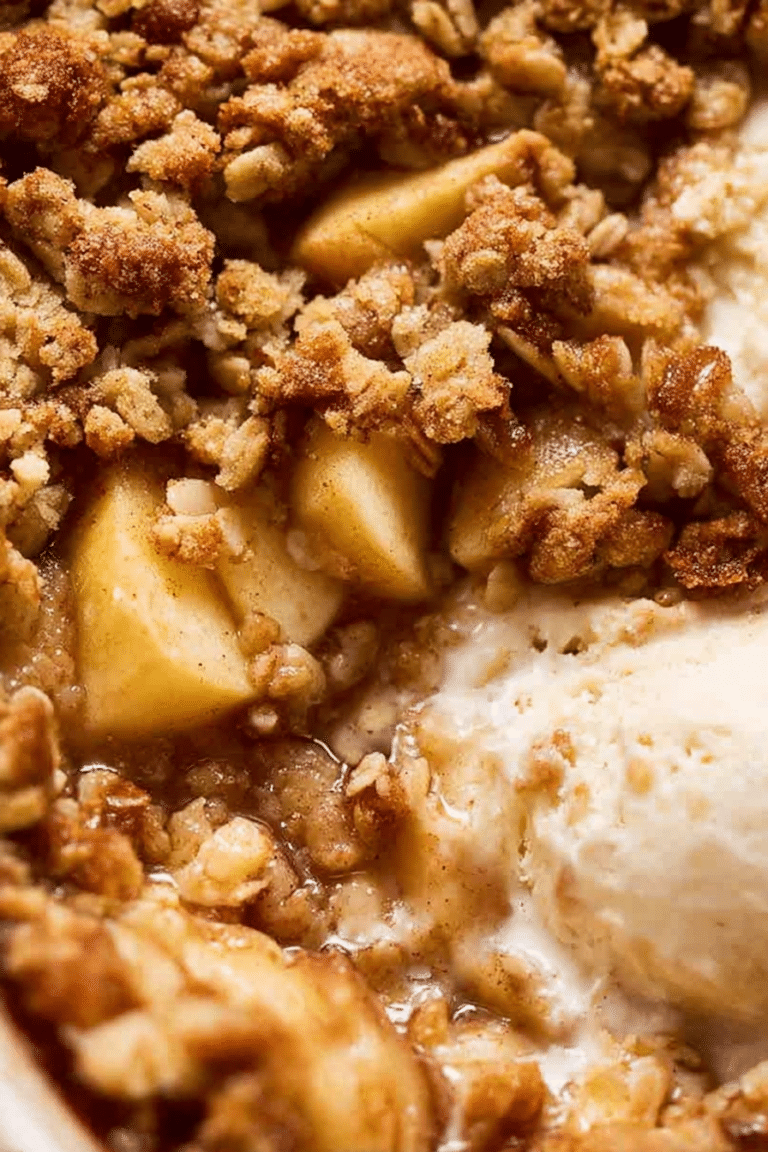
What I love most about this cake is how little drama it brings to a party. It smells warmly of cinnamon and caramelized dates as it bakes, and the sprinkle of brown sugar and chocolate chips on top gives every slice a little crunchy, sweet surprise. In my kitchen, this is the cake I reach for when I want something that looks homey but can travel well in a cooler or baked goods carrier.
I’ll walk you through the ingredients and why each one matters, give you step-by-step instructions you can actually follow, and offer sensible swaps for gluten-free and vegan diets. I also include my best tips for keeping the cake moist in transit and simple decorating ideas to make it feel special at any outdoor gathering.
Read on for everything from the hands-on steps to the make-ahead and storage tricks that let you bring this cake to your next picnic with confidence.
Why This Picnic Cake Is Perfect for Summer Gatherings
This cake checks the boxes summer hosts care about. The texture is soft and slightly dense so it doesn’t dry out under sun or humidity, and the warm spice notes mingle beautifully with outdoor scents. Because the top is finished with a brown-sugar crunch and chocolate chips, it also looks inviting on a picnic blanket — those little glossy chips catch the light and the aroma is comfortingly familiar.
Transportability is a real strength: the cake holds together when sliced and rewarmed gently, so you can carry it in a box or a shallow baking pan and still serve neat pieces. It’s broadly appealing — not too fussy, not overly sweet — which makes it ideal for groups with varied tastes. Share it alongside savory picnic staples and it balances the meal without stealing the spotlight.
Everything You Need for Picnic Cake
Below I talk through the ingredients and a few key tools. I won’t list exact amounts here — focus on the role each ingredient plays and the substitutions you can use if needed.
- Dates – Bring natural sweetness, chewy pockets and added moisture. If you prefer, prunes or finely chopped figs give a similar depth.
- Baking soda – Reacts with the date mixture to lift the crumb and keep it tender; it’s one of the reasons the cake stays moist.
- Shortening (or butter/coconut oil) – Shortening helps produce a classic tender crumb that travels well; swap with unsalted butter for more flavor or coconut oil for a dairy-free option.
- Sugar – Adds sweetness and helps with browning; a mix of white and brown sugar gives both structure and a hint of caramel flavor.
- Vanilla – Rounds out the sweetness and lifts the spice notes.
- Cinnamon (and optional spices) – Provides warmth and picnic-friendly aroma; add a pinch of nutmeg or cardamom for depth.
- Eggs (or plant-based alternative) – Bind the batter and help the cake rise; aquafaba or a commercial egg replacer works for vegan versions.
- Flour (all-purpose or gluten-free blend) – Structure for the cake. Use a cup-for-cup gluten-free blend that contains xanthan gum for best results.
- Salt – Balances sweetness and enhances flavors.
- Brown sugar (for the top) – Adds crunch and a toffee-like note when sprinkled on top before baking.
- Chocolate chips (any type) – Give bursts of chocolate and visual contrast; feel free to use dark, milk, white, or butterscotch chips.
Tools that help: a sturdy 9×13 pan (or similarly sized shallow baking dish), a mixing bowl, a spatula, and something to cover the cake for travel like plastic wrap and a flat rigid lid or cake carrier.
How to Make Picnic Cake (Step-by-Step)
- Combine the chopped dates with very hot water and the baking soda, stir until mostly dissolved, and set the bowl aside to cool. This soak softens the dates and gives the batter extra moisture; wait until it’s cooled so it won’t scramble the eggs.
- Cream your shortening (or chosen fat) with granulated sugar until light and a little fluffy — this incorporates air that makes the crumb tender rather than dense.
- Add the eggs one at a time with vanilla, beating until the mixture is smooth.
- Stir the cooled date mixture into the batter so the flavors meld and the heat won’t affect the eggs.
- Sift or whisk together the flour, cinnamon, and salt (if using) and fold them into the wet ingredients until just combined — don’t overmix or the cake can become tough.
- Pour the batter into a greased shallow pan and smooth the top so toppings sit evenly.
- Evenly sprinkle the top with brown sugar, then scatter chocolate chips over the surface so every slice gets a little crunch and chocolate.
- Bake until a toothpick from the center comes out clean or with a few moist crumbs; allow it to cool in the pan for a short time before covering for travel or serving.
The Secret to a Moist, Transportable Cake
The two big tricks I use are: soak the dates in hot water with baking soda, and allow the cake to cool properly before wrapping. The soaked dates add dissolved sugars and extra moisture into the batter, and the baking soda reacts to help the crumb stay tender. When you cover a warm cake, trapped steam turns the top soggy — so cool first, then wrap.
For transport, I press a piece of parchment lightly against the cake surface (no direct contact is necessary) and cover the pan with a rigid lid or place the pan in a shallow cake carrier. Add a small layer of paper towels around the container to prevent jostling if you expect bumps in the road.
Topping Tips: Getting the Crunch Without the Mess
A fine sprinkle of brown sugar and chocolate chips is classic and low-mess, but there are other approaches that add crunch while staying picnic-friendly. Finely chopped toasted nuts, lightly toasted coconut flakes, or even a coarse streusel can work — just keep pieces small so they don’t flake off when slices are moved.
To lock toppings in place, press them gently into the batter before baking so they adhere when the cake sets. If you want to add something after baking (like a quick glaze or chocolate drizzle), wait until the cake is fully cool so the topping doesn’t bleed or make the surface sticky during transport.
Dietary Swaps: Gluten-Free and Vegan Options
This cake adapts well to common dietary needs when you choose reliable substitutes and pay attention to texture.
- Gluten-free: Use a cup-for-cup gluten-free flour blend that already includes a binder like xanthan gum; brands with a blend of rice, potato, and tapioca flours tend to give the best crumb.
- Vegan: Replace eggs with aquafaba (the liquid from canned chickpeas) or a commercial egg replacer, and swap shortening for coconut oil or vegan butter. Choose dairy-free chocolate chips to keep the whole cake vegan.
- Flavor integrity: When swapping, taste the batter (a small lick) before baking to adjust spice and vanilla — GF and vegan fats can mute flavors slightly, so a touch more spice or vanilla can make a difference.
Creative Decorating Ideas for Picnic Cakes
Simple finishes make a picnic feel special without a lot of fuss. Consider arranging fresh seasonal berries around the edges, sprinkling edible flower petals for color, or drizzling a thin ribbon of melted chocolate across the top for an elegant, rustic look. You can also pipe a small border of whipped cream or a dairy-free frosting just before serving so it looks festive but won’t weep in the heat.
Tips for Baking and Transportation Specific to Picnic Scenarios
Baking and moving desserts to an outdoor location requires planning. Make sure the cake is fully set before you transfer it, and use a rigid carrier or box that prevents sliding. If you’ll be outside in warm weather, keep the cake in a cooler with ice packs placed around the carrier (not directly on the cake) to maintain texture and prevent melting of any chocolate toppings.
Pro Tip for picnic cake: Wrap and Cool to Preserve Texture
- Cool the cake in the pan for at least 20–30 minutes so the crumb firms up slightly before wrapping.
- Place a sheet of parchment over the surface, then wrap tightly with plastic wrap to lock in moisture without smothering the top.
- Transport the wrapped pan in a flat box or carrier to avoid tilting and sliding.
How to Store, Make-Ahead, and Reheat Picnic Cake
You can make the cake a day ahead and store it covered at room temperature for a short event, or refrigerate for longer freshness. For longer storage, freeze the cooled, wrapped cake; thaw overnight in the fridge and bring to room temperature before serving. To refresh slices, warm them briefly in a low oven or microwave for a few seconds — this brings back that freshly-baked sensation without drying the crumb.
Serving and Pairing Ideas for Outdoor Gatherings
Serve slices at room temperature with simple accompaniments: whipped cream, a scoop of vanilla ice cream, or a bowl of fresh berries. For beverages, black tea or a lightly brewed coffee pairs nicely with the cake’s sweetness, and a chilled lemonade or sparkling water keeps the palate bright.
For a fuller picnic menu, pair the cake with classic picnic sides like classic potato salad or a bright easy fruit salad. If you’re serving a heartier main, an easy grilled salmon is a lovely complement — the savory notes play well against the cake’s warm spices and chocolate chips.
Pro Tips for Picnic Cake
- Always use the freshest spices you have; cinnamon fades over time and fresh spice makes a noticeable difference.
- Let the date mixture cool completely before adding to the batter so your eggs don’t curdle.
- Press toppings lightly into the batter to prevent them from falling off during slicing and travel.
- Maintain a consistent oven temperature and rotate the pan once if your oven runs hot on one side.
Troubleshooting Common Issues
- If the cake is too dry: try using a touch more soaked-date liquid next time or reduce baking time slightly; also avoid overmixing the batter.
- If the cake is too moist or gummy in the center: make sure you’re baking long enough for the center to set and allow it to cool in the pan before wrapping.
- If toppings slide off or look messy: press them into the batter pre-bake and cool fully before wrapping for transport.
- If edges brown too quickly: tent loosely with foil in the last part of baking to protect the surface while the interior finishes.
Variations of Picnic Cakes Beyond Chocolate
- Pineapple-Cardamom: swap the chocolate chips for crushed pineapple and stir in a pinch of cardamom for a bright, tropical version.
- Berry Almond: fold in fresh berries and top with sliced almonds for a crunchy, fruity twist.
- Spiced Nut: stir in chopped toasted pecans and a touch of ground ginger for warm, toasty notes.
- Maple-Pear: use diced pears and drizzle with a bit of maple before serving for an autumnal take.
Frequently Asked Questions
Can I make Picnic Cake ahead of time?
Absolutely! Picnic Cake maintains its flavor and moisture, making it a great make-ahead option. Just store it in an airtight container until you’re ready to enjoy it.
What can I substitute for shortening in this recipe?
You can use unsalted butter or coconut oil as alternatives to shortening, which will give the cake a slightly different flavor and texture.
Is there a gluten-free version of Picnic Cake?
Yes! You can substitute all-purpose flour with a gluten-free flour blend. Just make sure to follow the measurements carefully.
How do I prevent the cake from getting mushy during travel?
To keep the cake intact during transportation, ensure it’s completely cool before wrapping it tightly in plastic wrap and placing it in a sturdy container.
Can I use other types of chocolate chips?
Definitely! You can use dark chocolate, white chocolate, or even butterscotch chips based on your preference.
Picnic Cake
Ingredients
Method
- Combine dates, boiling water, and baking soda. Stir well and set aside to cool.
- In a mixing bowl, cream shortening and sugar. Add eggs and vanilla. Mix well. Stir in cooled date mixture. Add cinnamon, flour, and salt and mix until well combined.
- Pour into a greased 9x13 pan.
- Sprinkle brown sugar and chocolate chips evenly over the top. Bake at 350 degrees for 35-40 minutes.