I make these strawberry crumb bars whenever I need a simple dessert that travels well and disappears fast. The crumb topping is buttery and slightly crisp, the strawberry layer is bright and jammy, and the whole thing comes together with very little fuss. I like to keep the dough cold, chop the berries by hand, and let the bars chill before cutting so each square comes out neat.
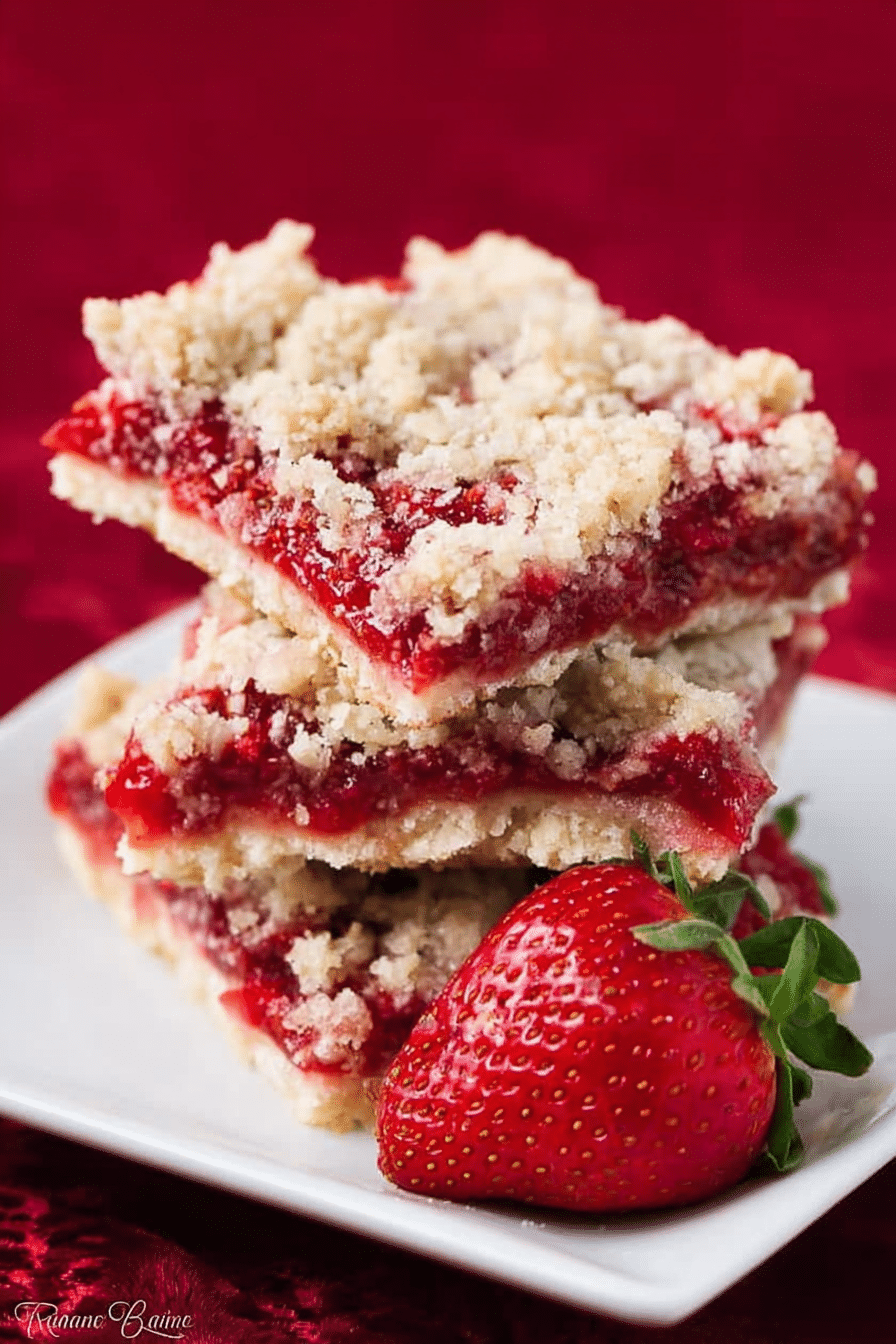
These take about an hour from start to finish, including bake time, and you can use fresh strawberries in season or thawed frozen berries the rest of the year. I often switch to frozen when strawberries go out of season — just make sure to drain them well so the filling doesn’t get soggy. The result is a dessert that balances sweet and tart, with red filling peeking through a golden, crumbly top.
In my kitchen they’re the go-to when I want something that looks homemade but doesn’t require fussing with layers or piping. The aroma of warm butter and strawberries baking together is one of those simple comforts that always gets compliments. When I bring these to a gathering I get asked for the recipe — and it’s easy enough that I’m happy to share.
Why these strawberry crumb bars are the easy, crowd-pleasing dessert you need
Quick prep and about an hour of total time mean you can make these on a weeknight or the morning of a party and still serve them warm or chilled. If you have a box grater or a food processor you can make the crumb topping almost hands-off, but a simple fork or pastry cutter works just fine.
Use juicy fresh berries when they’re at their peak, or use frozen berries that have been thawed and drained — both work. I prefer a mix of sweet and slightly tart berries so the filling isn’t cloying; the tiny bits of fruit and bubbling juices create a glossy, jam-like layer under the crumbs.
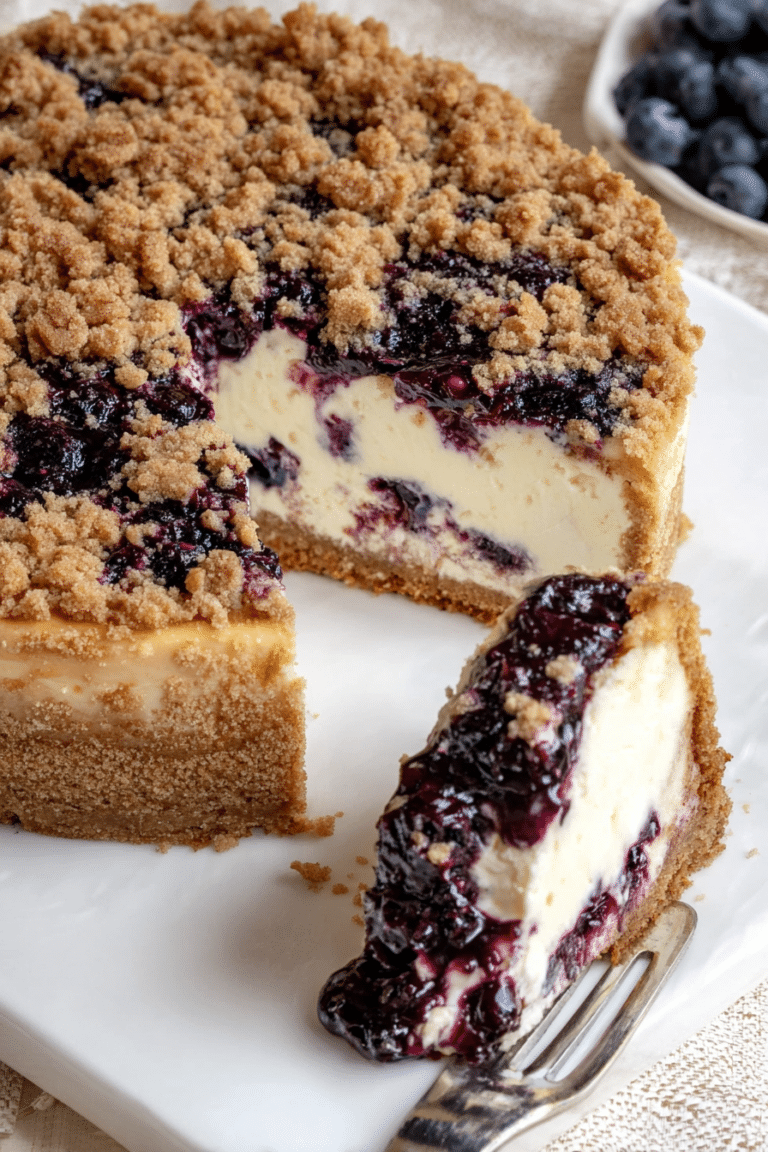
These bars hit a wide audience because the texture contrast is so satisfying: a tender, buttery base, a fruity, slightly saucy center, and a crunchy top. For those who love cheesecakes, check out our easy strawberry cheesecake, a perfect companion to the crumb bars.
Everything You Need for Strawberry Crumb Bars
- All-purpose flour – Provides structure for the crust and crumb topping; swap with a gluten-free blend if needed.
- Sugar – Sweetens both the dough and the filling; you can use a lower-sugar substitute or coconut sugar for a different flavor.
- Baking powder – Gives a touch of lift to the base so it isn’t too dense.
- Salt – Balances sweetness and enhances the butter flavor.
- Butter – The flavor backbone; for dairy-free versions use chilled coconut oil or a solid plant-based butter substitute.
- Egg – Binds the crumb so it holds together; use a flax egg or a commercial egg replacer for vegan baking.
- Vanilla – Adds warmth and rounds out the fruitiness of the strawberries.
- Strawberries – The star of the filling; fresh or properly drained frozen work well.
- Cornstarch – Thickens the strawberry juices so the filling isn’t runny; arrowroot is a good gluten-free alternative.
The Secret to the Perfect Crumbly Texture
- Keep the butter very cold and cut it into the dry ingredients until the pieces are about the size of peas — that gives you pockets of butter that melt into flakes during baking, creating that tender, crumbly texture.
- Don’t overwork the dough. Mix just until the egg and vanilla are incorporated; if the dough feels tacky, chill it briefly instead of kneading more.
- Aim for two crumb sizes: a pressed-together layer for the base and looser, larger crumbs for the topping. This contrast ensures a firm bottom and a crisp, textured top.
- Use a light hand when pressing the base — you want it compact enough to hold the filling but not as dense as a pie crust.
Why Temperature Matters for the Butter
- Cold butter stays in small pieces when mixed with flour. Those small pieces create steam pockets as the bars bake and produce a flaky, crumbly texture — if the butter warms, you’ll end up with a more uniform, denser dough.
- Room-temperature butter will incorporate too smoothly into the flour, which gives you a cakey or greasy crumb rather than a sandy topping. If your kitchen is warm, work in short bursts and return the bowl to the fridge between steps.
- Butter also carries flavor; keeping it cold until baking preserves that fresh butter taste. If you substitute with coconut oil or plant butter, chill it until solid so it behaves similarly in the dough.
How to Make Strawberry Crumb Bars (Step-by-Step)
- Preheat your oven so it’s ready when the pan is assembled.
- Mix the dry ingredients for the dough, then cut in very cold butter until the mixture looks like coarse crumbs with pea-sized bits.
- Beat the egg with vanilla and fold it into the crumbly mixture just until it comes together; press half the dough into the prepared pan to form the base.
- Stir sugar and cornstarch with chopped strawberries until the fruit is evenly coated; spoon the fruit over the crust in an even layer.
- Crumble the remaining dough over the strawberries so the filling is mostly covered but some red shows through.
- Bake until the top is lightly golden and the filling is bubbling at the edges — that bubbling is the easiest doneness cue.
- Cool completely on a rack; I recommend chilling for a couple of hours before cutting so the filling sets and slices cleanly.
Troubleshooting
- Top is soggy: I’ve seen this when the berries were too wet. Next time, let thawed berries drain in a sieve and toss them lightly with cornstarch to capture excess moisture.
- Dough too crumbly to press: If the dough won’t hold, it probably needs a touch more liquid — chill it briefly, then press with slightly damp hands or add a tiny splash of milk or a beaten egg.
- Edges brown too quickly: My oven runs hot in spots; covering the pan loosely with foil partway through baking prevents over-browning while the center finishes.
- Filling runs when cutting: I always refrigerate the bars before slicing. If you need to serve sooner, cut with a sharp knife warmed in hot water and wiped dry between slices.
Pro Tip for strawberry crumb bars: Gluten-free & vegan swaps that actually work
- Gluten-free flour blend – Use a 1-to-1 gluten-free flour blend that includes xanthan gum for structure; the texture will be slightly different but still tender.
- Almond flour mix – For a nuttier crumb, replace part of the flour with almond flour; reduce pressing for the base as almond flour can make the crust more fragile.
- Flax or chia egg – Combine ground flax or chia with water to make a gel that replaces the binder and keeps the crumb intact.
- Coconut oil or plant-based butter – Chill solid coconut oil or a firm vegan butter to the same consistency as cold butter and cut it in the same way for flaky crumbs.
- Cornstarch alternatives – Arrowroot or tapioca starch will thicken the filling if you avoid corn-based products.
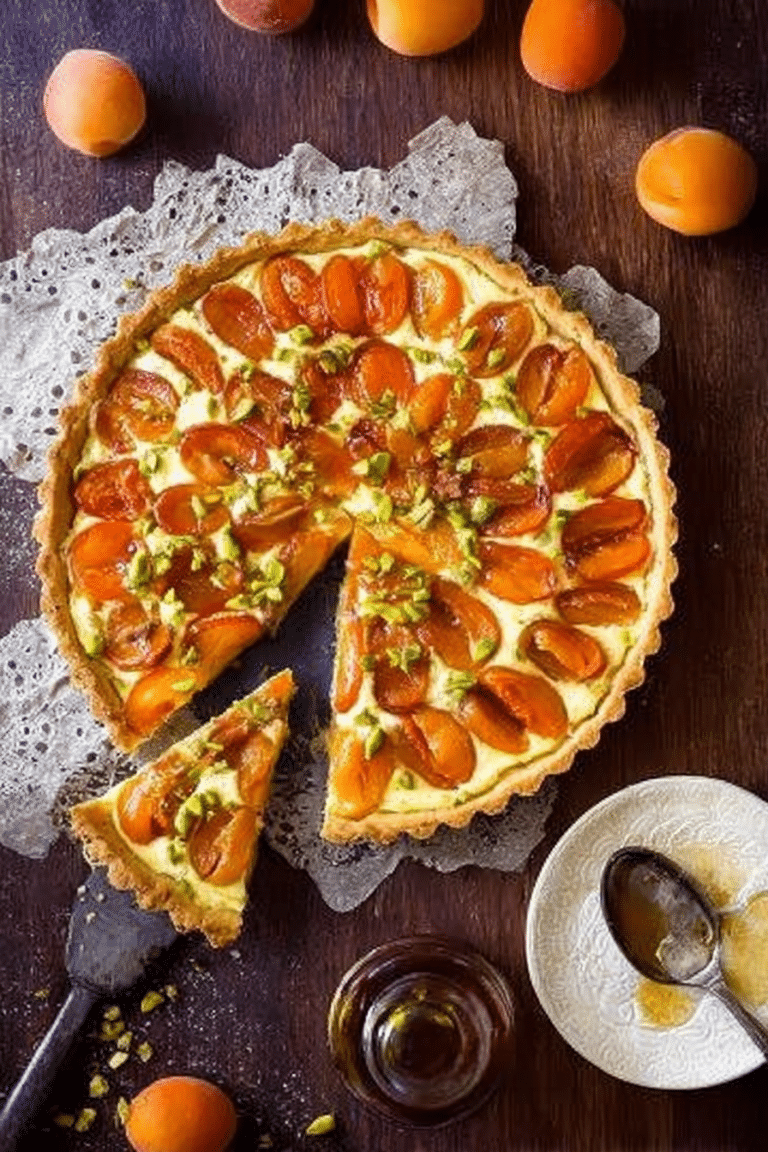
For another classic dessert option, don’t miss out on our strawberry rhubarb pie recipe!
Easy Variations to Try Next Time
- Lemon zest – Add a little lemon zest to the filling for a brighter, fresher contrast to the sweet strawberries.
- Mixed berries – Swap in blueberries or raspberries, or use a berry medley for more complex fruit flavor.
- Nutty topping – Sprinkle chopped toasted almonds or pecans into the crumb topping for extra crunch and flavor.
- Spiced crumbs – Stir a pinch of cinnamon or cardamom into the crumb mix to give the bars a warm, aromatic note.
- Oat-layer twist – Fold some rolled oats into the topping for a chewier texture and a rustic look.
If you love strawberries, consider trying this delicious strawberry layer cake for a delightful twist on traditional desserts.
How to Store and Serve Strawberry Crumb Bars
Store the bars in an airtight container in the refrigerator for up to a week; chill them before slicing so the filling sets and you get clean squares. For longer storage, wrap individual bars tightly and freeze for up to three months — thaw in the fridge before serving.
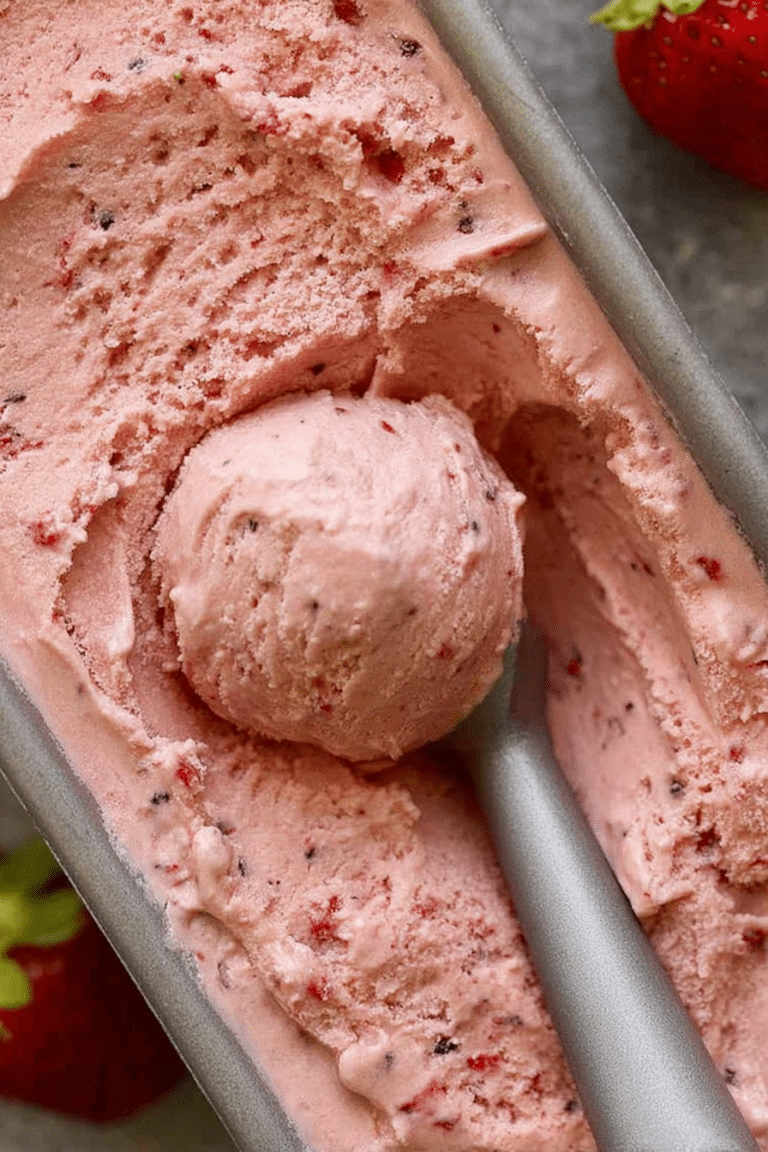
To serve, dust with powdered sugar or a light spoonful of whipped cream. For a party, plate a bar with a scoop of vanilla or strawberry ice cream and a few fresh berries for color and contrast.
Serve your crumb bars with a scoop of homemade strawberry ice cream for an extra special treat!
Frequently Asked Questions
Can I use frozen strawberries instead of fresh for this recipe?
Yes, you can use frozen strawberries! Just make sure to thaw and drain any excess moisture before using them to prevent a soggy filling.
How do I make these strawberry crumb bars gluten-free?
To make the bars gluten-free, simply substitute the all-purpose flour with your favorite gluten-free flour blend.
What can I use instead of butter for a dairy-free option?
You can use coconut oil or a plant-based butter substitute to make the bars dairy-free and vegan.
How should I store the strawberry crumb bars?
Store the bars in an airtight container in the refrigerator for up to a week, or freeze them for longer storage.
Can I add other fruits to this recipe?
Absolutely! You can mix in other fruits like blueberries or raspberries for a delicious variation.
Strawberry Crumb Bars
Ingredients
Method
- Preheat the oven to 375 degrees F. Place parchment paper on the bottom of the 8x8 pan that hangs over the side of the pan.
- In a medium bowl, stir together 1/2 cup white sugar, flour, baking powder and salt.
- Using a fork or a pastry cutter, cut the butter into the flour mixture until crumbly.
- In a separate bowl, beat an egg and add it along with vanilla to the flour mixture.
- Pat half of the dough evenly into the bottom of the prepared pan.
- In another bowl, stir together 1/3 cup sugar and cornstarch, then stir in strawberries.
- Spoon the strawberry mixture over the bottom crust and crumble the remaining dough on top.
- Bake for 45 minutes or until golden brown. Cool completely before cutting, refrigerate until ready to serve.